
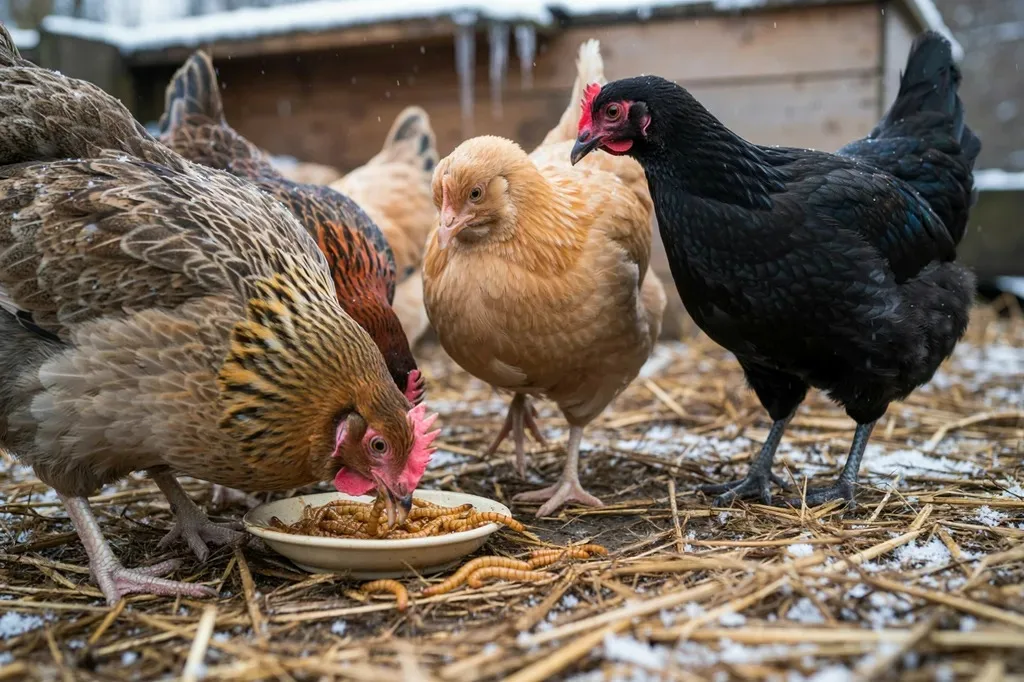
What Mealworms Are
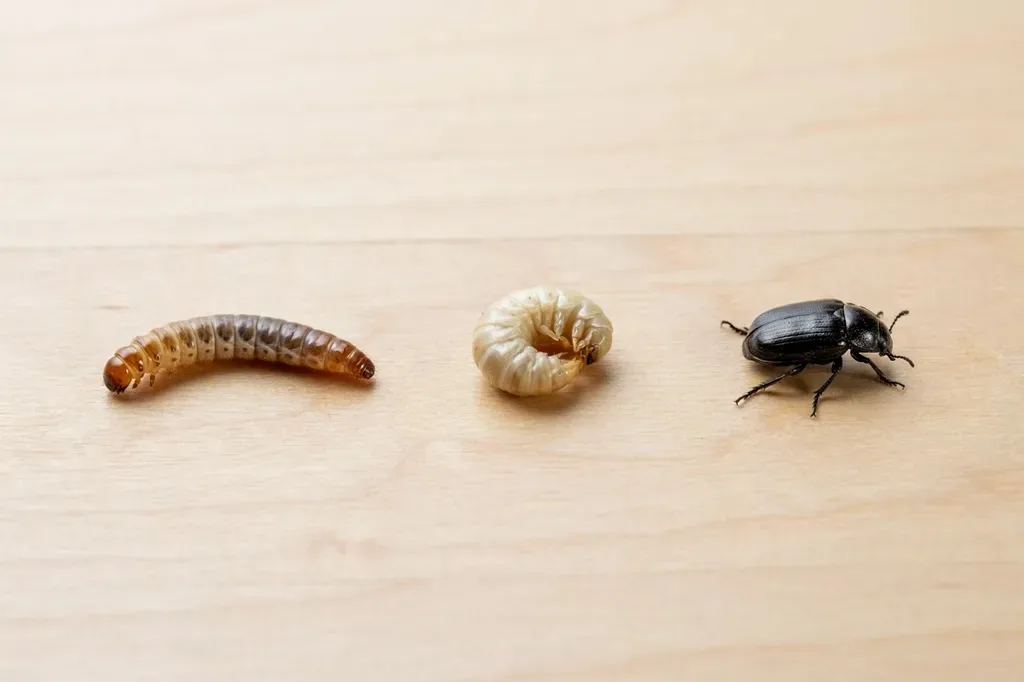
Mealworms aren’t worms at all. They’re the larvae of a small, harmless black beetle called the darkling beetle. The beetles don’t bite, don’t sting, and rarely fly. The larvae are the golden, wriggling treat sold in bait shops and pet stores.
Their life runs in four stages, and once you know them, the whole farm makes sense:
- Egg: tiny and hidden in the bedding, hatches in about one to two weeks.
- Larva (the mealworm): eats and grows for roughly two to three months.
- Pupa: a pale, still stage that lasts one to three weeks.
- Beetle: lives a few months and lays hundreds of eggs.
The Timing Mistake: Start in Fall, Not in Winter
Here’s the part most people learn the hard way. A brand-new colony needs about three to four months to go through a full cycle and build up numbers. If you start when the snow falls, you won’t have much to harvest until spring, right when the outdoor bugs come back.
Start in early fall, and by mid-winter the farm is producing steadily. If you’re reading this in autumn, now is the right time.
What You Need

- A 3-drawer plastic storage unit, or two or three shallow plastic totes
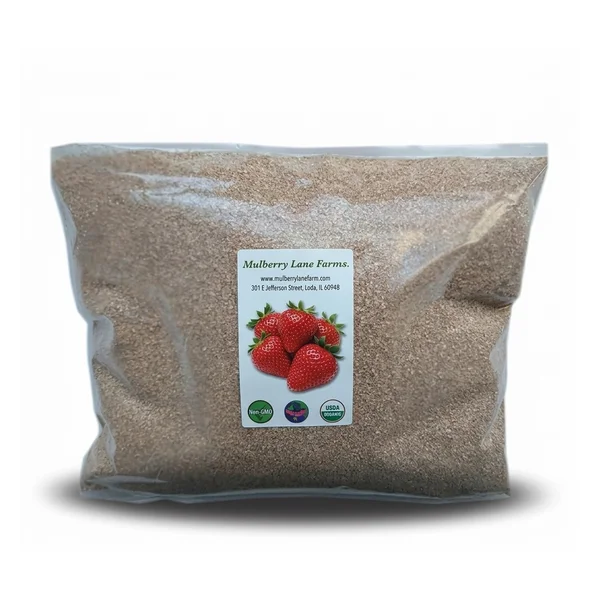
- Bedding that is also their food: wheat bran or plain rolled oats
- Moisture food: slices of carrot or potato
- About 1,000 to 2,000 live mealworms to start (bait shops, pet stores or online)
- A drill to add small air holes
Mealworms need smooth plastic walls they can’t climb, good airflow and a dry home. They do best at about 70 to 80°F and slow down when it’s colder, so a heated room beats a cold garage.
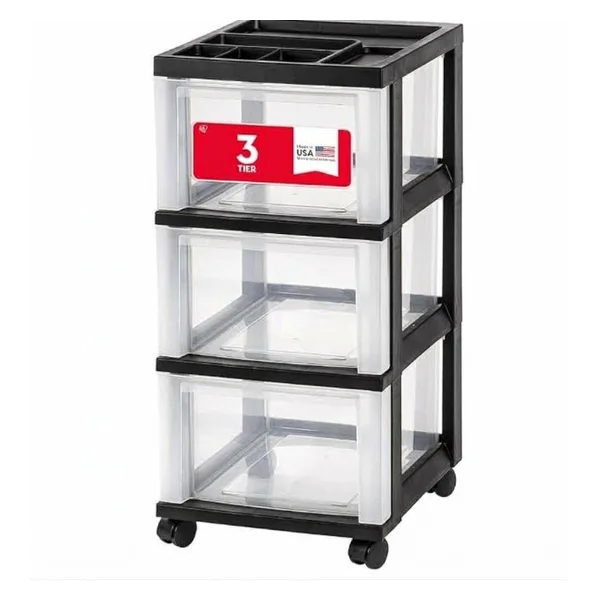
How to Set Up the 3-Drawer Mealworm Farm
Step 1: Drill air holes
Drill a few small holes in the sides or the back of each drawer for airflow. Keep them small enough that nothing can crawl out.
Step 2: Add two inches of bedding
Fill each drawer with about two inches of wheat bran or oats. This is both their bed and their food.
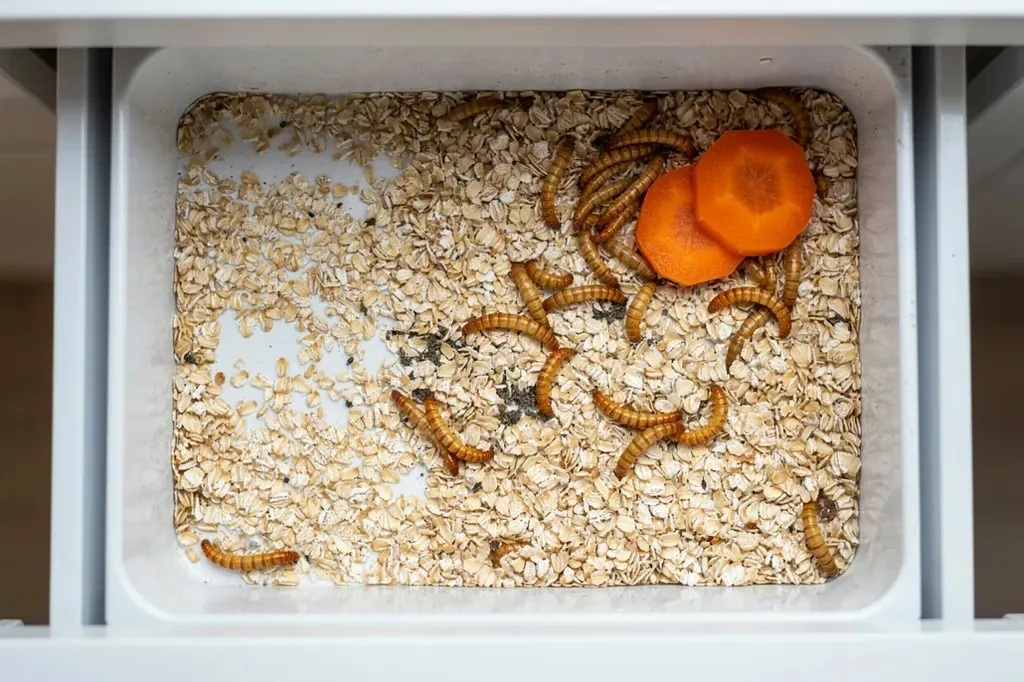
Step 3: Add your mealworms
Put all your starter mealworms in the top drawer. Lay a few slices of carrot or potato on top of the bedding. That’s all the water they need.
Step 4: Move the pupae
Every few days, look for pupae: pale, curled and not moving much. Move them to the middle drawer. Separating them protects them, because the active larvae will nibble on them.
Step 5: Let the beetles do their work
When the pupae turn into beetles, move the beetles to the bottom drawer. This is your breeding drawer. They’ll lay eggs in the bedding, and in a few weeks you’ll see tiny new mealworms appear.
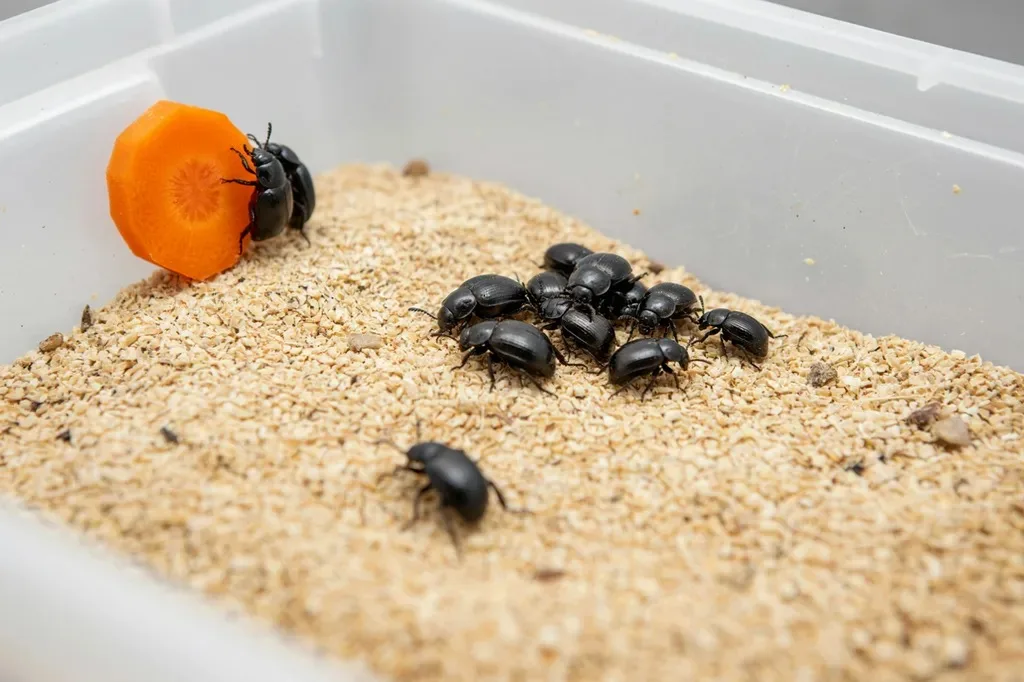
Step 6: Harvest the big ones
Once the colony is cycling, pick out the largest mealworms for your hens and always leave plenty behind to grow into pupae and beetles. The rule of thumb: never harvest so many that the beetle drawer goes empty.
The No-Sift Version: A Self-Sorting Tote
Sorting pupae by hand gets old. Many keepers switch to a self-sorting setup that does the separating for them.
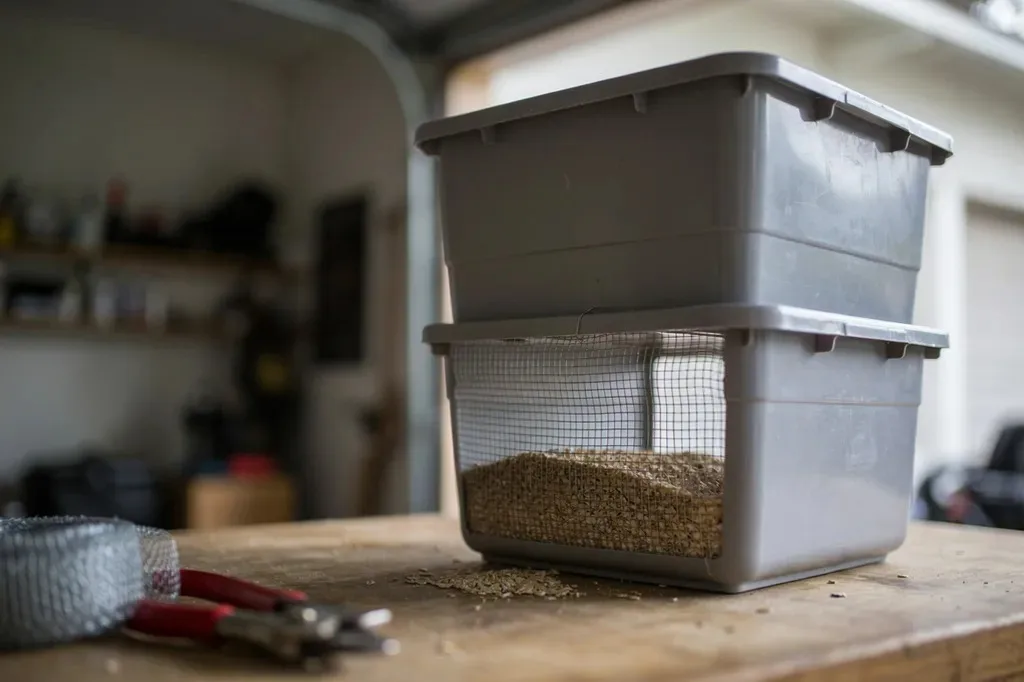
- Cut a large opening in the bottom of a shallow tote and cover it with sturdy window screen or fine mesh.
- Set it on top of a second tote filled with bran or oats.
- Keep the beetles in the top tote with a thin layer of bedding.
- The beetles lay eggs, and the eggs and tiny larvae fall through the mesh into the lower tote, where they grow.
Every few weeks, move the top tote onto a fresh bottom tote. Each bottom tote becomes a batch of mealworms of about the same age, which makes harvesting much easier.
The Mistake That Wipes Out Most Colonies: Moisture
Mealworms need a little water from their vegetables, but a damp bedding is a disaster. Wet bran grows mold and attracts tiny grain mites, and the colony crashes.
- Never pour water into the bedding.
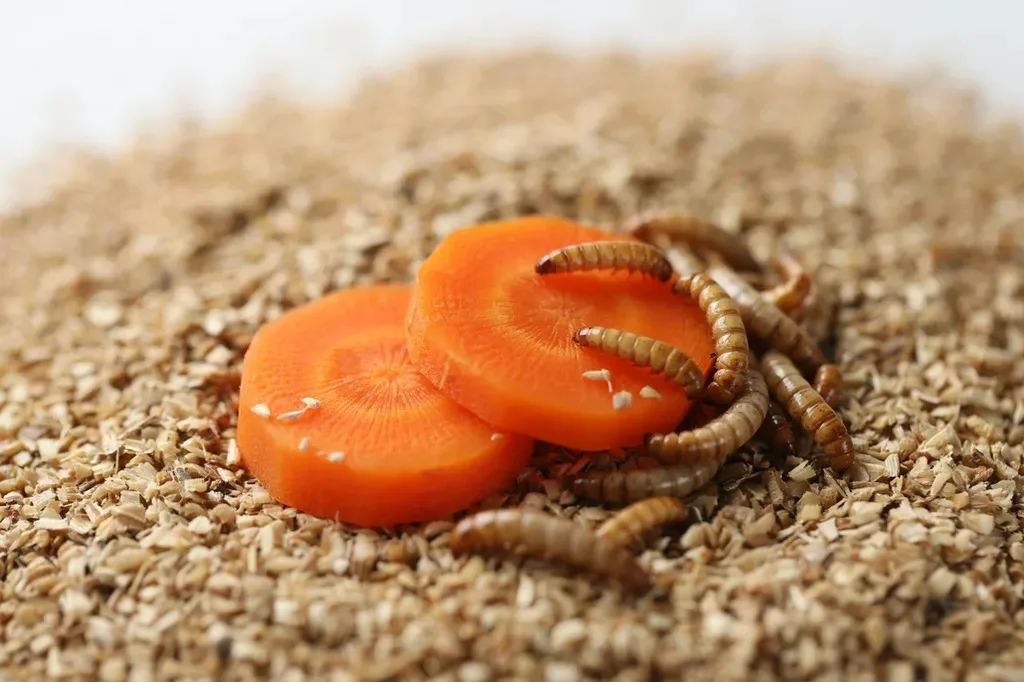
- Use small slices of carrot or potato, and replace them every two or three days, before they get soft or moldy.
- If you see mold or a musty smell, remove the wet patch right away.
- Keep the farm out of humid places like a damp basement.
Pests and Problems
- Grain mites: tiny moving specks in the bedding, usually caused by damp bran. Many keepers freeze new bran for two days before using it.
- Mold: remove wet vegetables and damp patches right away.
- Ants: stand the drawer unit’s legs in small dishes of water so ants can’t climb up.
- A slow colony: usually too cold. Move the farm to a warmer room.
Don’t Waste the Frass
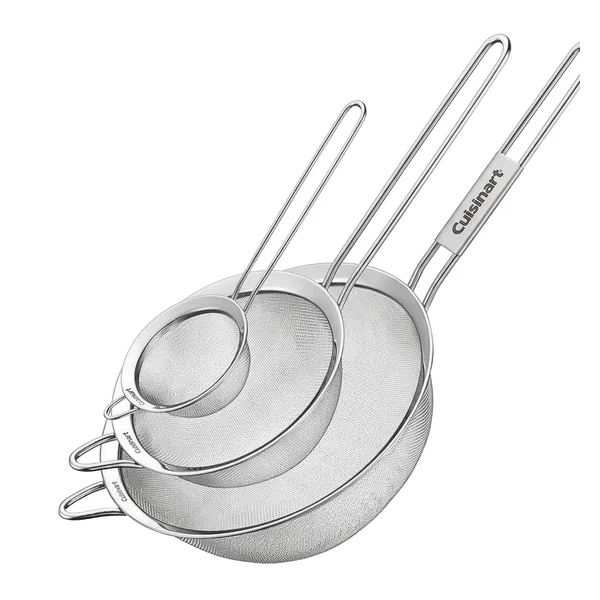
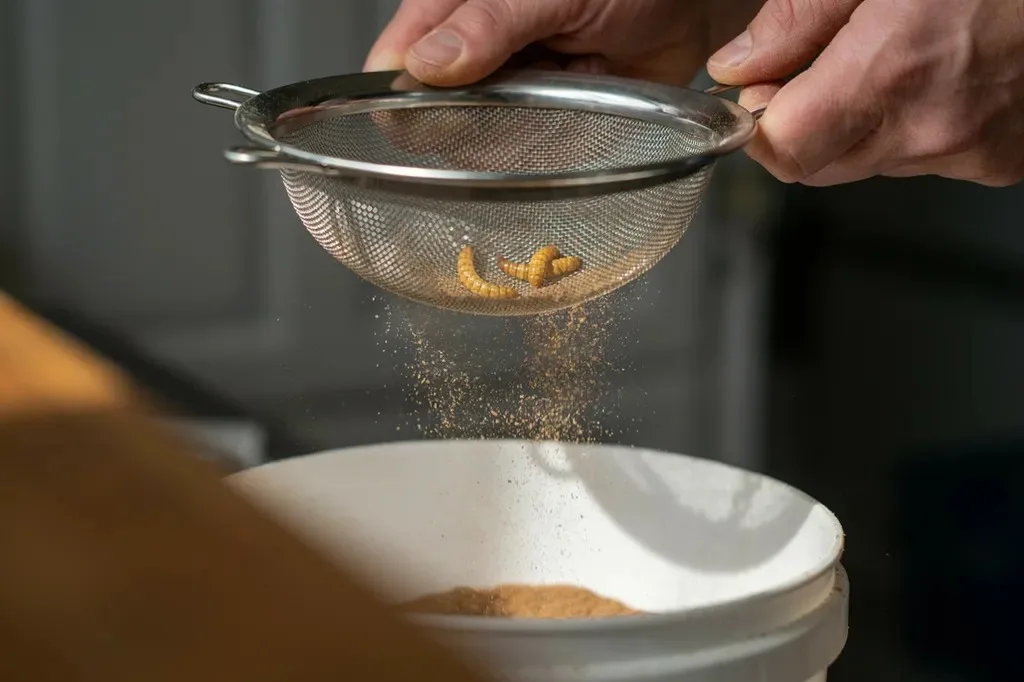
Over time the bedding turns into fine, powdery droppings called frass. Sift it out every month or two with a fine mesh strainer. It makes a gentle garden fertilizer, so mix it into potting soil or sprinkle it around plants. Even your mealworm farm’s waste has a use.
Feeding Your Mealworms
The bedding is the main food, so top up the bran or oats whenever it starts to look thin and powdery. Add a fresh slice of carrot or potato every couple of days for moisture. Apple slices and lettuce work too, but they’re wetter, so use small pieces and remove them quickly.
Many keepers add a small handful of layer feed now and then for extra protein. Skip citrus and anything salty or oily.
How Much Time It Really Takes
Once the farm is set up, it needs about ten minutes a week: swap the vegetables, move pupae and beetles, top up the bedding and pick out a harvest. A three-drawer unit fits on a shelf, so it takes up less floor space than a laundry basket.
The most important ingredient isn’t time but patience. The first two or three months are mostly waiting while the beetles build up the colony. Resist the urge to harvest early, and the farm pays you back all winter.
How to Feed Mealworms to Your Hens
Mealworms are rich in protein and fat, but low in calcium. That makes them a treat, not a meal. A small handful for a few hens a day is plenty, alongside their regular layer feed and oyster shell.
They’re most valuable in winter and during molt, when hens are regrowing feathers and need extra protein. Toss them in the run in the afternoon and watch the hens race for them. In the warm months, let the bug bin that harvests itself take over, and save your mealworms for winter.
Common Questions
Does a mealworm farm smell?
A dry, healthy farm has almost no smell, just a faint grainy scent. A bad smell means it’s too wet.
Will beetles escape into my house?
Darkling beetles can’t climb smooth plastic, and they rarely fly. Keep a lid on with air holes and you’re unlikely to find any outside the drawers.
How many mealworms will I get?
Expect a small, steady supply rather than buckets. A well-run starter colony gives you a regular handful of treats once it’s cycling. More drawers and more beetles mean more mealworms.
Can my hens eat the beetles too?
Yes, hens will happily eat darkling beetles. Just keep enough beetles in the farm to keep the colony breeding.
Live or dried mealworms: which is better?
Both make good treats. Live mealworms keep hens busier and cost nothing once your farm is running. Dried ones are convenient, but you have to keep buying them.
Can I use chicken feed as bedding?
Many keepers use layer mash or crumbles mixed with oats or bran. Keep it dry, the same as any bedding.