
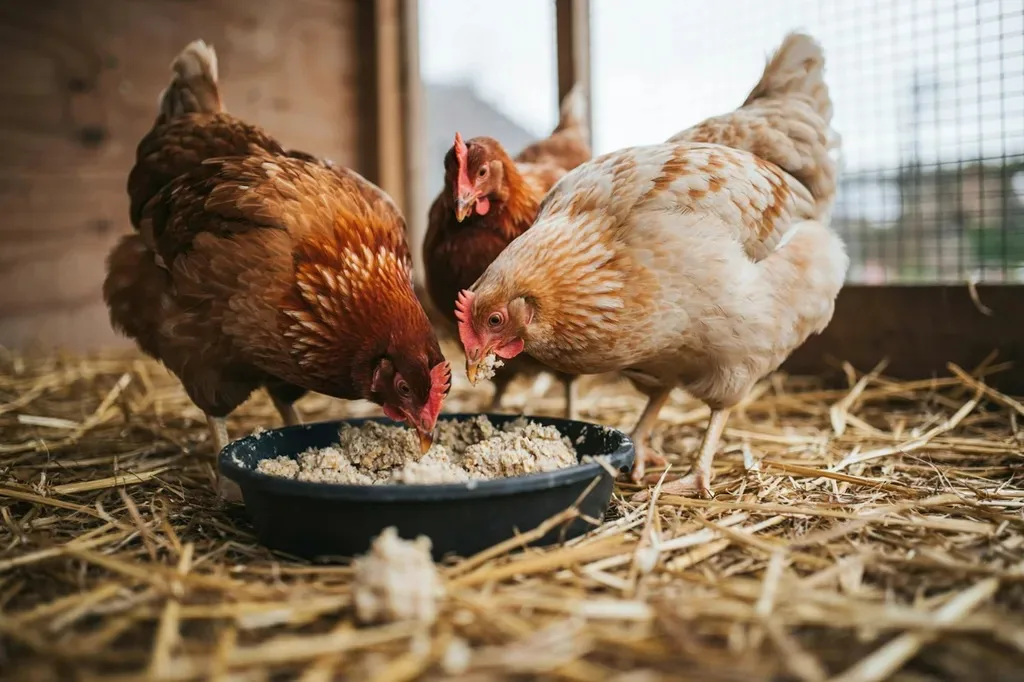
Why Fermenting Feed Helps
When feed sits in water for a few days, natural lactic acid bacteria start to grow, the same friendly bacteria found in yogurt, sauerkraut and sourdough. They turn the mixture slightly sour.
Keepers who ferment usually notice three things:
- Far less waste. Dry crumbles get raked out and scattered. Wet mash stays in the dish.
- The feed goes further. Soaked feed swells and is more filling, so many keepers find their hens eat less dry feed each day.
- Happy hens. Most chickens go wild for the tangy mash.
Some studies suggest fermented feed may also support gut health in poultry, but the clearest everyday benefit is simple: less feed on the ground, more in the hen.
What You Need
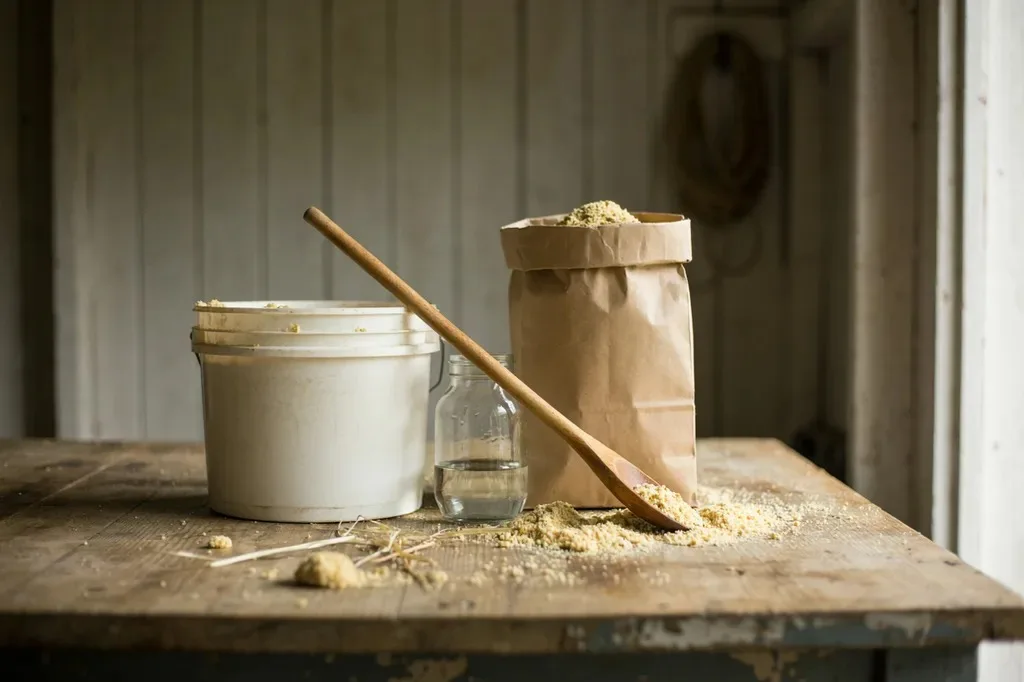
- A glass jar or a food-grade plastic bucket (not metal, because the acid reacts with it)
- Your regular layer feed: crumbles, pellets or whole grains all work
- Non-chlorinated water: well water, rainwater, or tap water left out overnight
- A loose lid or a cloth, so gas can escape
- A wooden or plastic spoon
Chlorine matters. It’s added to city water to kill bacteria, and it can stop the good bacteria from starting. Leaving tap water in an open jug overnight lets most of it escape.
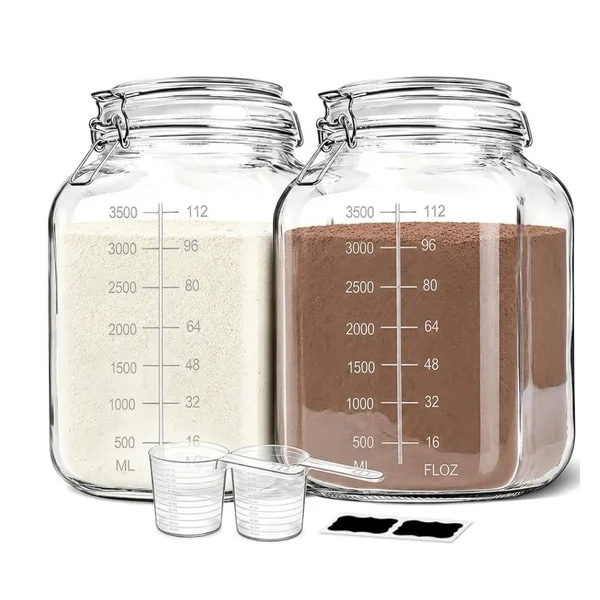
How to Ferment Chicken Feed: Step by Step
Step 1: Fill the container a third full
Pour in enough feed for about one or two days. The feed will roughly double in size as it soaks, so leave plenty of room.
Step 2: Cover with water
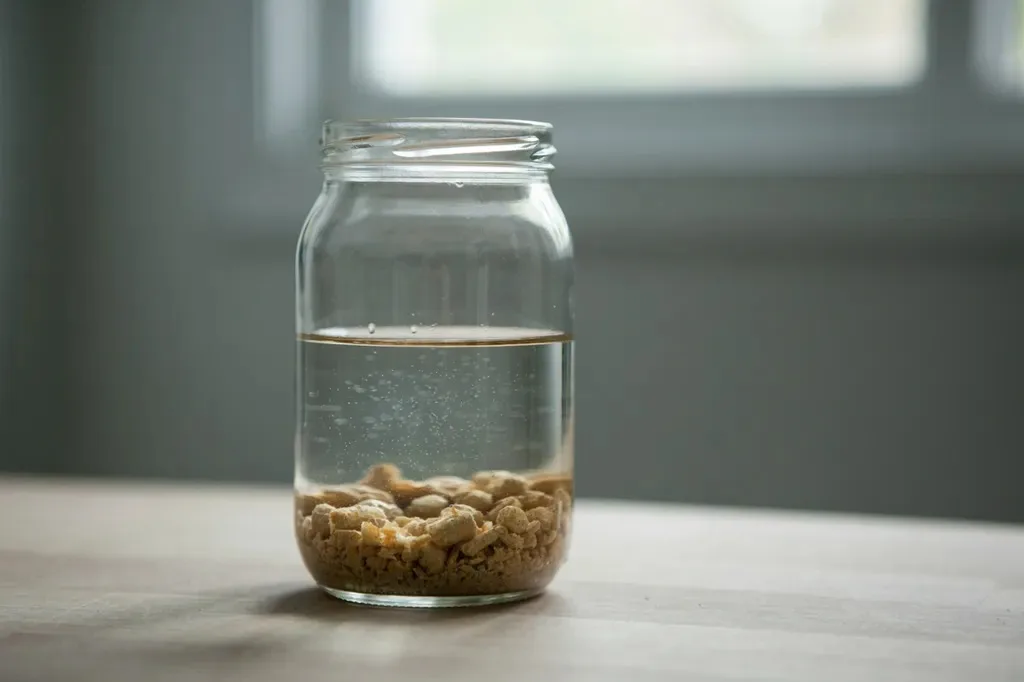
Add water until it sits about two inches above the feed. Stir well. Over the next hours the feed will soak up water, so check it and top up. The feed must stay under the water, because feed exposed to air is where mold starts.
Step 3: Cover loosely and wait
Put a loose lid or a cloth on top and keep it somewhere at room temperature, out of direct sun. Stir once or twice a day.
Step 4: Look for bubbles and a sour smell
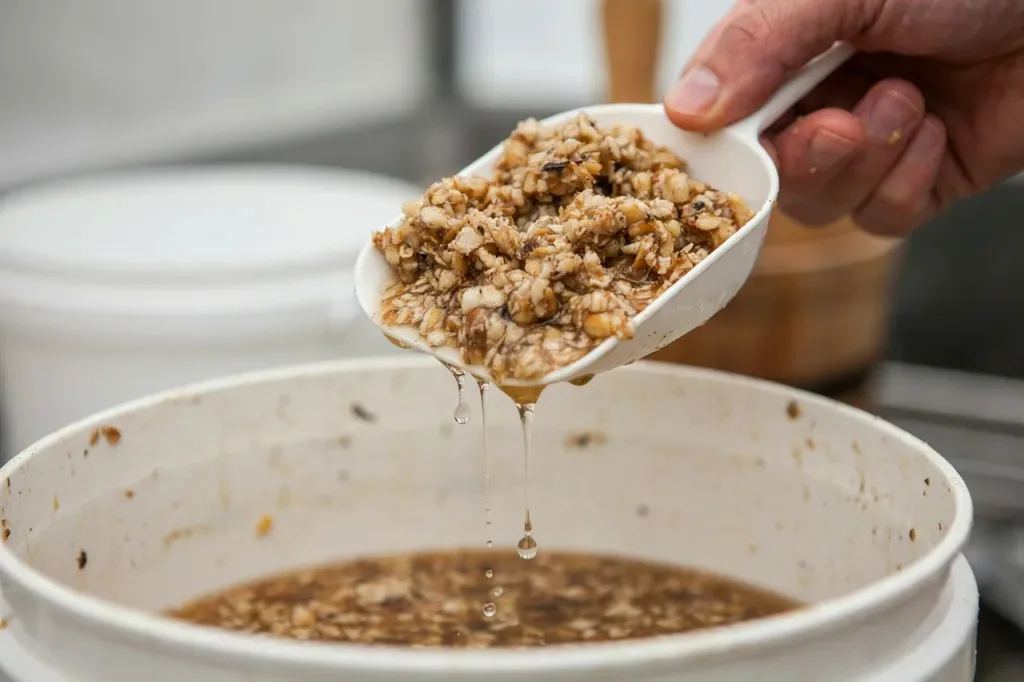
In about 2 to 4 days, depending on how warm your kitchen is, you’ll see small bubbles and the mixture will smell pleasantly sour, like sourdough or yogurt. That means it’s ready.
Step 5: Drain and serve
Scoop out what your hens will eat in one go, let the extra water drain off, and serve it in a shallow dish. Give them only what they’ll finish in about 20 to 30 minutes, then clear the dish, especially in hot weather.
Step 6: Keep it going
Save some of the sour liquid. When you start the next batch, add a splash of it to the new feed and water. It kick-starts the next batch, and it usually ferments faster.
Fermenting in Summer vs. Winter
Temperature changes everything. In a warm summer kitchen, a batch can be ready in a day and a half, and it may go too far if you forget it. In a cool winter house, it can take four or five days.
- Summer: make smaller batches, check them daily, and serve wet feed early in the day so it doesn’t sit in the heat.
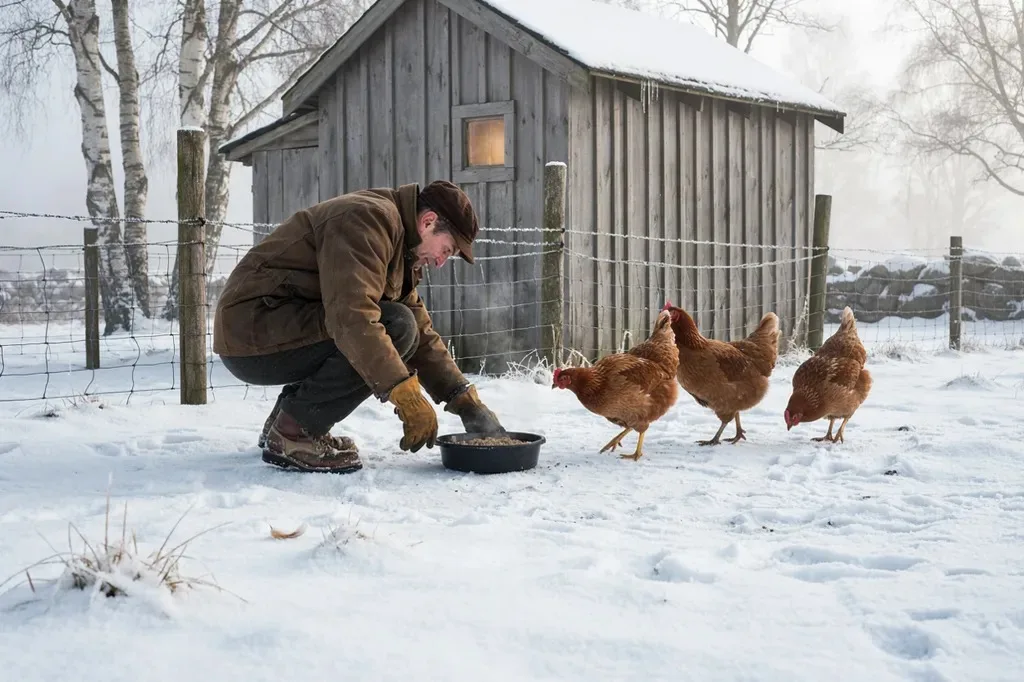
- Winter: keep the jar in the warmest room of the house. Wet feed can freeze in an unheated coop, so serve it in the morning and remove leftovers before they ice over.
How Much to Serve
Because soaked feed swells and is more filling, your hens may eat less of it than they would of dry feed. Start by fermenting about the same amount of dry feed they normally eat in a day, then cut back a little at a time until the dish is empty after half an hour.
Watch the hens, not the scoop. Busy, healthy birds and an empty dish mean you’ve found the right amount.
Bigger Flock? Try the Three-Bucket System
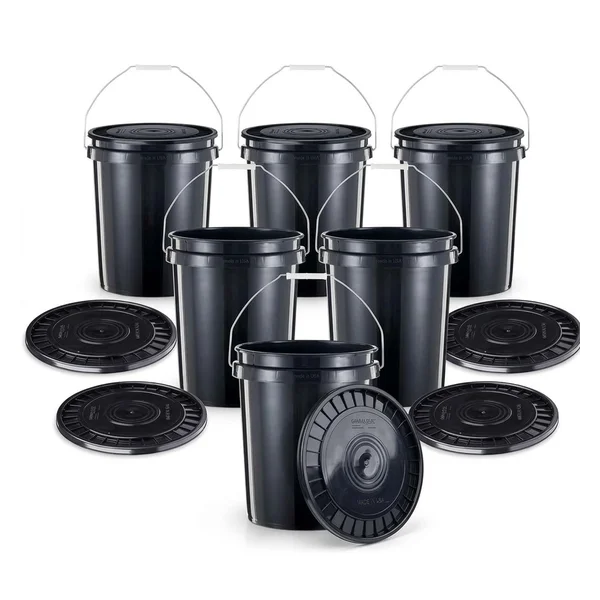
For a larger flock, run three food-grade buckets in rotation. Bucket one is being fed today, bucket two is fermenting, and bucket three was just started. Each day, everything moves one step along. It takes a few minutes and keeps a steady supply coming.
3 Signs Your Ferment Has Gone Wrong
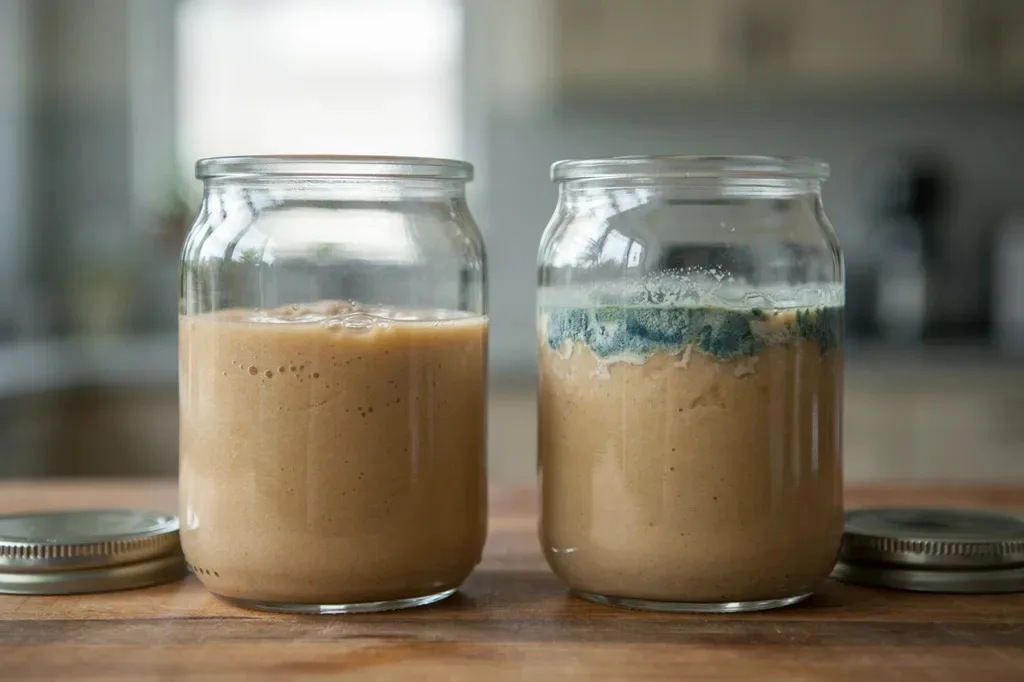
1. Fuzzy mold, or pink, black or green spots
Throw the whole batch out, wash the container with hot water and start again. This almost always happens when feed pokes above the water line.
2. A smell like nail polish, rot or strong alcohol
A good ferment smells sour and fresh. A sharp alcohol or rotten smell means it has gone too far or spoiled. Don’t feed it.
3. A thin white film on top
This is the one beginners panic about. A flat, thin white film is usually kahm yeast, which is common and harmless. Skim it off. But if it turns fuzzy or colored, treat it as mold and toss the batch.
Common Mistakes
- Using a metal bucket. The acid reacts with the metal.
- Letting feed poke above the water. That’s where mold starts.
- Making too much at once. Ferment one or two days’ worth at a time.
- Leaving wet feed out all day in summer. It can spoil in the heat.
- Forgetting the oyster shell. Keep calcium in a separate dish, never mixed into the ferment.
- Fermenting in a freezing room. Below about 60°F it slows right down. Bring it indoors in winter.
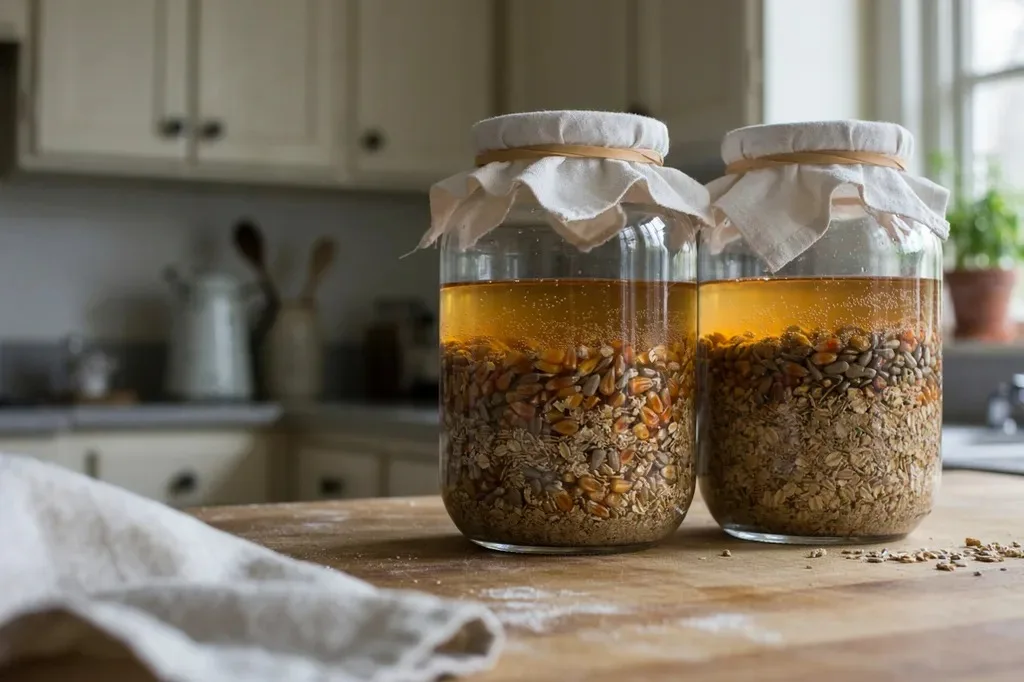
A simple routine: run two jars a day apart. While you serve from one, the other is still working. You’ll always have a ready batch.
What Fermented Feed Can and Can’t Do
It’s easy to read big promises about fermented feed online, so here’s the honest version. Fermenting doesn’t turn a cheap feed into a better one, and it doesn’t replace the protein and calcium your hens need. What it reliably does is cut down on waste, make the feed more filling and give your hens something they enjoy.
For most backyard keepers, the waste alone is worth it. Dry crumbles flicked onto the ground and trampled into the dirt are money lost, and wet mash mostly ends up inside the hen. For more ways to stretch the bag, see 7 ways to feed chickens for free.
What If Your Hens Won’t Eat It?
Some flocks dive in right away. Others look at the wet mash like it’s from another planet. If yours are suspicious:
- Mix a spoonful of fermented feed into their usual dry feed and increase it over a week.
- Serve it in the morning, when they’re hungriest.
- Sprinkle a few of their favorite treats on top the first few times.
- Make sure the batch smells fresh and sour, not sharp or rotten.
Within a few days, most hens learn to come running when they see the bucket.
Frequently Asked Questions
Can I ferment pellets?
Yes. Pellets break down into a mash as they soak. Crumbles and whole grains work too.
Should I feed only fermented feed?
Many keepers do, but you can also offer fermented feed once a day and keep dry feed available. Either way, keep oyster shell and fresh water out at all times.
Can chicks eat fermented feed?
Many keepers give it to chicks, but if you use medicated chick starter, check the label or ask your vet before fermenting it.
Will fermented feed attract flies?
The sour smell can draw fruit flies. Keep a cloth or loose lid on the container, clean up spills, and don’t leave wet feed sitting in the run.
Can I ferment scratch grains?
Yes. Whole grains like wheat, oats and barley ferment well and soften as they soak. Just remember that scratch is a treat, not a complete feed.
How long does fermented feed keep once it’s ready?
Serve it within a day or so. Kept too long, it keeps souring and can turn.