
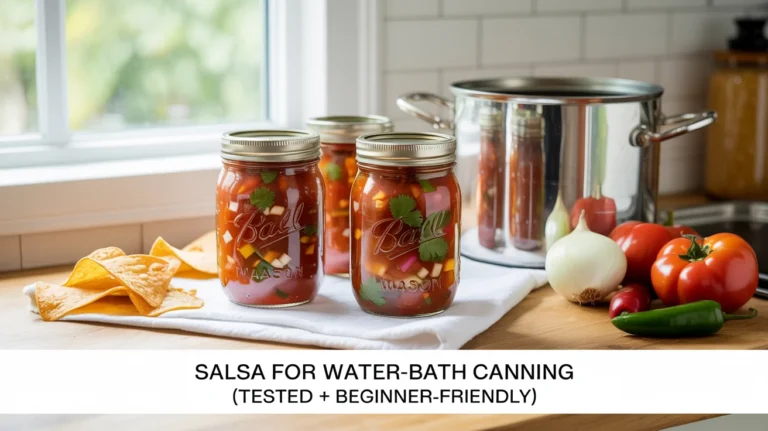
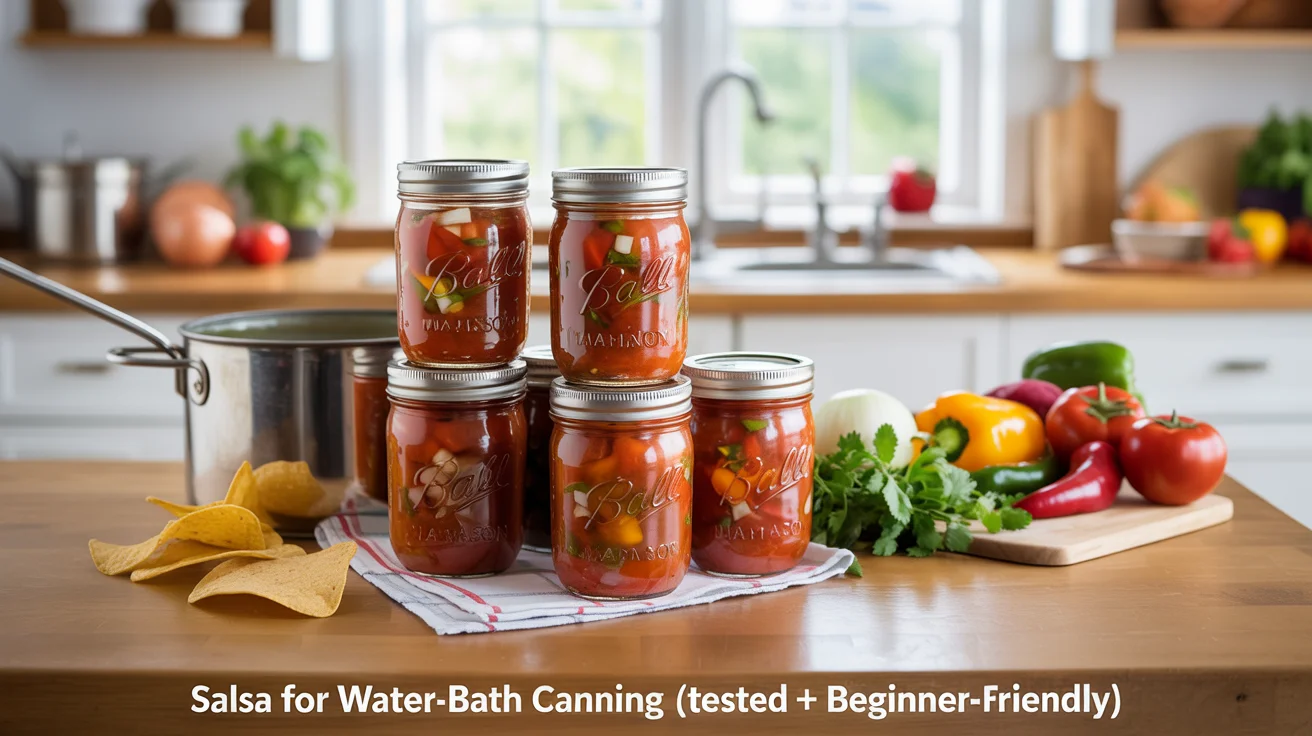
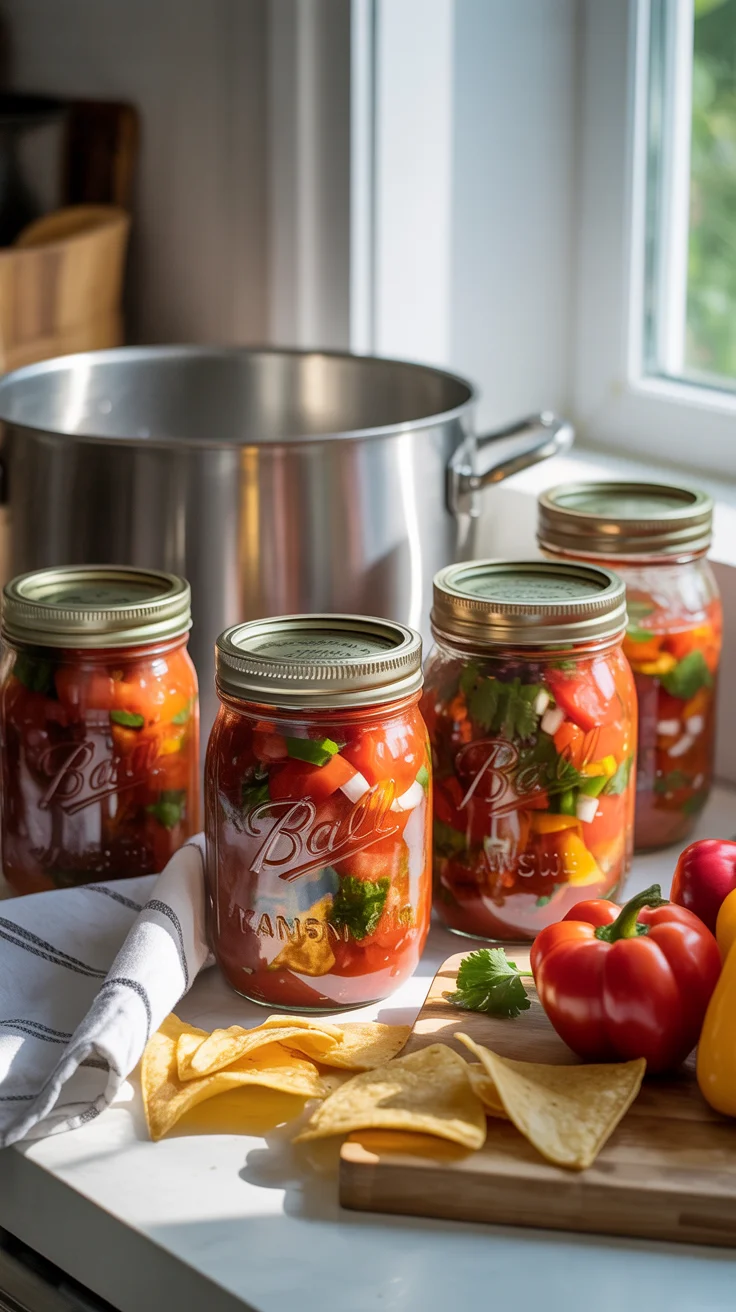
Preserving fresh tomatoes into a bright, shelf-stable salsa is one of the most satisfying home canning projects for beginners. This guide walks you through a tested, beginner-friendly process so you can confidently make salsa for water-bath canning at home. You’ll learn exactly how to keep your recipe safely acidic, how to prep jars, process times, and what you can and can’t change without impacting safety.
If you dream of a garden-to-jar pantry and a more self-reliant lifestyle, you’ll love the practical homestead strategies in The Self-Sufficient Backyard.
Beginner’s Guide to Water-Bath Canning
Why water-bath canning salsa is safe when you use a tested recipe
Tomatoes sit on the edge of acidity. That means if you’re water-bath canning salsa, you must maintain a tested ratio of high-acid ingredients (tomatoes plus 5% vinegar or bottled lemon/lime juice) to low-acid ingredients (onions, peppers, garlic). A properly acidified, tested salsa recipe creates an environment hostile to botulism, making it suitable for water-bath canning.
What “tested” means. A tested salsa has been formulated so its final acidity is high enough to be safely processed in a boiling-water canner. The vinegar (5% acidity) or bottled citrus juice is not optional; they set the pH. You can adjust dried spices, but you must not increase total amounts of onions, peppers, garlic, or other low-acid ingredients beyond the tested volumes.
Why bottled matters. Use bottled lemon or lime juice if substituting for vinegar. Bottled citrus has standardized acidity; fresh citrus can vary, which can make home-canned salsa unsafe. If using vinegar, confirm it’s labeled 5% acidity.
Why pints, not quarts. Most safe salsa recipes are approved for pint jars. The density of salsa can slow heat penetration in larger jars, so unless you’re following a specifically tested quart recipe with its own time, stick to pints.
Headspace and density. Correct headspace (typically 1/2 inch for salsa) helps the jar vent air and form a strong vacuum. Resist the urge to add thickeners before canning. Flour, cornstarch, and many starches trap pockets of low acidity and slow heat transfer. If you prefer a thicker salsa, simmer to reduce liquid before filling jars, or thicken after opening.
Your equipment checklist:
- Boiling-water canner or a deep stockpot with a fitted rack
- Mason jars (pints), 2-piece lids
- Jar lifter, canning funnel, bubble remover, spatula
- Clean towels and a timer
Stick with these fundamentals, and water-bath canning salsa becomes a straightforward, beginner-friendly skill that reliably produces safe, delicious results.
Ingredient choices that keep salsa safe and delicious
Choosing and prepping ingredients properly is half the battle. The goal is a bright, balanced salsa that maintains the tested ratio of tomato base and acid to low-acid mix-ins.
Tomatoes. Paste-style tomatoes (Roma, San Marzano, Amish Paste) give thicker salsa with less simmer time. You can use slicers and heirlooms; they’re juicier and may require a longer simmer to reach your preferred texture. For a classic texture, peel tomatoes by blanching 60 seconds and shocking in ice water, then core and chop. Peeling improves safety and texture, but some tested recipes allow unpeeled; if you’re new, peeling is a simple best practice.
Onions. Yellow onions are standard, but white and red onions are fine. Keep the total onion volume exactly as the recipe states, and chop to a consistent size for even heat penetration.
Peppers. Tested salsa recipes often allow a mix of mild and hot peppers as long as the total combined volume does not exceed the tested amount. That means you can swap some bell peppers for jalapeños or serranos to adjust heat—just keep the total volume the same.
Acid. Choose 5% white or apple cider vinegar. Cider vinegar adds gentle sweetness; white vinegar is sharper and cleaner-tasting. If swapping vinegar for bottled lemon or lime juice, use the exact volume in the recipe and make sure it’s bottled, not fresh.
Garlic and herbs. Garlic is powerful, but in canning terms it’s low-acid. Use only what the tested recipe specifies. Dried spices and herbs can be adjusted slightly to taste. Fresh cilantro can be added in modest amounts if the tested recipe allows; otherwise add fresh cilantro after you open the jar.
Salt and sugar. Canning salt (or pure sea salt without anti-caking agents) dissolves more cleanly. Salt is mostly for flavor and a bit of texture; it isn’t a primary safety factor in salsa. A small amount of sugar can balance acidity but isn’t required.
Safe texture control. If your tomatoes are very juicy, drain some liquid after chopping to reduce watery salsa without altering safety ratios. You can also simmer longer to concentrate flavors. Avoid adding tomato paste or thickeners before canning; stir them in after opening if you like a thicker dip.
Keep these guidelines in mind as you shop, prep, and measure. The exact amounts in the recipe below are designed for both safety and great flavor.
Safe Substitutions for Canned Salsa
Step-by-step recipe: Salsa for Water-Bath Canning (Tested + Beginner-Friendly)
This batch makes approximately 6–7 pints, depending on tomato juiciness and chop size. It uses a well-proven ratio that keeps the acid level safely in range while delivering a classic, scoopable salsa.
Ingredients:
- 8 cups peeled, cored, chopped tomatoes (paste-style preferred)
- 2 1/2 cups chopped onions
- 1 1/2 cups chopped peppers (mix mild bell and hot peppers as desired, but do not exceed 1 1/2 cups total)
- 1 cup 5% vinegar (white or apple cider), OR 1 cup bottled lemon or lime juice
- 3 cloves garlic, finely minced
- 2 teaspoons ground cumin (optional)
- 2 tablespoons dried oregano or 1/2 cup chopped fresh cilantro (optional; choose one)
- 1 tablespoon canning salt (adjust to taste)
- 1 tablespoon sugar (optional, balances acidity)
Gear:
- 6–7 clean pint jars with 2-piece lids
- Boiling-water canner or deep stockpot with rack
- Canning funnel, ladle, jar lifter, bubble tool
- Clean towels, paper towels, and a timer
Prep steps:
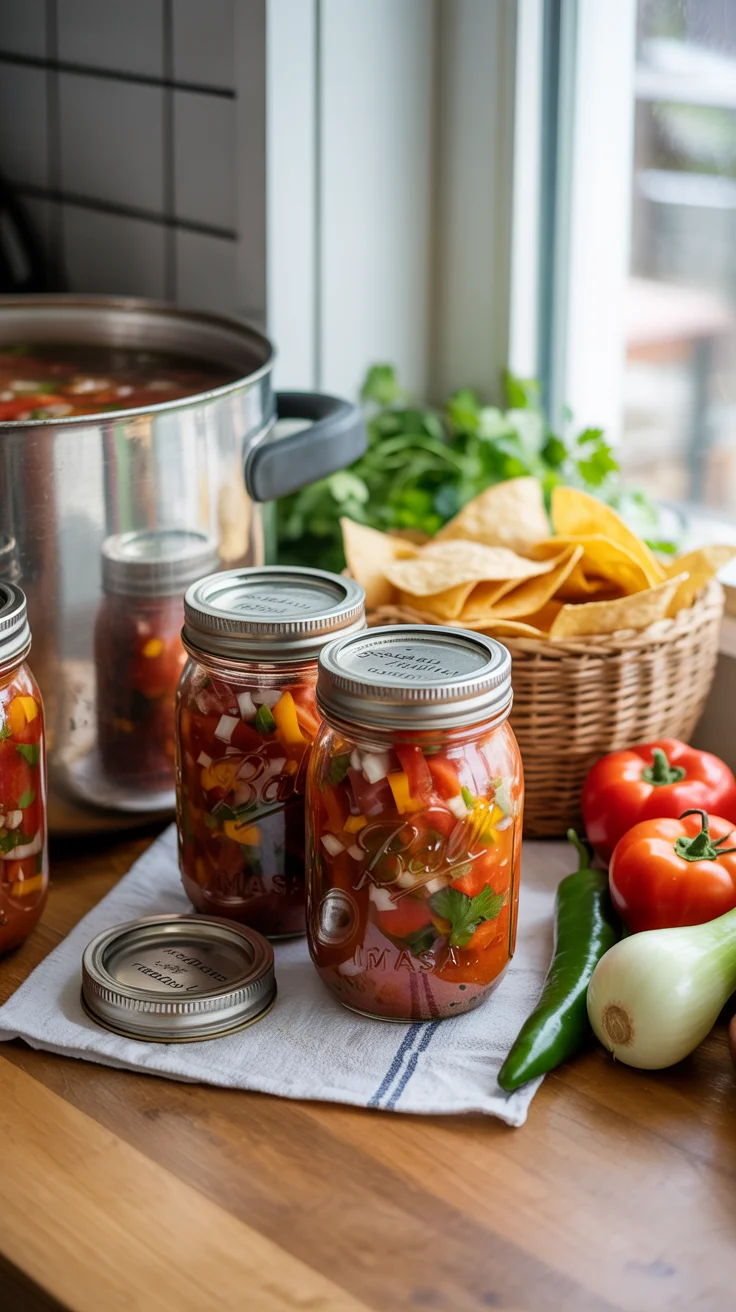
- Prep the canner and jars. Add a canning rack to your pot and fill with enough water to cover jars by at least 1–2 inches. Bring to a gentle simmer. Wash jars, lids, and bands in hot soapy water; rinse. Keep jars warm (in hot water or the canner) until filling. You don’t need to pre-sterilize jars when processing 10+ minutes, but start with clean, hot jars.
- Chop the produce. Peel tomatoes (blanch 60 seconds, ice-bath, slip skins), core, and chop. Chop onions and peppers to 1/4–1/2 inch pieces for even heating. Wear gloves for hot peppers.
- Cook the salsa. In a large, wide pot, combine tomatoes, onions, peppers, vinegar (or bottled citrus), garlic, salt, and any optional spices/herbs. Bring to a boil over medium-high heat, then reduce to a moderate boil and simmer 10–20 minutes, stirring often, until the salsa is hot throughout and slightly thickened. Do not add thickeners.
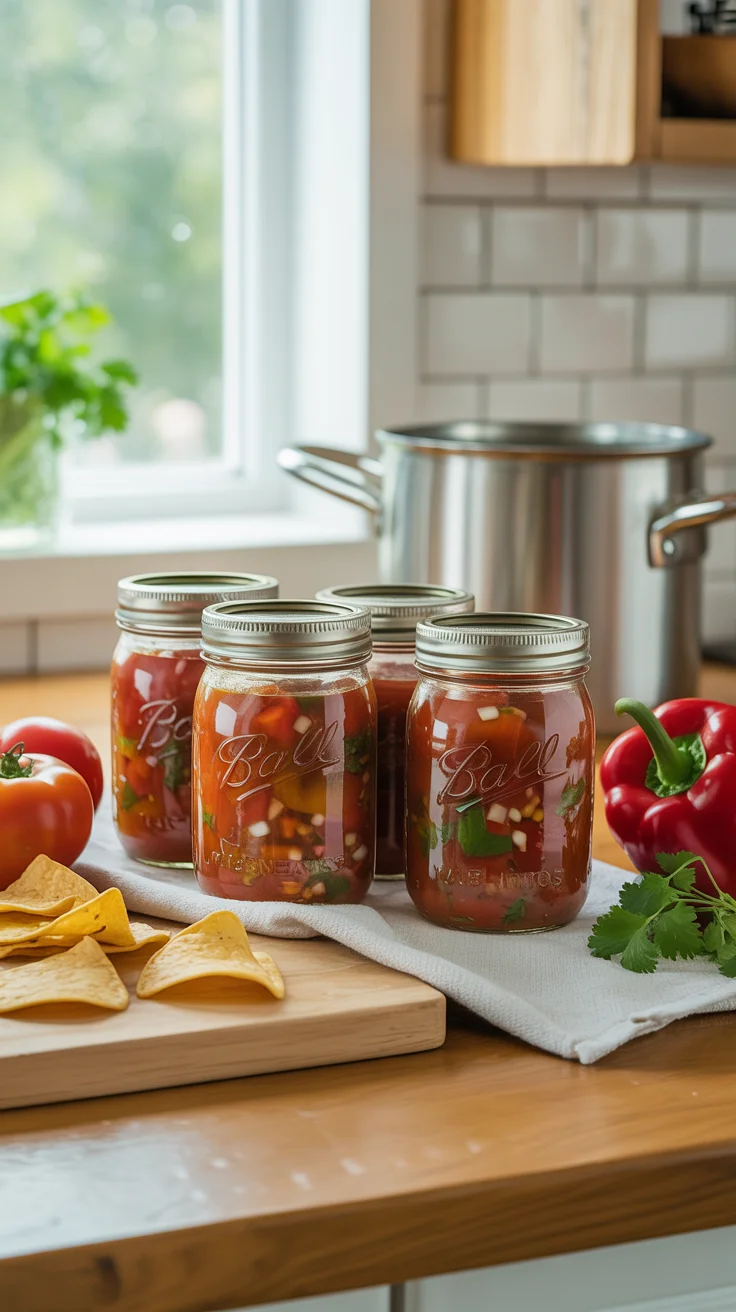
- Fill the jars. Working with one hot jar at a time, ladle hot salsa into jars leaving 1/2 inch headspace. Use a bubble tool or thin spatula to remove air bubbles, adjust headspace if needed, then wipe rims with a clean damp paper towel. Center lids and apply bands to fingertip-tight.
- Process. Place filled jars on the rack in the canner. Ensure jars are covered by at least 1–2 inches of water. Cover the pot, bring to a rolling boil, and begin timing when the water is fully boiling:
- 0–1,000 ft: 15 minutes
- 1,001–6,000 ft: 20 minutes
- Above 6,000 ft: 25 minutes
- Cool and check seals. When time is up, turn off heat, remove the lid, and let jars rest 5 minutes in the canner to minimize siphoning. Transfer to a towel-lined counter and cool undisturbed 12–24 hours. Check that lids are concave and firmly sealed. Remove bands; wipe jars if needed. Label with date and variety.
Tips:
- Pint jars only unless a specific tested recipe provides quart instructions.
- If a jar doesn’t seal, refrigerate and enjoy within a week, or reprocess within 24 hours with a new lid.
For a deeper pantry and more shelf-stable meal ideas alongside this salsa, see The Lost Superfoods.
Troubleshooting jars and common canning mistakes
Even the most careful canners occasionally run into hiccups. Use this guide to diagnose what went wrong and how to prevent it next time.
Siphoning or floating liquids. If salsa seeps out of jars during processing or cool-down, that’s often siphoning—caused by trapped air and rapid pressure changes. Reduce siphoning by removing air bubbles thoroughly, leaving precise headspace, and letting jars rest 5 minutes in the canner after processing before lifting them out. Maintain a steady, rolling boil—not a roaring one.
Unsealed lids. Lids should be concave and not flex when pressed after 12–24 hours. Common causes of failed seals include food residue on rims, over- or under-tightened bands, improper headspace, or prematurely removing jars from the canner. Always wipe rims carefully and tighten bands only to fingertip tightness. If unsealed, refrigerate and use within a week or reprocess within 24 hours with a new lid.
Watery salsa. Juicy tomatoes produce thinner salsa. To reduce wateriness next time, start with paste-type tomatoes, drain chopped tomatoes briefly before cooking, or simmer the mixture a bit longer before filling jars. Avoid adding any thickeners before canning; if you like a super-thick dip, stir in a spoonful of tomato paste after opening.
Uneven texture. Consistent chop size leads to even heating and a more uniform texture. Over-pureeing can also make salsa dense—keep it chunky. If you desire a smoother dip, blend a portion after opening rather than before canning.
Flavor too tart or too mild. Vinegar adds the safety margin and the tang. You can mellow sharpness by choosing apple cider vinegar, adding the optional tablespoon of sugar, or balancing with spices like cumin and oregano. If heat is too mild, next batch increase the proportion of hot peppers—but do not exceed the total combined pepper volume in the tested recipe.
Darkening or discoloration. Some darkening is cosmetic and caused by oxidation or long storage. Be sure to store in a cool, dark place and leave headspace accurately. Fresh herbs can fade during processing; that’s normal.
Gassy bubbles after storage. Active bubbling or spurting when opening indicates possible spoilage. When in doubt, throw it out. Never taste questionable jars.
Canning becomes second nature once you understand these common pitfalls. Keep notes after each batch so your next round is dialed in.
Storage, shelf life, and smart pantry rotation
Your jars have sealed—great job. Now store them properly to protect quality and safety.
Cool, dark, and dry. The ideal storage environment is 50–70°F (10–21°C), away from sunlight, heat, and moisture. Light and warmth degrade color and flavor more quickly. A pantry, closet, or basement shelf works well when conditions are stable and dry.
Shelf life. Properly processed, sealed jars of salsa typically maintain best quality for 12–18 months. Safety can extend beyond that if the seal remains intact and there are no signs of spoilage, but flavors and texture gradually decline. For peak taste, aim to rotate and use jars within a year.
Label and rotate. Write the canning date and contents on the lid or jar body. Organize shelves “first in, first out” so the oldest jars get used first. Keep a simple inventory list with projected use-by dates to avoid waste and plan next season’s batches.
After opening. Refrigerate opened salsa and use within 5–7 days. Always use a clean spoon and avoid double-dipping to minimize contamination.
Signs of spoilage. Do not consume if you see mold, cloudiness, fizzing, spurting, off-odors, or if the lid is bulging or the seal is broken. If in doubt, discard without tasting.
Transport and gifting. Cushion jars during transport and remind recipients to store in a cool, dark place. Include a note that it’s a tested recipe processed in a boiling-water canner for safety.
Storage tips for Salsa for Water-Bath Canning (Tested + Beginner-Friendly) are simple: keep it cool, dark, and organized, and you’ll enjoy bright, garden-fresh flavor all year long.
Flavor twists within safe canning rules
Once you’ve made a few batches, you’ll be tempted to customize. You can—within safety guidelines.
Heat level. Adjust the ratio of hot to mild peppers as long as the total combined pepper volume stays the same. For example, if the recipe calls for 1 1/2 cups peppers, that can be 1 1/2 cups jalapeños for a hot batch or 1 cup bell + 1/2 cup jalapeño for medium. Do not exceed the total amount of peppers.
Herbs and spices. Dried herbs and spices are generally safe to tweak. Cumin, oregano, black pepper, smoked paprika, and coriander are great in tomato salsa. Fresh cilantro can be included if the tested recipe allows it in the specified amount; otherwise add fresh cilantro to the bowl when serving.
Acid swap. You can use 5% white or apple cider vinegar, or bottled lemon/lime juice, in the same volume. Each brings a different flavor profile, but all maintain acidity. Do not reduce the volume of acid.
Tomato options. You may use any tomato variety, but paste-types yield thicker salsa. If using juicier varieties, drain chopped tomatoes briefly or simmer longer before filling jars. Avoid using green (unripe) tomatoes unless following a tested green-tomato salsa recipe, as their density and acidity differ.
Add-ins to avoid before canning. Corn, black beans, mango, peaches, tomatillos, or thickening starches require their own tested recipes and processes. Some fruit salsas are safely can-able, but they use different acid and fruit ratios—follow a tested fruit salsa recipe rather than adapting this one. Beans and corn salsas are usually pressure-canned or prepared as refrigerator/freezer salsas only.
Smoky notes. To add a gentle smoke flavor, use a pinch of smoked paprika or chipotle powder (dehydrated, ground), which won’t alter acidity. If you want roasted flavor, roast tomatoes and peppers first, then chop and measure within the same total volumes before simmering.
Texture control. For a thicker, restaurant-style texture, cook the salsa a bit longer before filling jars. Alternatively, strain excess liquid from tomatoes before cooking. Avoid blending to a dense puree; that can impact heat penetration in the jar.
These tweaks keep the recipe safe while giving you a signature flavor that matches how you love to eat salsa.
Serving ideas and homestead pantry planning
Canned salsa might be the most versatile jar in your pantry. It’s a dip, a sauce starter, and a meal-builder all in one.
Everyday meals:
- Stir into scrambled eggs or breakfast burritos for a quick kick.
- Spoon over grilled chicken, pork chops, or seared fish.
- Simmer with shredded chicken for easy tacos or enchiladas.
- Fold into rice and beans for fast, flavorful bowls.
- Spread on tortilla pizzas or flatbreads under a layer of cheese.
Entertaining:
- Serve with chips alongside pickled jalapeños and queso.
- Mix with diced avocado and fresh cilantro for a quick party salsa—add fresh lime after opening.
- Create a nacho bar with jars of mild and hot salsa, sour cream, and guacamole.
Meal prep:
- Combine a jar with browned ground beef and chili spices for 15-minute chili.
- Stir into cooked quinoa or couscous with black beans for speedy lunches.
- Whisk with olive oil for a zesty marinade.
Garden planning and batch strategy. Track how many jars your household uses in a year and work backwards to plant enough paste tomatoes, onions, and peppers. If you use 26 jars annually (one every other week), plan two canning days—one midsummer, one late summer. Keep your canning setup organized in a bin so you can load the canner efficiently.
Recommended resources for self-reliant canners:
- Build a productive, year-round homestead pantry with The Self-Sufficient Backyard.
- Stock more shelf-stable, no-fridge staples and recipe ideas with The Lost Superfoods.
- Safe water is non-negotiable for canning and daily life; boost resilience with The AquaTower.
With a few good tools and a plan, salsa becomes a gateway project to a deeper, smarter pantry you can rely on all year.
Conclusion
You now have everything you need to make Salsa for Water-Bath Canning (Tested + Beginner-Friendly) at home—safely and confidently. Stick to the tested ratios, use 5% vinegar or bottled citrus, and process pint jars for the proper time based on your altitude. From ingredient selection to troubleshooting and storage, this guide equips you to fill your shelf with jars of bright, zesty salsa that turn everyday meals into something special.
Ready for the next step? Explore more canning basics, organize your pantry, and plan a productive garden so this recipe becomes a year-round staple.
FAQ
Can salsa be safely water-bath canned at home?
Yes—if you use a tested recipe that maintains proper acidity with 5% vinegar or bottled lemon/lime juice and you process the jars for the correct time at your altitude. Most safe salsa recipes are for pint jars only, because salsa is dense and requires adequate heat penetration.
Why must salsa recipes be tested for canning safety?
Tomatoes are borderline acidic, and salsa includes low-acid ingredients like onions and peppers. Tested recipes ensure the overall acidity (pH) stays low enough to prevent botulism, making water-bath canning appropriate. Tested recipes also specify jar size, headspace, and processing times for safe heat penetration.
How long does canned salsa last in the pantry?
For best quality, use within 12–18 months when stored in a cool, dark, dry place. As long as the seal remains intact and there are no signs of spoilage, jars can remain safe longer, but flavor and texture gradually decline. After opening, refrigerate and use within 5–7 days.
Can you adjust the spice level without changing safety?
Yes. You may swap hot and mild peppers within the total pepper volume specified by the tested recipe. For instance, if the recipe allows 1 1/2 cups peppers, that can be any combination of bell and hot peppers totaling 1 1/2 cups. You can also freely adjust dried spices (like cumin, oregano, black pepper). Do not increase total onions, peppers, garlic, or reduce the amount of vinegar/bottled citrus.