
Introduction
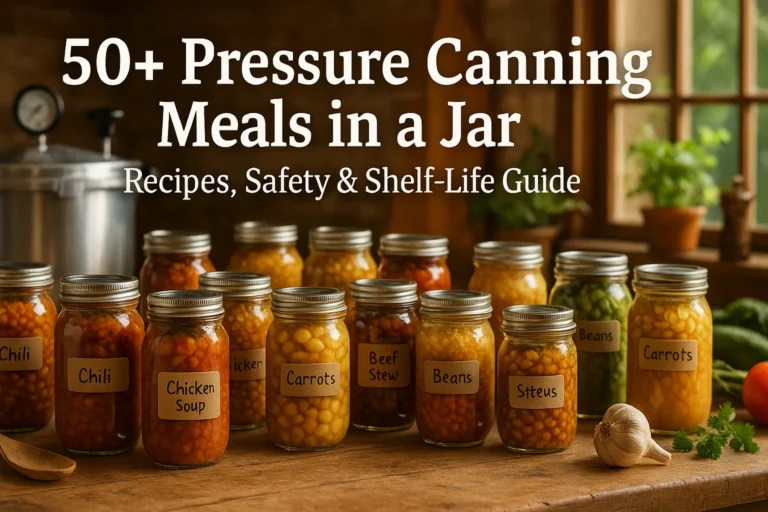
The rise of 50+ pressure canning meals in a jar has transformed how homesteaders, preppers, and busy families build long-lasting, ready-to-eat food storage. Whether you’re preparing for emergencies, stocking a self-reliant pantry, or creating convenient grab-and-heat meals, 50+ pressure canning meals in a jar offer safety, shelf stability, and incredible versatility.
For anyone wanting to master off-grid living and long-term preservation, The Self-Sufficient Backyard is an invaluable resource filled with practical canning, gardening, and food-storage strategies. Explore it here:
👉 The Self-Sufficient Backyard
In this guide, you’ll discover step-by-step pressure canning fundamentals, a curated list of 50+ pressure canning meals in a jar, food safety rules, shelf-life tips, troubleshooting help, and powerful off-grid strategies to make your pantry more resilient.
From hearty soups and protein jars to full ready-made meals, this article will help you confidently fill your shelves with nutritious, delicious pressure-canned food that lasts for years—without sacrificing flavor, safety, or quality.
Why Pressure Canning Meals in a Jar Is a Game-Changer
The popularity of 50+ pressure canning meals in a jar continues to grow as more people realize how powerful, versatile, and economical this preservation method is. When you pressure can complete meals, you’re not just storing food — you’re creating fully cooked, shelf-stable dishes that can last for years without refrigeration. This makes 50+ pressure canning meals in a jar ideal for off-grid living, emergency preparedness, homesteading, and everyday convenience.
One of the biggest benefits of preparing 50+ pressure canning meals in a jar is the ability to create fast, nutritious meals without relying on electricity. When the power goes out or resources are limited, opening a fully cooked jar of beef stew, chicken chili, or hearty vegetable soup can be life-changing. And when you combine this food preservation approach with long-term survival strategies such as those found in The Lost Superfoods, you can completely transform your pantry into a resilient, self-reliant food system.
👉 The Lost Superfoods
Pressure canning also eliminates the need for preservatives because the high heat destroys microorganisms that cause spoilage. Unlike water bath canning, which is only safe for high-acid foods, pressure canning allows you to preserve low-acid items such as meat, vegetables, soups, stews, beans, and full meals. This is why 50+ pressure canning meals in a jar is becoming the go-to method for families who want healthier, additive-free food options with a long shelf life.
For busy families, this method cuts time dramatically. Imagine preparing work lunches, last-minute dinners, and emergency meals simply by opening a jar. With 50+ pressure canning meals in a jar, meal prepping becomes easier, safer, and more sustainable — especially for those striving for independence from modern food systems. As many off-grid experts have noted, the more self-reliant your pantry becomes, the less dependent you are on fragile food supply chains.
Whether you want ready-to-eat chicken soup, beef tips with vegetables, taco-in-a-jar, meat sauce, bean stews, or full entrée combinations, pressure canning offers unmatched flexibility. And since the jars store beautifully on shelves for years, 50+ pressure canning meals in a jar provides both convenience and peace of mind.
Safety First — Understanding How Pressure Canning Works
Before diving into 50+ pressure canning meals in a jar, it’s essential to understand why pressure canning is the only safe method for preserving low-acid, full meals. Unlike high-acid foods (like pickles or jams) that can be processed in a water bath, complete meals contain meats, vegetables, and broth — all of which require higher temperatures for safe preservation.
Pressure canning works by reaching temperatures of 240–250°F (116–121°C), far above the boiling point of water. This intense heat destroys Clostridium botulinum, the bacteria responsible for botulism. When you’re building a pantry of 50+ pressure canning meals in a jar, this step ensures every jar is shelf-stable, safe, and capable of long-term storage.
Many new canners are surprised to learn that botulism spores can survive normal boiling. This is why pressure canning — not oven canning, not inversion sealing, not boiling water baths — is the only safe method for complete meals. If you’ve ever wondered why canning guides emphasize strict processing times, it’s because those times were calculated to ensure heat fully penetrates the jar, even in dense meals like chili, stew, or meat sauce.
This is also where the right equipment matters. A high-quality pressure canner consistently maintains accurate pressure, preventing under-processing. Those living off-grid often pair their pressure canning routine with preparedness tools like independent power systems. One resource many self-reliant families use is the Ultimate OFF-GRID Generator, which keeps essential kitchen appliances running even during outages.
👉 Ultimate OFF-GRID Generator
When preparing 50+ pressure canning meals in a jar, remember that safe canning is built on three pillars:
-
Temperature — Must reach pressure levels that kill bacteria.
-
Time — Must follow tested processing times.
-
Acidity level — Low-acid foods must be pressure canned.
Mastering these basics ensures your jars will remain safe, delicious, and stable for years — an essential part of off-grid preparedness, homesteading, or sustainable pantry building.
50+ Pressure Canning Meals in a Jar (Full Recipe List & Ideas)
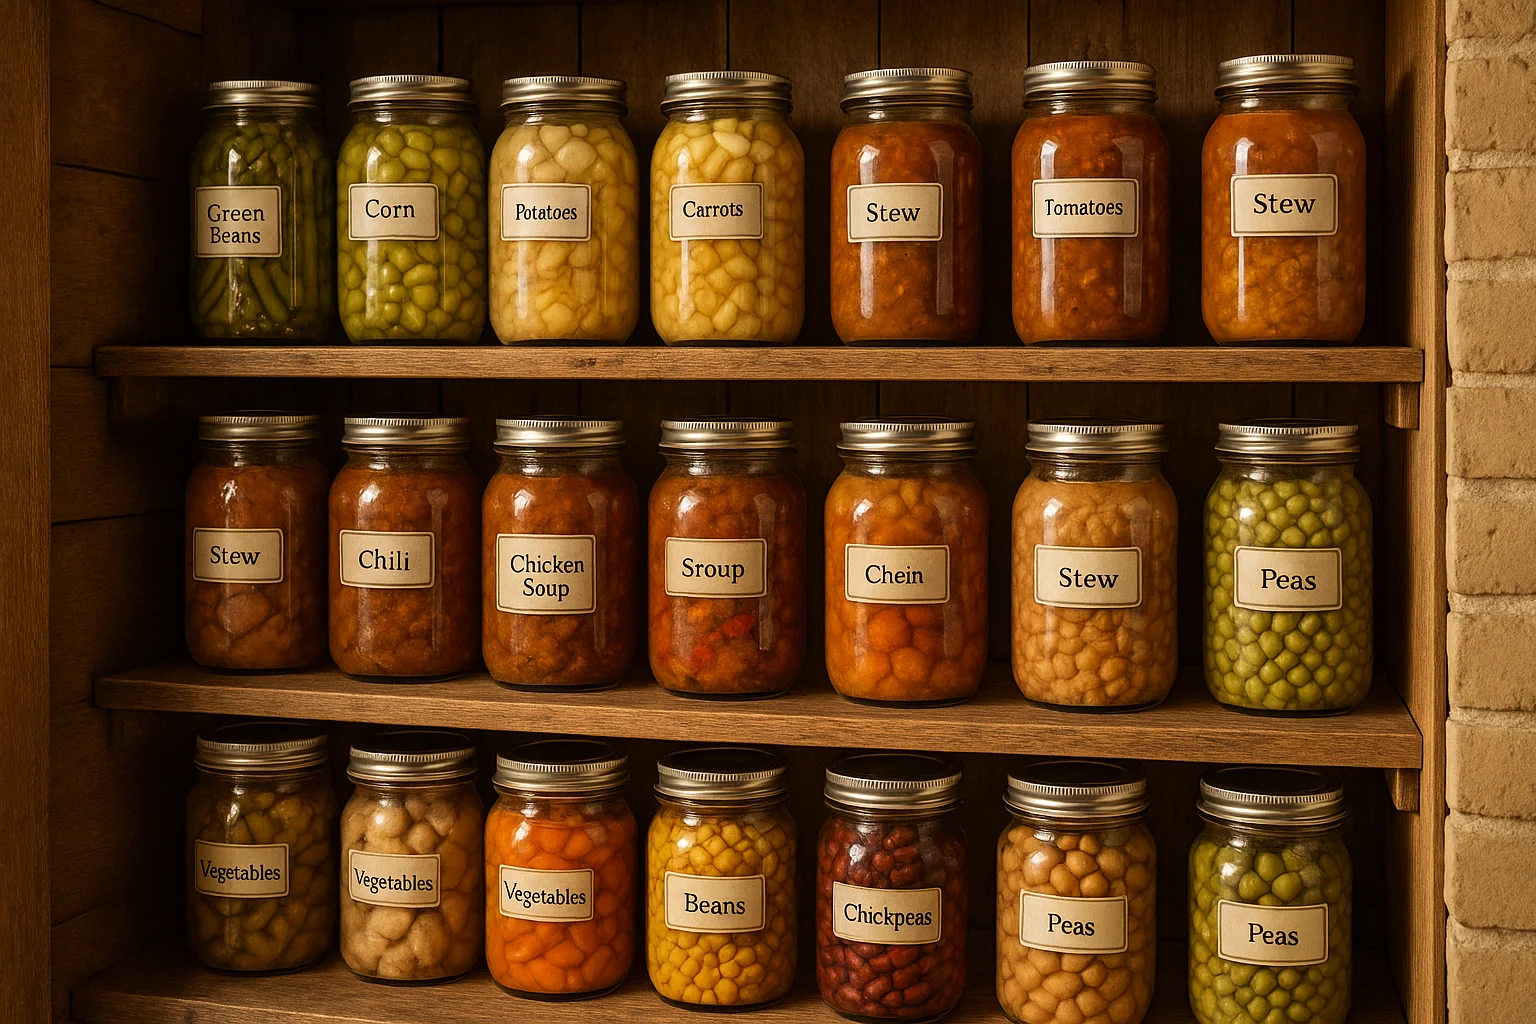
Creating 50+ pressure canning meals in a jar gives you an incredible variety of ready-made dishes that store safely for years. Whether you prefer hearty soups, full entrées, protein-rich jars, or simple heat-and-eat sides, pressure canning allows you to stock a pantry that’s nutritious, long-lasting, and perfect for off-grid living. The beauty of 50+ pressure canning meals in a jar is that every recipe can be customized to your taste while still following safe canning principles.
Below is a comprehensive list of more than 50 full meal ideas, organized by category so you can plan your canning days efficiently. If you want to expand your emergency pantry even further, the AquaTower system is a powerful addition for anyone focused on long-term survival and water independence.
👉 The AquaTower
Complete Meal Jars
These full entrées are ideal for fast weeknight dinners or emergency-ready meals:
-
Beef stew with potatoes & carrots
-
Chicken and vegetable pot pie filling
-
Turkey dinner in a jar (turkey, gravy base, veggies)
-
Sausage, peppers & onions
-
Pork carnitas
-
Chicken fajita filling
-
Beef stroganoff base (no dairy)
-
BBQ pulled chicken
-
Ham & bean dinner
-
Smoked sausage & cabbage
Soups, Stews & Chili
These are classics in the world of 50+ pressure canning meals in a jar:
-
Chicken noodle soup (add pasta after opening)
-
Beef chili
-
Chicken chili verde
-
Split pea soup with ham
-
Lentil vegetable soup
-
Chicken tortilla soup (no tortillas in jar)
-
Vegetable beef soup
-
Minestrone base
-
Tomato beef soup
-
Turkey chili
Protein Jars (Single-Meat Jars)
These jars give you maximum flexibility:
-
Cubed chicken breast
-
Chicken thighs
-
Ground beef
-
Ground turkey
-
Cubed beef
-
Pork loin chunks
-
Italian sausage crumbles
-
Breakfast sausage (pre-cooked)
-
Ham cubes
-
Bacon ends & pieces
Ready-to-Heat Side Dishes
Perfect for filling in meals or pairing with protein jars:
-
Seasoned black beans
-
Pinto beans with onions
-
Refried beans base
-
Baked beans
-
Red beans with smoked sausage
-
Vegetable medley (carrots, cauliflower, green beans)
-
Sweet potatoes
-
Collard greens
-
Green beans with garlic
-
Carrot & potato mix
Off-Grid & Emergency Meal Jars
These meals prioritize long shelf life, high calories, and nutrient density — ideal for preparedness:
-
Cowboy beans
-
Spicy taco meat base
-
Chicken rice soup (no rice in jar)
-
Potato soup starter (no milk)
-
Meat sauce for pasta
-
Hearty venison stew
-
Wild game chili
-
Rustic vegetable stew
-
Survival bean medley
-
Protein-packed stew with mixed meats
-
Homestead vegetable soup with bone broth
-
Root vegetable stew
For families focused on preparedness, The Lost Superfoods remains one of the most valuable collections of emergency-proof recipes and traditional preservation methods.
👉 The Lost Superfoods
These 50+ pressure canning meals in a jar give you endless variety while ensuring that every jar is safe, flavorful, and fully cooked. By rotating these ideas, you can easily maintain a pantry capable of feeding your family through emergencies, power outages, or busy everyday life.
What NOT to Pressure Can (Foods That Fail or Become Unsafe)
When creating 50+ pressure canning meals in a jar, it’s essential to know which foods cannot be safely preserved under any circumstances. Pressure canning is extremely powerful and kills dangerous bacteria like Clostridium botulinum, but not all ingredients hold up to the high heat or maintain safe pH and density levels. Using the wrong foods can cause spoilage, texture failure, or even create unsafe jars that shouldn’t be consumed.
Understanding what not to include ensures your 50+ pressure canning meals in a jar remain safe, shelf-stable, and high quality for years. Below are the most important foods to avoid — these align with USDA and NCHFP safety standards.
1. Dairy Products (Milk, Cream, Cheese, Butter)
Dairy curdles, separates, and becomes unsafe when pressure canned.
Do not add:
-
Cream soups
-
Milk-based sauces
-
Cream cheese or sour cream
-
Butter
If your meal needs dairy, add it after opening the jar.
2. Thickening Agents (Flour, Cornstarch, Roux, Gravy)
Thickened foods prevent heat from fully penetrating the jar, creating unsafe pockets where bacteria can survive.
Avoid:
-
Flour-thickened soups
-
Cornstarch or arrowroot mixes
-
Gravies
-
Canned Alfredo or cheese sauces
Instead, can the base and thicken on the stove later.
3. Pasta, Rice, and Other Starches
This is one of the most important rules for 50+ pressure canning meals in a jar.
Pasta, rice, and grains turn mushy and clog heat circulation.
Do not add:
-
Cooked pasta
-
Uncooked pasta
-
Cooked rice
-
Uncooked rice
-
Quinoa, oats, or barley
Instead, add noodles or rice after opening the jar.
4. Eggs and Egg-Based Dishes
Egg proteins break down and become rubbery or unsafe.
Never pressure can:
-
Scrambled eggs
-
Omelets
-
Custards
-
Mayonnaise or egg-based dressings
5. Dense Purees (Pumpkin, Squash, Sweet Potato Puree)
These items are too thick for safe heat penetration.
You can can cubes of pumpkin or squash — but never purée them.
6. Fats, Oils, and Large Amounts of Grease
Too much fat reduces shelf life and can create a poor seal.
Trim meats and drain grease before adding to jars.
7. Noodles, Dumplings, Biscuits, and “Meal Kits”
These collapse under pressure and create density issues.
Always add them after opening the jar.
8. Certain Vegetables
Some vegetables simply don’t can well due to texture or safety:
Avoid:
-
Broccoli (turns to mush)
-
Brussels sprouts (strong odor)
-
Eggplant (texture failure)
-
Cabbage (unless in soups or stews only)
9. Thickeners Hidden in Ingredient Lists
Avoid canned soups, commercial gravies, or packaged sauces used inside recipes — these often contain hidden starches, gums, or stabilizers that affect safety.
When you honor these guidelines, your 50+ pressure canning meals in a jar stay safe, nutritious, and shelf-stable for years. For those wanting deeper food-storage strategies, The Self-Sufficient Backyard offers some of the best homesteading preservation knowledge available.
👉 The Self-Sufficient Backyard
How Long Pressure Canned Food Lasts (Shelf-Life & Storage Guide)
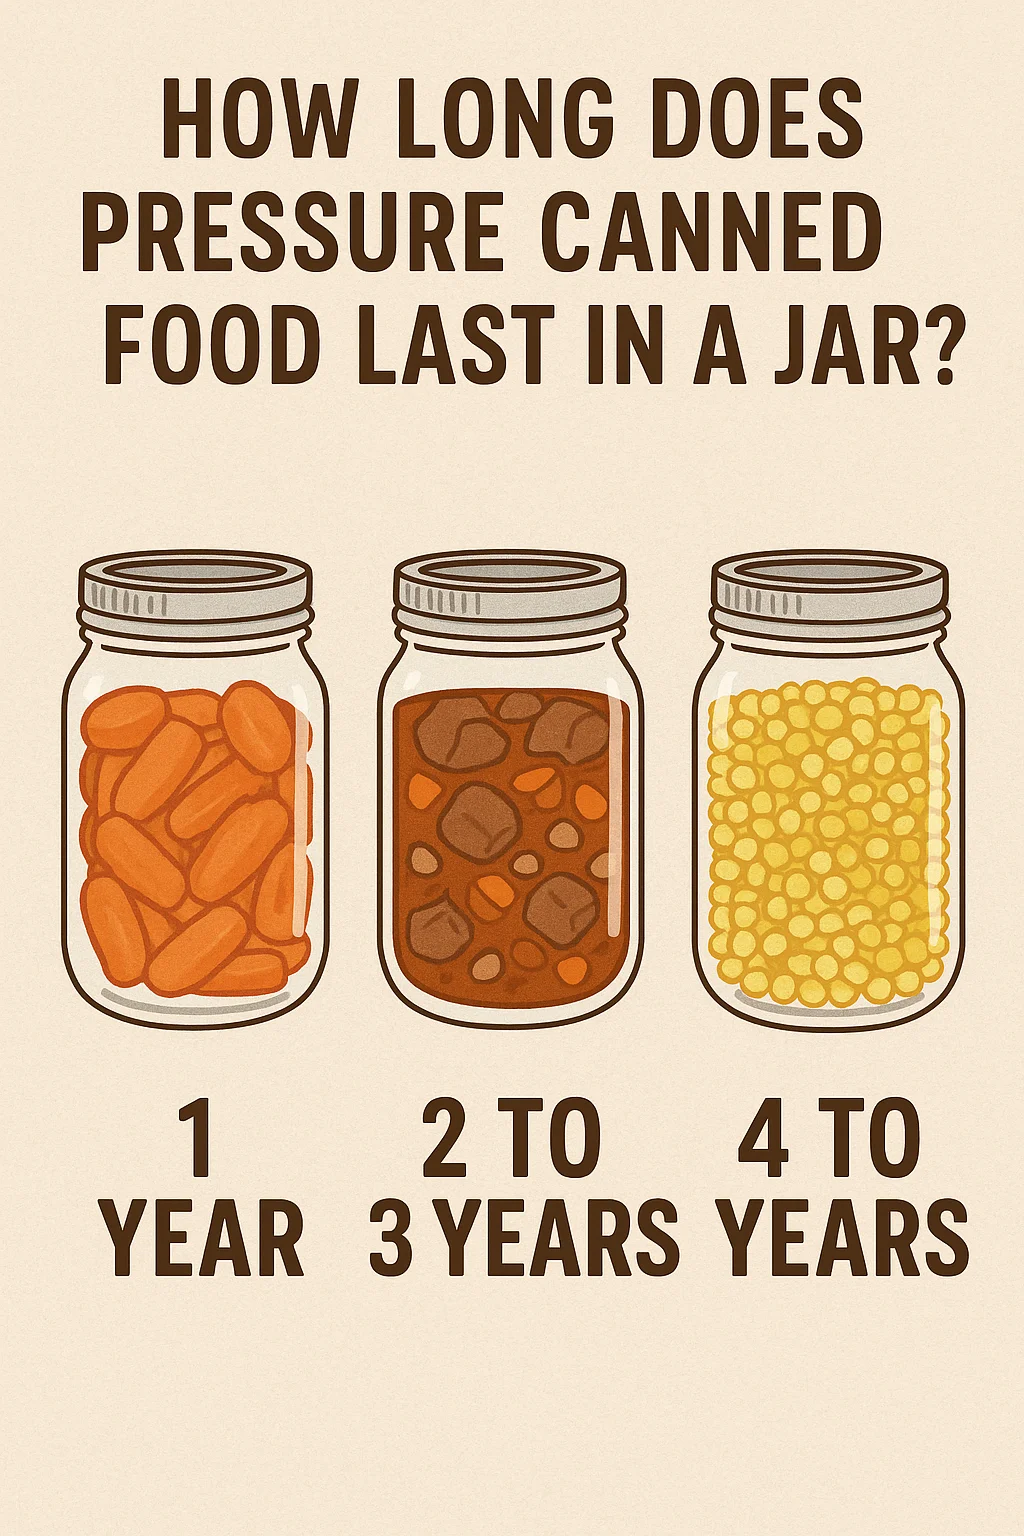
When building a pantry filled with 50+ pressure canning meals in a jar, understanding shelf life is crucial. One of the greatest advantages of pressure-canned meals is that they can last years while retaining safety, nutrition, and flavor. Unlike store-bought canned foods filled with preservatives, pressure-canned meals rely purely on heat and proper processing to remain shelf-stable.
Most properly stored 50+ pressure canning meals in a jar last 2–5 years, and many remain safe even longer. The official recommendation from the National Center for Home Food Preservation is 12–18 months for best quality, but experienced homesteaders know that well-prepared jars often stay high-quality far beyond that. As long as the seal remains intact and the food looks and smells normal, it’s typically safe to consume.
However, shelf life depends heavily on storage conditions. Light, humidity, and temperature all influence how long your 50+ pressure canning meals in a jar maintain peak flavor and nutrition. Storing jars in a cool, dark pantry—ideally between 50–70°F (10–21°C)—will extend their life dramatically. Heat is the number-one enemy of long-term food storage.
One reason pressure-canned meals excel in long-term storage is that the canning process removes oxygen and kills microorganisms that cause spoilage. Once sealed, jars become micro-environments, fully protected from external contamination. But while pressure canning is incredibly reliable, regular inspections are essential. Always check for rusted lids, broken seals, bubbling, cloudiness, or unusual odors before consuming.
In preparedness scenarios or off-grid living, having 50+ pressure canning meals in a jar becomes a huge advantage. A pantry full of ready-to-eat meals means immediate food security—no cooking, no electricity, no refrigeration needed. This is where tools like the Ultimate OFF-GRID Generator play a vital role, ensuring you can safely preserve food during outages or remote living conditions.
👉 Ultimate OFF-GRID Generator
To make your jars last even longer, rotate them using the FIFO method (First In, First Out). This keeps your supply fresh and ensures nothing gets forgotten. Labeling jars with the processing date is a simple but powerful habit.
With proper storage habits, your 50+ pressure canning meals in a jar will form the backbone of a long-term, reliable, nutritious pantry—perfect for emergencies, winter months, travel, or everyday convenience.
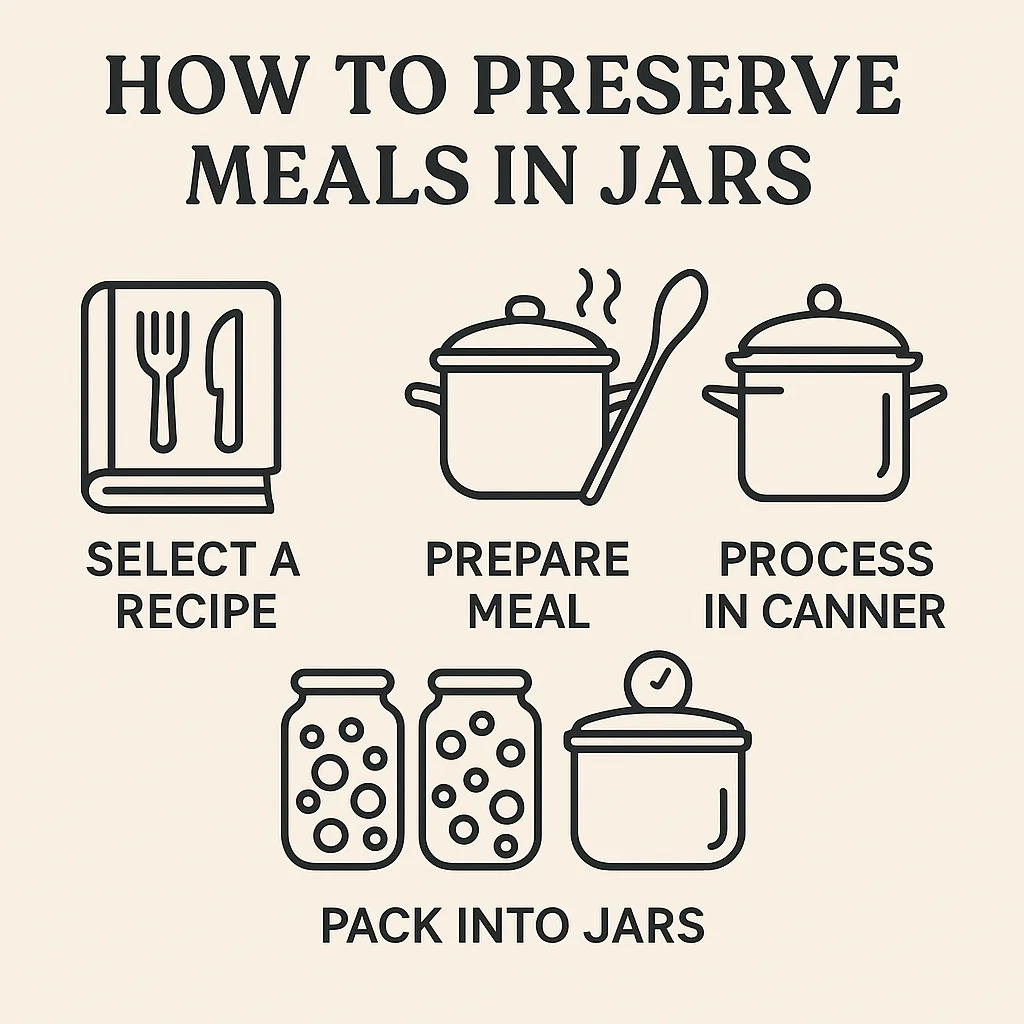
How to Preserve Meals in Jars the Right Way (Step-by-Step Method)
To get the best results from your 50+ pressure canning meals in a jar, you must follow a precise and safe process. Pressure canning isn’t complicated, but it is methodical. Each step ensures your jars seal properly, your meals stay shelf-stable, and your food retains the best flavor and texture for years. If you’ve ever wondered how homesteaders maintain massive pantries of ready-made jars, this is the exact method they use.
The foundation of safely preparing 50+ pressure canning meals in a jar begins with proper jar selection, appropriate headspace, correct venting, and accurate processing times. Shortcuts can compromise safety, so consistency is key. Always start with clean jars, quality ingredients, and reliable instructions from trusted sources like the USDA or the National Center for Home Food Preservation.

Below is the exact process used by seasoned canners to ensure every jar seals safely and lasts long-term:
1. Start With the Right Jars
Use only Mason-style canning jars designed for high heat. Avoid commercial jars like pickle or pasta sauce jars which can crack under pressure.
Best choices:
-
Wide-mouth pint jars
-
Wide-mouth quart jars
These sizes work best for 50+ pressure canning meals in a jar, especially for soups, stews, and entrée bases.
2. Pre-Cook Ingredients Properly
For safety and texture:
-
Brown or pre-cook all meats
-
Soften root vegetables
-
Par-boil beans (or soak overnight)
This ensures even heat distribution during processing.
3. Maintain Correct Headspace
Most meals require 1 inch of headspace.
Thicker meals or those heavy with meat may need 1¼ inches.
Headspace mistakes are one of the most common causes of siphoning or seal failure in 50+ pressure canning meals in a jar.
4. Add Boiling Liquid
Pour hot broth, boiling water, or hot tomato base into the jars.
This:
-
Removes air pockets
-
Improves heat penetration
-
Helps avoid jar breakage
Never add cold liquid to hot jars.
5. De-Bubble Thoroughly
Use a de-bubbler tool or non-metal spatula.
Hidden air pockets can prevent proper sealing.
6. Wipe the Rims and Apply Lids
Use a paper towel dipped in vinegar to wipe rims.
This removes grease, residue, or particles.
Add:
-
Lids
-
Rings (finger tight)
7. Vent (Exhaust) the Canner for 10 Minutes
Place your loaded jars in the pressure canner.
Bring it to a steady stream of steam and allow it to vent for 10 full minutes.
This removes trapped air and ensures accurate pressure.
8. Process at the Correct Pressure
This depends on your altitude:
-
0–1000 ft: 10 PSI (dial gauge) or 11 PSI (weighted)
-
Above 1000 ft: 15 PSI
Processing time ranges from 60–90 minutes based on jar size and ingredients.
9. Cool the Canner Naturally
Never force-cool a canner.
Let pressure return to zero naturally before opening.
10. Let Jars Rest for 12–24 Hours
Remove jars carefully and set them on a towel.
Allow them to cool naturally (do not tip, shake, or tighten lids).
Check seals after 12–24 hours.
11. Label, Store, and Rotate
Label jars with:
-
Contents
-
Date
-
Batch number (optional)
Store in a cool, dark place.
Rotate oldest jars forward for consistency.
A Bonus Step for Off-Grid Builders
If you’re preparing 50+ pressure canning meals in a jar to build a fully self-sufficient pantry, reliable water access is essential. The AquaTower provides a clean-water solution that pairs perfectly with home preservation and disaster preparedness.
👉 The AquaTower
Troubleshooting Common Pressure Canning Issues
Even experienced homesteaders occasionally run into problems when making 50+ pressure canning meals in a jar. Jars may siphon, fail to seal, or develop cloudy liquid — all of which can be frustrating if you’re preparing large batches of meals for long-term storage. The good news? Most issues have simple explanations and easy fixes.
Understanding the most common mistakes and troubleshooting them quickly will help ensure that your 50+ pressure canning meals in a jar turn out safe, stable, and shelf-ready every time.
1. Siphoning (Liquid Loss)
What it looks like:
Jars lose some liquid during processing.
Why it happens:
-
Pressure fluctuated
-
Canner wasn’t vented long enough
-
Overfilling jars
-
Temperature changes too fast
How to fix it:
-
Always vent for 10 full minutes
-
Keep steady pressure throughout processing
-
Avoid quick-cooling the canner
➡ Note: Jars that siphon can still be safe if the seal is intact.
2. Jars Not Sealing
This is one of the most common issues when creating 50+ pressure canning meals in a jar.
Causes include:
-
Food on the rim
-
Bent or damaged lids
-
Rings too tight or too loose
-
Insufficient heat during processing
Fix:
-
Wipe rims with vinegar
-
Use new lids every time
-
Tighten rings only “finger tight”
Unsealed jars must be refrigerated and eaten within 3–4 days — or reprocessed within 24 hours.
3. Cloudy Liquid
If jars appear cloudy, don’t panic.
Safe reasons:
-
Starches from potatoes
-
Minerals in water
-
Fat residue
Unsafe reasons:
-
Spoilage
-
Fermentation
-
Bacterial growth
If in doubt, throw it out.
4. Food Floating in the Jar
This is common in 50+ pressure canning meals in a jar, especially with meat or vegetables.
Why it happens:
-
Packing jars too loosely
-
Air trapped in ingredients
-
Natural separation
Fix:
-
Pack food more densely
-
De-bubble thoroughly
-
Use hot packing method
Floating food is safe as long as the seal is good.
5. Texture Breakdown
Some foods naturally soften when canned.
Common examples:
-
Potatoes
-
Carrots
-
Beans
-
Cabbage in soups
To improve texture:
-
Use firmer vegetables
-
Do not overcook before canning
-
Can ingredients separately if needed
6. Rusty Lids or Rings
This can shorten shelf life.
Solutions:
-
Store jars in a low-humidity pantry
-
Remove rings after 24 hours
-
Check jars regularly
Rust doesn’t impact sealed jars but can eventually weaken lids.
7. Darkening of Food
Oxidation is normal long-term.
Causes:
-
Light exposure
-
Natural ingredient darkening
-
Small amounts of air in jar
Fix:
-
Store in a dark, cool space
-
Keep jars in cabinets or boxes
8. Jars Breaking in the Canner
This is rare but usually caused by:
-
Using commercial (non-Mason) jars
-
Sudden temperature changes
-
Cracks or chips in the jar
Always inspect jars before filling.
9. Overfilled Jars (Loss of Headspace)
This can cause siphoning or sealing failures.
Fix:
-
Measure headspace carefully (usually 1 inch)
-
Adjust ingredients before processing
10. Metallic or “Tinny” Flavor
Often caused by:
-
Hard water minerals
-
Cooking acidic foods in aluminum pans
-
Old lids
Use stainless steel pots and filtered water for best flavor.
Troubleshooting these issues ensures your 50+ pressure canning meals in a jar remain premium quality for long-term use. If you’re building a full off-grid pantry, many homesteaders pair pressure canning with sustainable living systems like The Self-Sufficient Backyard, which teaches water management, food security, and long-term resilience.
👉 The Self-Sufficient Backyard
Essential Tools for Pressure Canning Meals in a Jar
To successfully prepare 50+ pressure canning meals in a jar, you need the right equipment. The tools you choose directly affect safety, food quality, and the overall efficiency of your canning routine. Whether you’re a beginner or a seasoned homesteader, investing in reliable canning gear ensures consistent results and long-term pantry stability.
Building an off-grid or emergency-ready kitchen becomes much easier when your tools are designed for durability and safety. Below is a complete list of the essential tools required to make 50+ pressure canning meals in a jar with confidence.
1. Pressure Canner (The Most Important Tool)
This is non-negotiable.
A pressure canner is required to safely preserve low-acid foods like meats, vegetables, beans, soups, and full meals.
Look for features like:
-
Accurate pressure gauge
-
Metal-to-metal seal (or high-quality gasket)
-
16–23 quart capacity
-
Sturdy handles
-
Easy-to-read dials
Two popular types:
-
Dial-gauge canners (require calibration)
-
Weighted-gauge canners (more beginner-friendly)
A dependable pressure canner is the foundation of safe 50+ pressure canning meals in a jar.
2. Mason Jars (Pint & Quart Sizes)
For meal storage, the best sizes are:
-
Wide-mouth pints — ideal for single servings
-
Wide-mouth quarts — perfect for full meals
Avoid jars not rated for pressure canning, such as repurposed commercial jars.
3. Two-Piece Lids (Lid + Band)
Always use new lids for each batch.
Bands can be reused unless rusty or warped.
Modern lids require just “finger tight” placement to vent steam properly.
4. Jar Lifter
This tool is critical for safely removing hot jars from the canner.
Choose a well-padded model with a firm grip.
5. Funnel (Wide-Mouth Stainless Steel)
A wide-mouth funnel keeps food off jar rims, preventing seal issues.
Stainless steel versions are easier to sanitize and last longer.
6. Bubble Remover / De-Bubbler Tool
A simple plastic tool used to release trapped air pockets.
This step prevents siphoning and ensures proper heat distribution — both crucial for safe 50+ pressure canning meals in a jar.
7. Magnetic Lid Lifter
Helps you safely grab sterilized lids from hot water without touching them.
This keeps lids free of contamination.
8. Clean Cloth & Vinegar
Use a vinegar-dampened cloth to wipe jar rims, removing fat or residue.
This dramatically reduces sealing failures.
9. Timer
Precise timing is essential.
Use a digital kitchen timer or even a phone timer to track your processing times accurately.
10. Heat Source (Stove or Off-Grid Alternative)
Pressure canners require strong, steady heat.
Most electric coil stoves, gas stoves, and propane burners work well.
For off-grid homesteaders, pairing your canning system with an energy backup is vital. Many rely on renewable systems like the Ultimate OFF-GRID Generator, which provides stable power for canning, freezing, and refrigeration—even during outages.
👉 Ultimate OFF-GRID Generator
11. Storage Shelving
To preserve your 50+ pressure canning meals in a jar, use:
-
Cool, dark storage spaces
-
Sturdy shelves
-
Earthquake straps (if needed)
-
Labels for easy rotation
Proper shelving extends jar life and keeps your pantry organized.
12. Optional but Helpful Tools
These make large-batch canning much easier:
-
Stainless steel stockpot for prepping ingredients
-
Ladle with a heat-resistant handle
-
Jar organizer trays
-
Chalk marker for labeling lids
-
Cooling racks
Why Quality Tools Matter
High-quality equipment:
-
Improves safety
-
Reduces failed seals
-
Protects your investment
-
Ensures jars last for years
-
Makes large batches more efficient
When producing 50+ pressure canning meals in a jar, your tools are your greatest asset. Investing once in proper canning gear pays off for decades of safe, homemade, shelf-stable meals.
FAQs About Pressure Canning Meals in a Jar
This section answers the most common questions people ask when preparing 50+ pressure canning meals in a jar. These FAQs clarify safety, storage, and proper methods so you can confidently build a reliable, long-lasting pantry. Each answer follows USDA and NCHFP guidelines for safe home canning.
To support a fully self-sufficient lifestyle alongside your 50+ pressure canning meals in a jar, many homesteaders also invest in comprehensive off-grid systems like The Self-Sufficient Backyard, which teaches water, energy, and food preservation strategies.
👉 The Self-Sufficient Backyard
FAQ 1: What foods cannot be pressure canned?
Several foods are unsafe or unsuitable for pressure canning because they either prevent proper heat penetration or degrade in texture. These include:
-
Dairy products (milk, cream, cheese, butter)
-
Thickening agents (flour, cornstarch, roux, gravy)
-
Pasta and rice (becomes mushy, blocks heat circulation)
-
Eggs and egg-based dishes
-
Purées of pumpkin, sweet potato, winter squash
-
Fatty meats with excessive grease
-
Certain vegetables (broccoli, eggplant, Brussels sprouts)
When creating 50+ pressure canning meals in a jar, always refer to tested recipes to prevent spoilage or unsafe jars.
FAQ 2: Do you turn jars upside down to seal?
No — never.
Turning jars upside down (inversion method) is an outdated and unsafe practice. It does not reach temperatures required to kill bacteria like Clostridium botulinum and can cause weak or incomplete seals.
For all 50+ pressure canning meals in a jar, jars should:
-
Be processed in a proper pressure canner
-
Cooled upright
-
Be left undisturbed for 12–24 hours
This ensures a safe vacuum seal every time.
FAQ 3: How long does pressure canned food last in a jar?
Properly processed and stored pressure-canned meals generally last:
-
2–5 years safely
-
12–18 months for peak quality (NCHFP guideline)
Your 50+ pressure canning meals in a jar may remain high-quality far beyond the “best use” timeline when stored in:
-
Cool temperatures (50–70°F)
-
Dark locations
-
Low humidity environments
Always check jars before opening. Signs of spoilage include broken seals, bubbling, cloudiness, or off smells.
FAQ 4: How to preserve meals in jars?
To safely preserve 50+ pressure canning meals in a jar, follow these fundamentals:
-
Use a pressure canner — non-negotiable for low-acid meals.
-
Pre-cook ingredients like meats, beans, and firm vegetables.
-
Maintain 1–1¼ inches of headspace.
-
Fill jars with hot broth or liquid to ensure even heat distribution.
-
De-bubble thoroughly before sealing.
-
Process at correct PSI based on altitude.
-
Cool jars naturally, then check seals.
-
Label and store jars properly for long-term use.
For those aiming to preserve food in off-grid conditions, having an independent water source like the AquaTower can make home preservation easier and more sustainable.
👉 The AquaTower
Conclusion
Mastering 50+ pressure canning meals in a jar is one of the most powerful skills any homesteader, prepper, or self-reliant family can learn. With the right tools, safe methods, and well-tested recipes, you can create a full pantry of nutritious, ready-to-eat meals that last for years. This method not only saves time and money but also gives you incredible peace of mind—especially in emergencies, power outages, or off-grid living situations.
By choosing simple ingredients, avoiding unsafe foods, and following the proper steps for venting, headspace, and PSI levels, your 50+ pressure canning meals in a jar become a reliable, long-term food source. Whether you’re storing chili, beef stew, chicken soup, seasoned beans, or full meal starters, each jar represents security, convenience, and independence from the fragile modern food chain.
If you’re committed to building a self-sufficient lifestyle, pairing your canning routine with survival systems like The Lost Superfoods can elevate your long-term food storage plan. Many families also integrate renewable power or water systems to strengthen their off-grid resilience.
👉 The Lost Superfoods
With every jar you fill, you take a step toward long-term security, freedom, and sustainability. Your shelves are no longer just storage—they’re a living investment in your family’s future.