
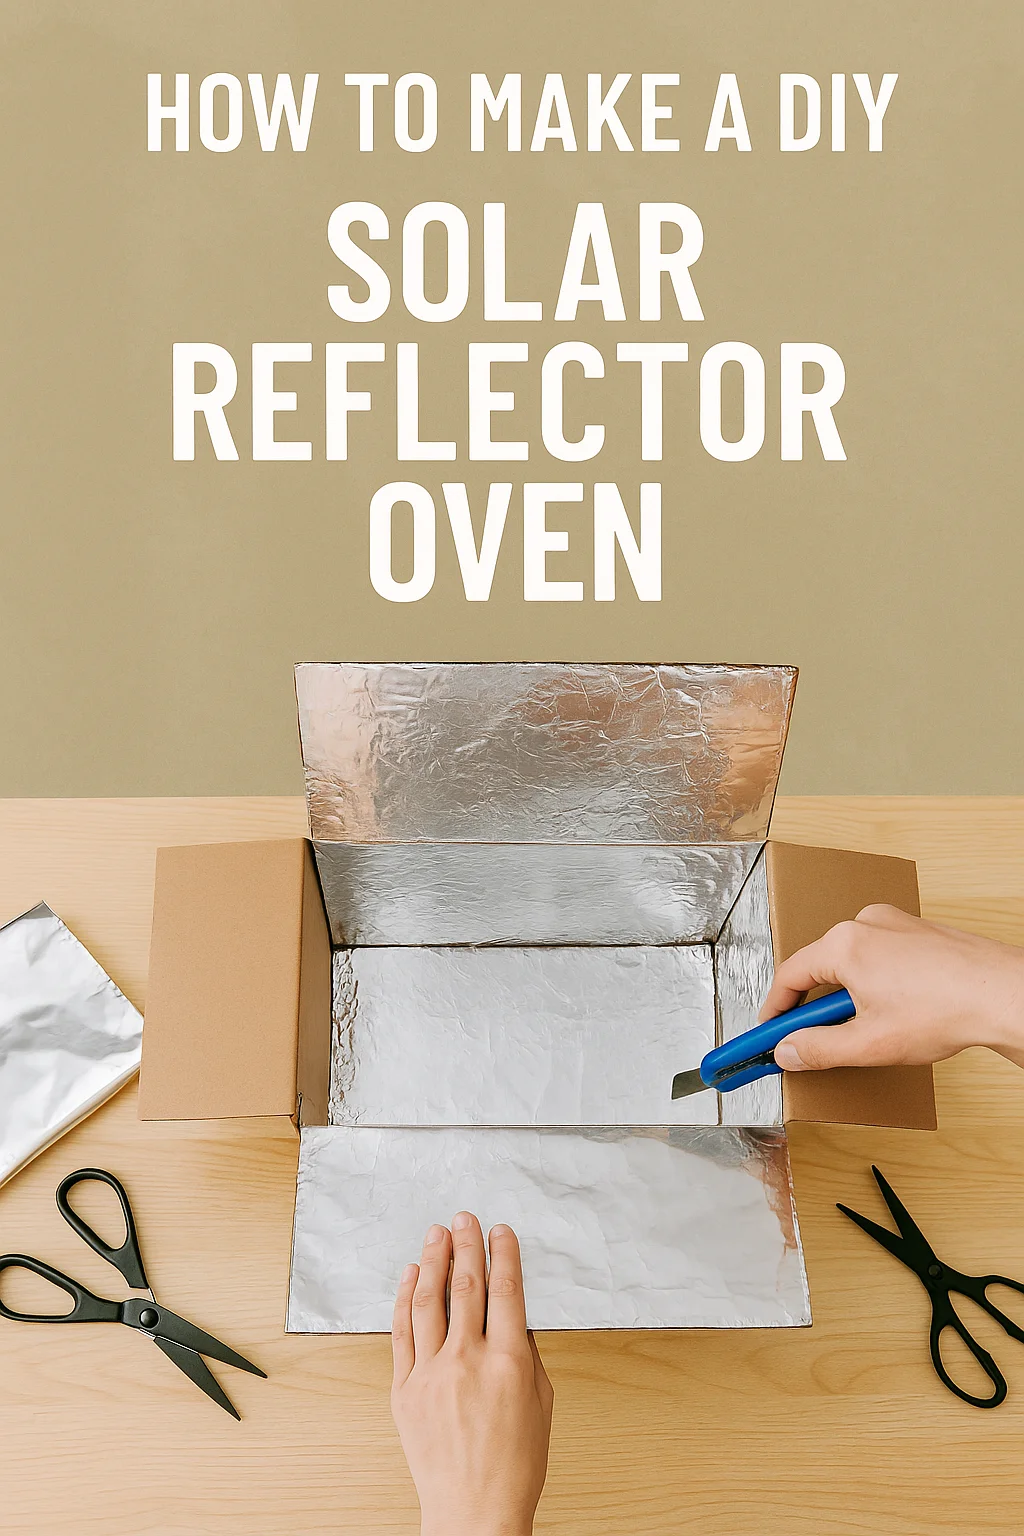
Why a DIY Solar Reflector Oven Is More Than Just a Project
There’s something powerful about harnessing nature to meet your needs—especially when it comes to food. A DIY solar reflector oven allows you to cook delicious meals using nothing but sunlight. No propane. No electricity. Just clean, renewable energy. If you’re seeking a way to live more sustainably, reduce your utility bills, or prepare for emergencies, building your own solar oven is a fantastic starting point.
Whether you’re a homesteader, an off-grid enthusiast, or a weekend camper, this project gives you a sense of control and independence that few modern appliances can match. Best of all? It’s easy, affordable, and incredibly rewarding.
What Is a DIY Solar Reflector Oven and How It Works
Basic Principles of Solar Cooking
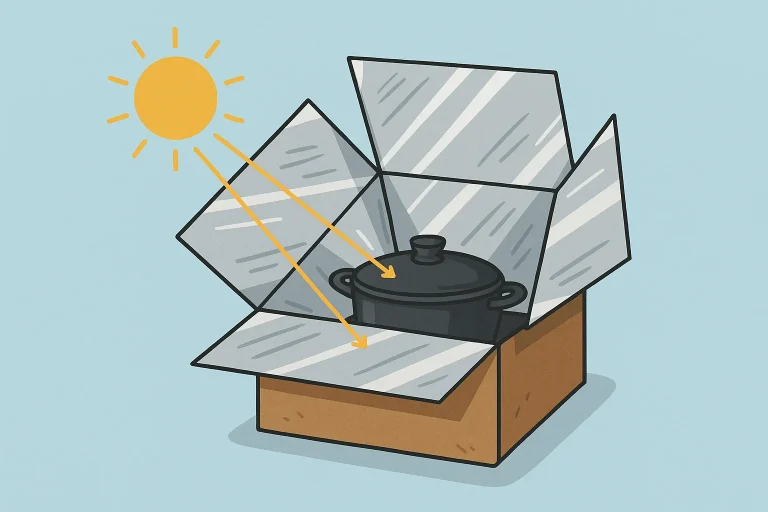
Solar ovens capture and concentrate sunlight to heat food. They use reflective materials to bounce light into a chamber where the heat is trapped, much like a greenhouse. Over time, the temperature rises enough to cook food safely and effectively.
Types of Solar Ovens
Before diving into the build, here’s a quick comparison of solar oven types:
- Box ovens: Simple insulated boxes with a clear top and reflective flaps
- Parabolic reflectors: Curved mirrors or panels that focus sunlight into a single point
- Panel reflectors: A hybrid design using flat panels around a central cooking area
For this guide, you’ll be building a panel-style DIY solar reflector oven, which is great for beginners and very effective.
Materials Needed for a DIY Solar Reflector Oven
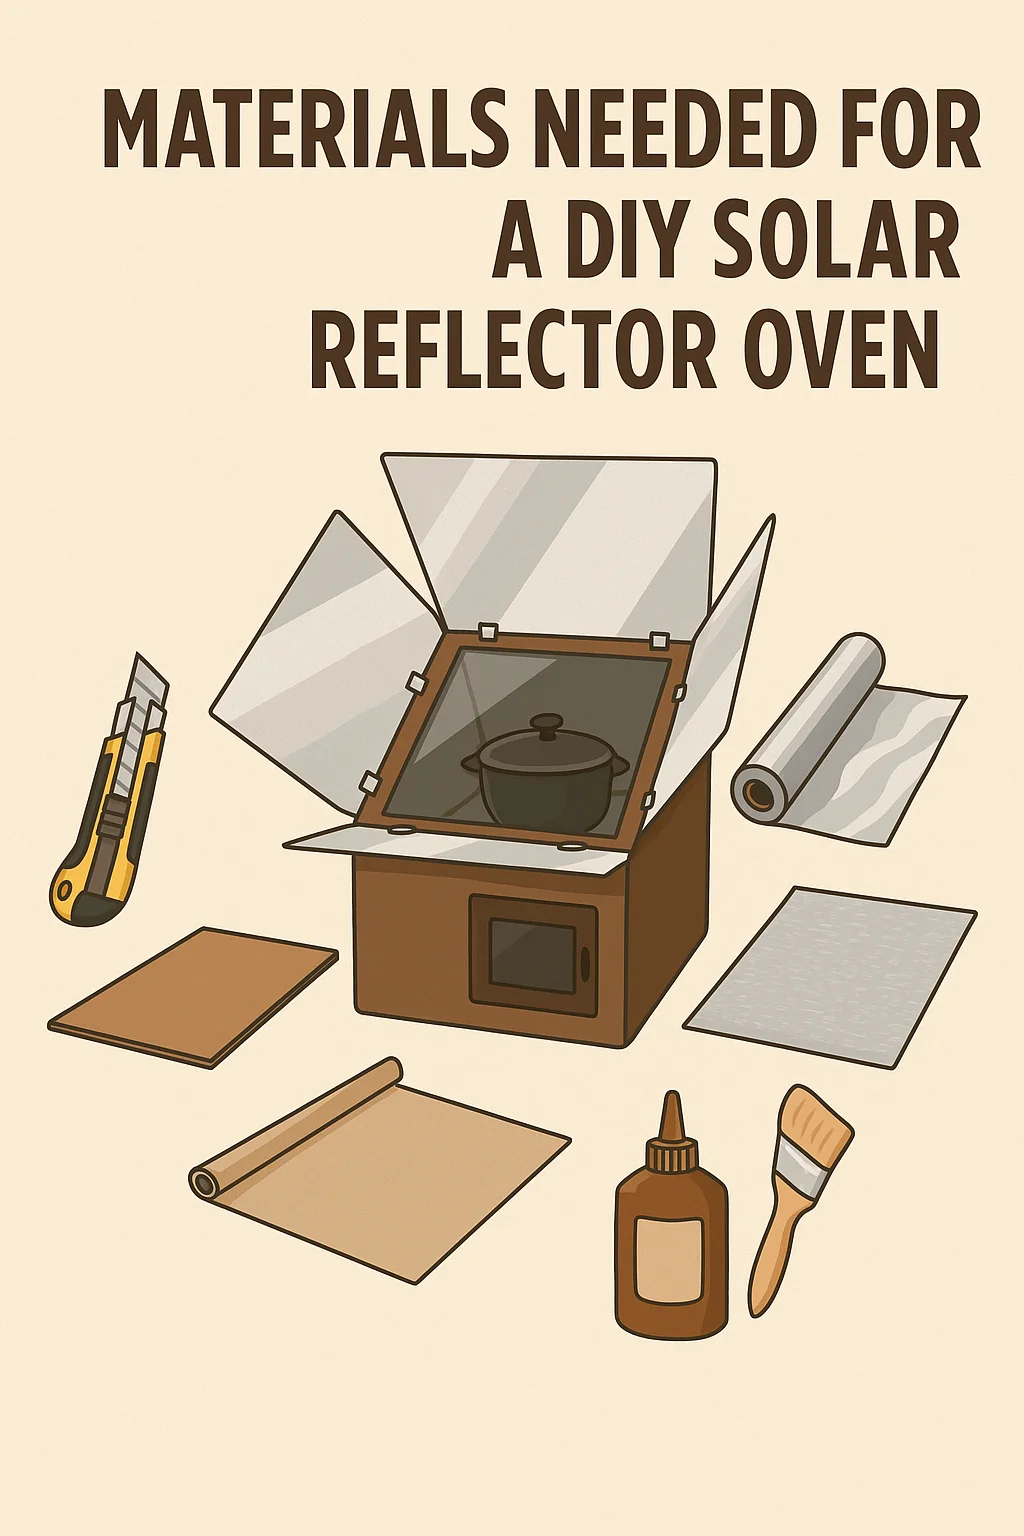
| Material | Quantity | Purpose |
|---|---|---|
| Cardboard boxes | 2-3 | Main structure of the oven |
| Aluminum foil | 1 roll | Reflective surface for panels |
| Black cooking pot with lid | 1 | Heat absorption and food container |
| Glass pane or oven bag | 1 | Heat-trapping cover |
| Glue or adhesive spray | As needed | To attach foil securely |
| Box cutter or scissors | 1 | For shaping the cardboard |
| Newspaper or straw | As needed | Insulation between boxes |
| Cooking thermometer (optional) | 1 | To monitor internal oven temperature |
Step-by-Step Instructions to Build Your Solar Reflector Oven
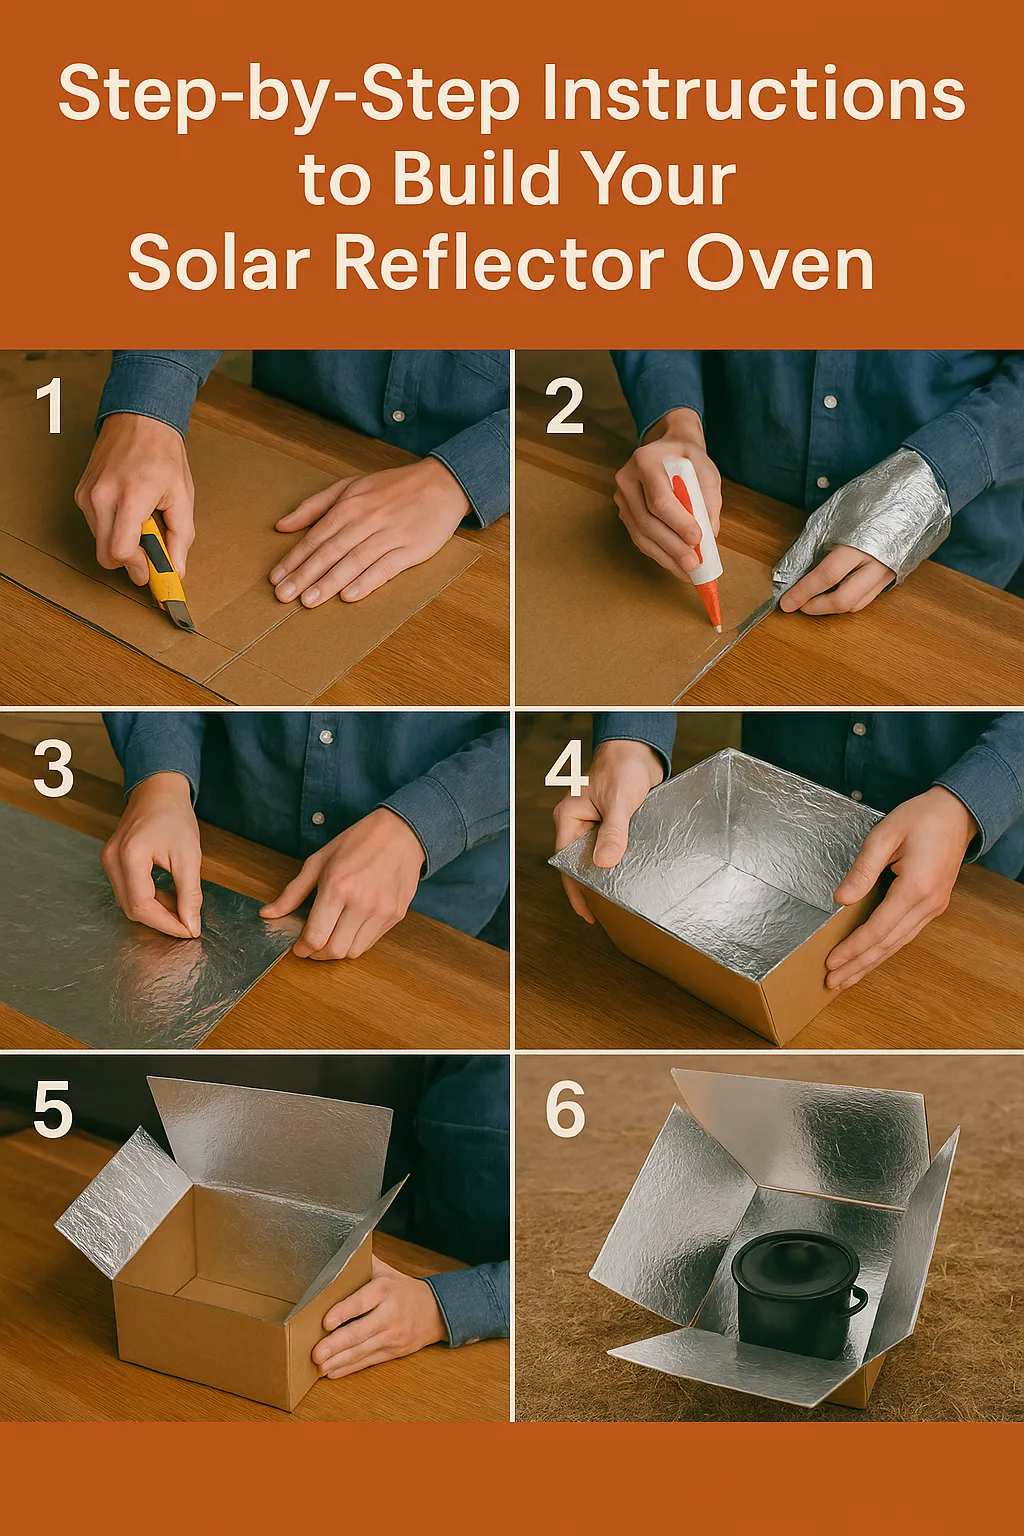
Step 1 – Construct the Oven Base
- Nest one cardboard box inside another.
- Fill the space between with insulation like straw or crumpled newspaper.
- This helps retain heat inside the oven.
Step 2 – Line the Interior
- Line the inside of the inner box with aluminum foil.
- Ensure the shiny side is facing up.
- Glue it in place with adhesive spray.
Step 3 – Make the Reflective Flaps
- Cut four cardboard panels to act as reflectors.
- Cover each with foil, again shiny side out.
- Attach to the top of the oven so they can open outward like flower petals.
Step 4 – Add the Cooking Chamber
- Place the black pot in the center.
- Cover the top of the box with a glass pane or oven bag.
- This creates a mini greenhouse effect, trapping heat.
Step 5 – Position Your Oven
- Place your oven outdoors, angled toward the sun.
- Reposition every 30–60 minutes to follow the sunlight.
- Use bricks to keep it stable on windy days.
Now that you’ve built your own DIY solar reflector oven, why not go even further?
🌱 If you’re ready to master sustainable cooking, food production, energy use, and water management, explore The Self-Sufficient Backyard.
It’s a comprehensive guide created by off-grid homesteaders who live the life every day. Learn proven strategies for energy-efficient cooking, water collection, composting, and even greenhouse gardening. This isn’t theory—it’s the field-tested playbook you wish you had years ago.
Recipes to Try in Your DIY Solar Reflector Oven
Solar Bread Rolls
| Ingredient | Amount |
|---|---|
| All-purpose flour | 2 cups |
| Dry yeast | 1 packet |
| Warm water | 3/4 cup |
| Sugar | 1 tbsp |
| Salt | 1 tsp |
Instructions: Mix ingredients, knead the dough, let it rise. Preheat oven for 30 minutes. Place dough in dark pot and bake for 1.5–2 hours.
Solar Baked Beans
| Ingredient | Amount |
|---|---|
| Cooked beans | 2 cups |
| Chopped onion | 1/2 |
| Molasses | 2 tbsp |
| Mustard | 1 tsp |
| Salt & pepper | To taste |
Instructions: Mix all ingredients in a black pot. Place in solar oven and cook for 2–3 hours. Stir halfway through.
Tips for Success and Troubleshooting
- Use a dark-colored, thin-walled pot for faster cooking.
- Insulate the bottom of the oven for heat retention.
- A glass cover works better than a plastic bag for higher temperatures.
- On partly cloudy days, cook meals that don’t require constant high heat.
Benefits of Using a Solar Reflector Oven
Sustainability
- Uses renewable energy
- Zero emissions or fossil fuels
Cost-Saving
- One-time build with minimal costs
- No ongoing utility expenses
Emergency Preparedness
- Works during blackouts or disasters
- Ideal for off-grid cooking
Product Recommendation – The Self-Sufficient Backyard
The Self-Sufficient Backyard is your next step toward full off-grid living. From solar cookers and rainwater systems to food preservation and shelter building, it covers everything in one place.
Why you’ll love it:
- Diagrams, plans, and checklists you can follow today
- Built by real people living 100% off-grid
- Helps you save money while increasing resilience
🔥 Explore The Self-Sufficient Backyard and build your life around freedom—not fuel.
FAQ – DIY Solar Reflector Oven
Can a DIY solar reflector oven cook meat?
Yes. On sunny days, your oven can reach over 250°F—hot enough to slow-cook meats safely.
How long does food take to cook in a solar oven?
Depending on the sun and your build, 1.5 to 3 hours is typical. Bread may take 2 hours, stews longer.
Should I rotate the oven?
Yes. Reposition it every hour for best results. The more sun exposure, the better.
What kind of pot works best?
Dark-colored, lidded pots made of thin metal absorb heat quickly. Avoid shiny or reflective cookware.
Conclusion – Embrace Off-Grid Cooking
A DIY solar reflector oven isn’t just a tool—it’s a symbol of smart, sustainable living. You now have the power to cook off-grid, reduce your carbon footprint, and prepare for whatever life throws your way.
🌞 Want more than just an oven? Build your dream homestead, step by step, with The Self-Sufficient Backyard. It’s your ultimate guide to off-grid mastery.