
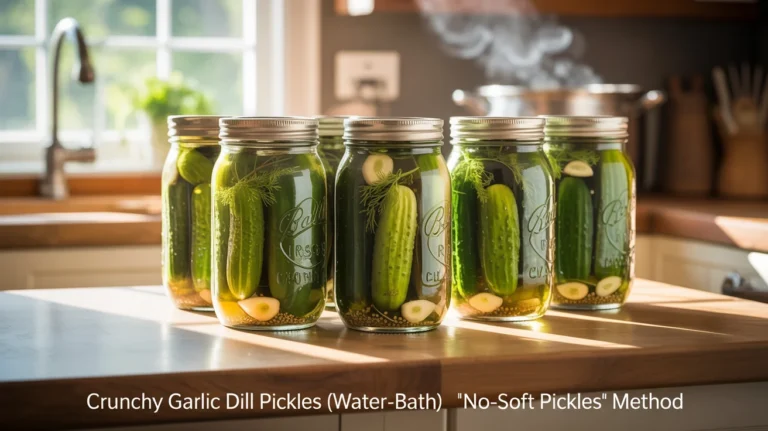
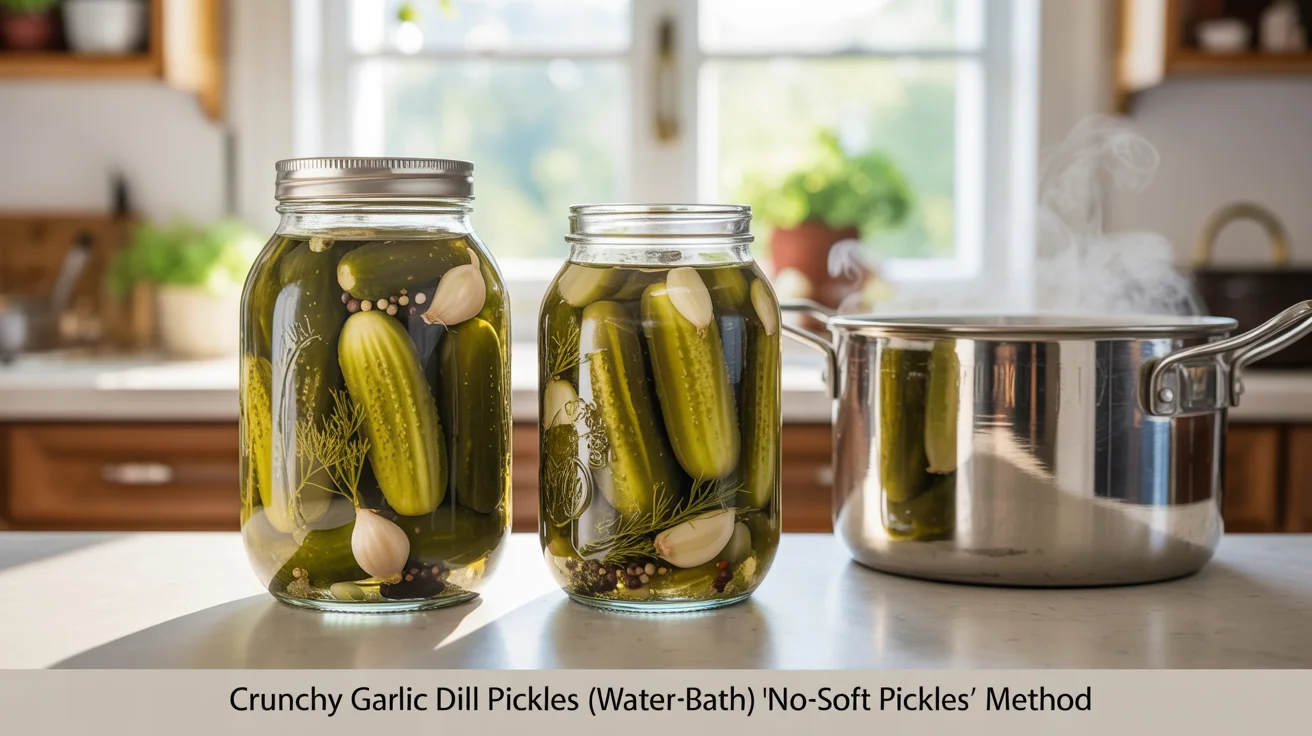
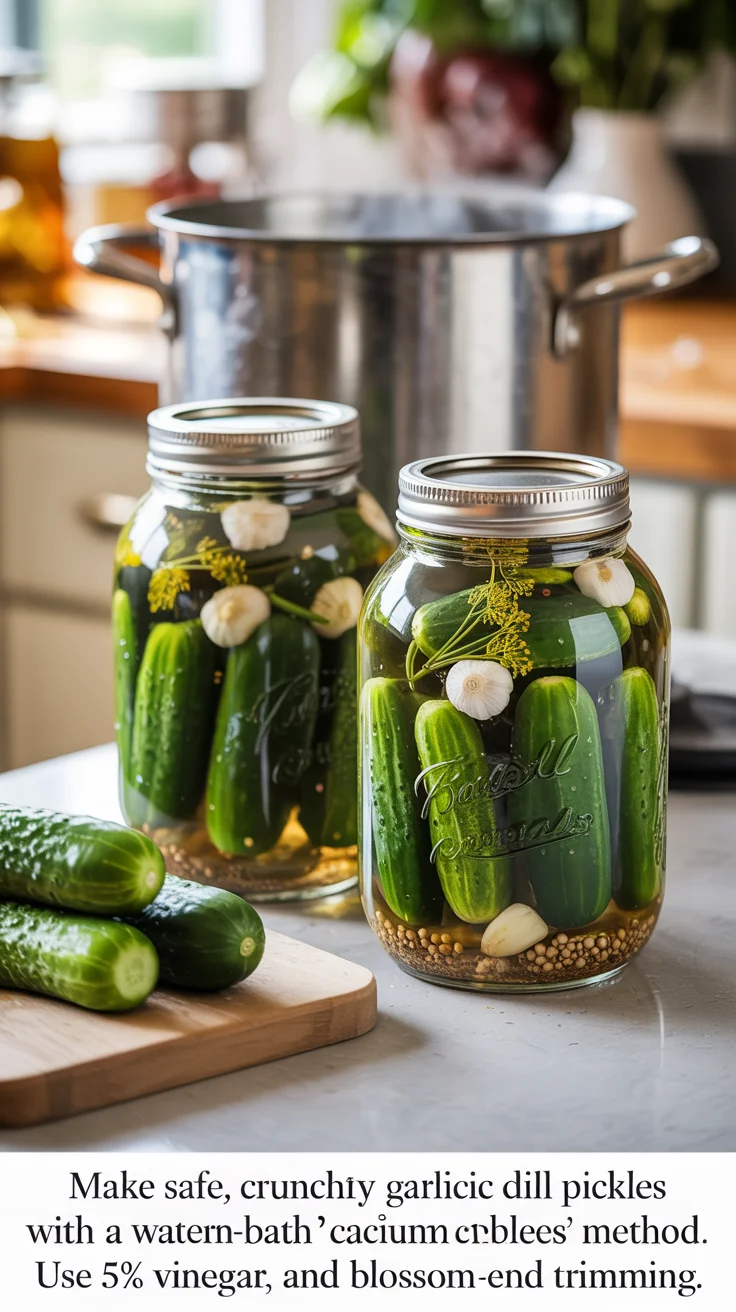
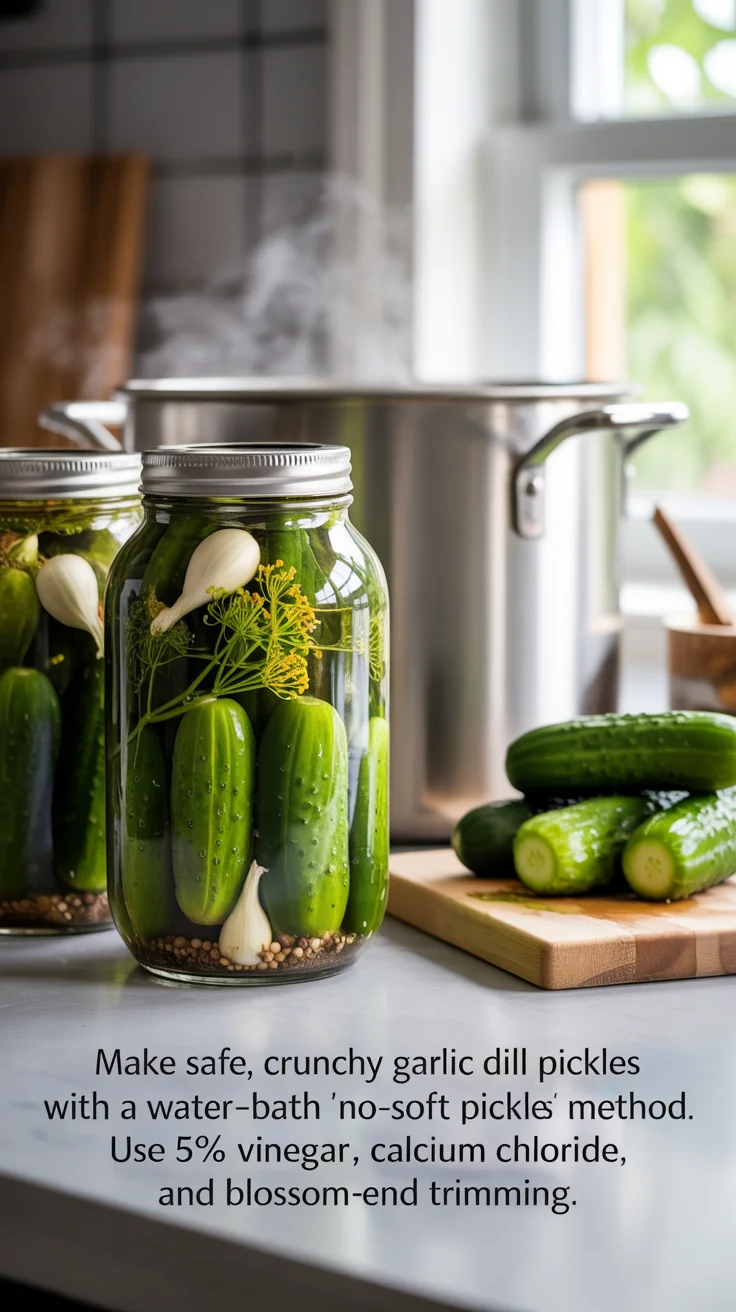
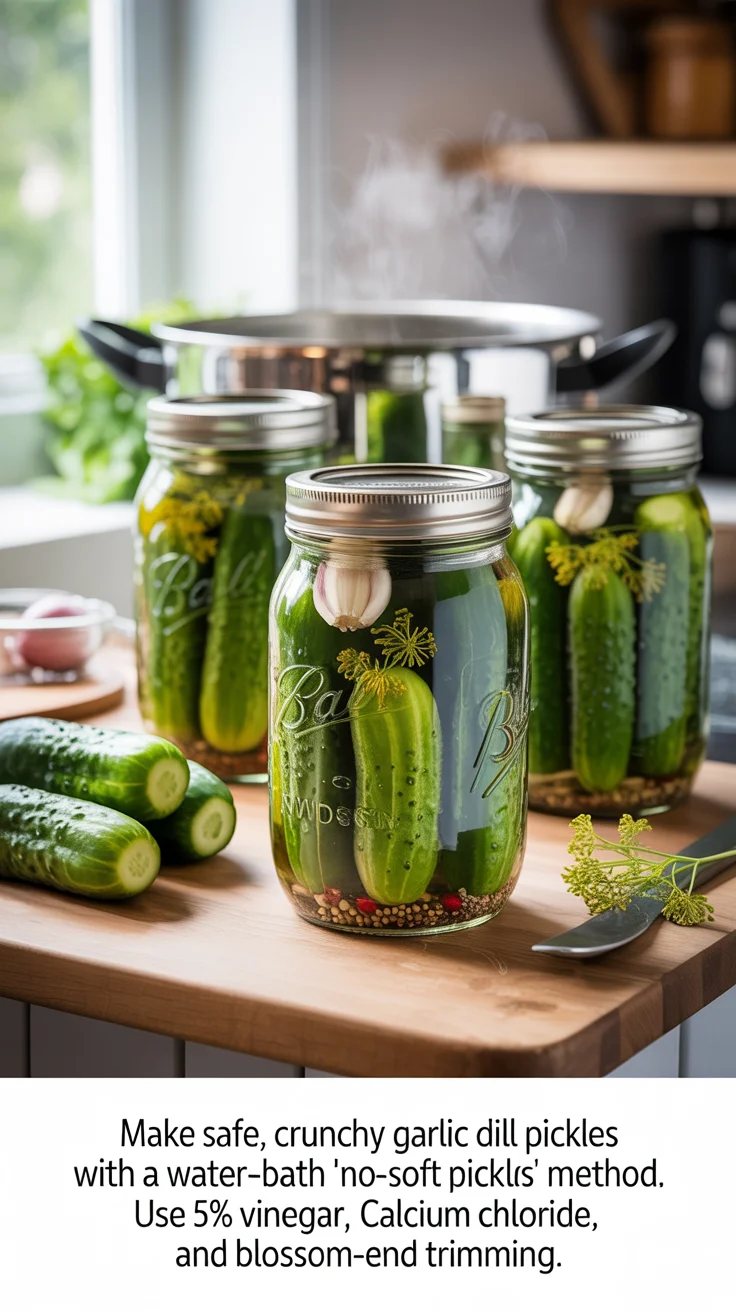
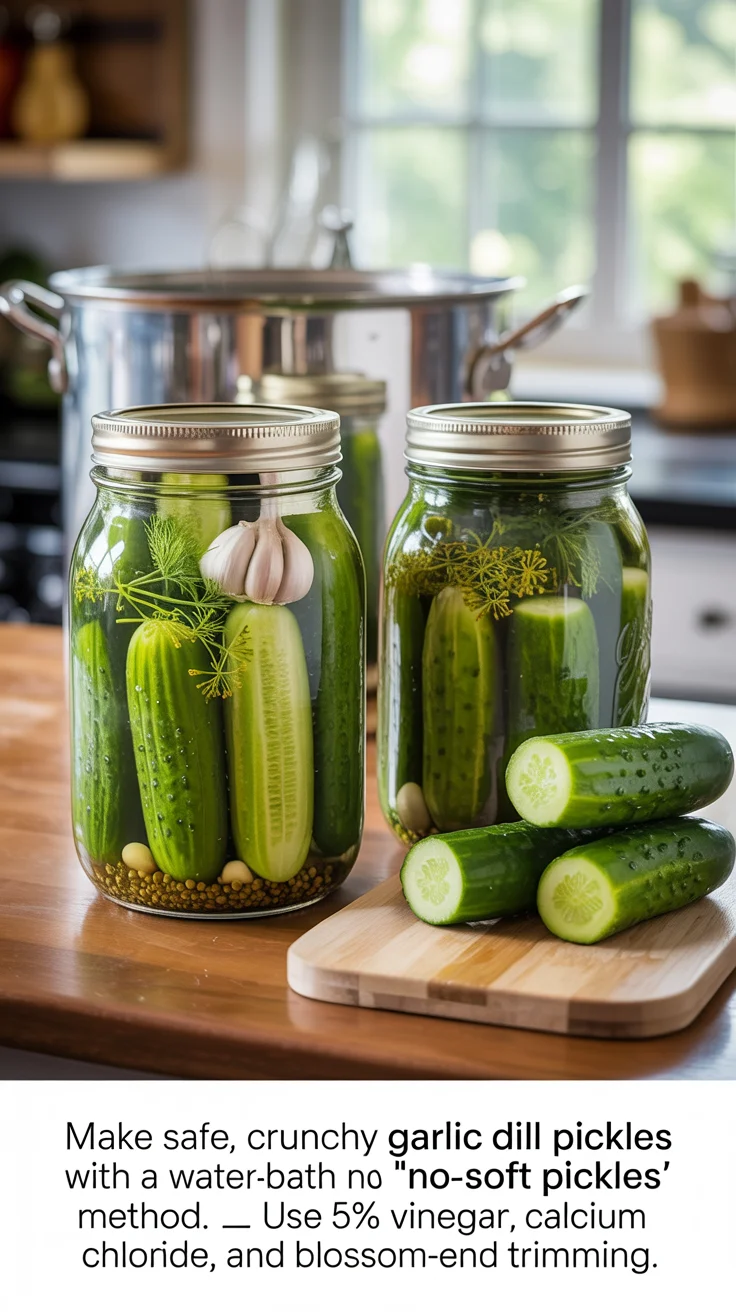
There’s nothing like opening a jar and hearing that telltale snap. This step-by-step guide to Crunchy Garlic Dill Pickles (Water-Bath) – “No-Soft Pickles” Method shows you exactly how to get crisp, bright pickles safely canned at home. We’ll cover the science behind crunch, the right brine ratio, calcium chloride (Pickle Crisp) and blossom-end trimming, plus timing, temperatures, and altitude adjustments that keep texture while meeting canning safety standards.
If you love practical, self-reliant kitchen projects like this, you’ll also love the homestead-forward ideas inside The Self-Sufficient Backyard for preserving, growing, and stocking a truly resilient pantry.
The no-soft pickles promise
Soft pickles often start before the canner ever heats up. Enzymes in cucumbers—especially in the blossom end—break down pectin, the natural “glue” that keeps vegetable cell walls firm. Heat, time, and certain water minerals compound the problem. To deliver consistent crunch, you need a method that:
- Starts with the right cucumbers. Choose unwaxed “pickling cucumbers” (Kirby type), 3–4 inches long, picked within 24 hours. Avoid large seedy cucumbers meant for slicing.
- Removes the blossom end. Trim a thin 1/16–1/8 inch slice from the blossom end of each cucumber (the end opposite the stem). This removes the highest pectinase concentration.
- Uses a cold soak. A 30–60 minute ice-water soak rehydrates cells and firms texture before packing.
- Balances a tested brine. A 1:1 ratio of 5% acidity vinegar to water—with the right amount of pickling salt—keeps pH in the safe zone while drawing moisture evenly from the cucumbers. The balance is important for flavor and safety.
- Adds calcium chloride (Pickle Crisp), not alum. Calcium reinforces pectin and prevents softening; alum is not recommended for modern water-bath recipes.
- Controls heat. Use proper water-bath times to ensure safety without overcooking, or use an optional low-temperature pasteurization method for even more crunch.
This guide is built on safe, fresh-pack dill pickle practices that combine quality produce, a vinegar-forward brine, and precise processing. The payoff: pickles that snap in the jar, hold their shape on a burger, and keep their color and dill-garlic punch for months on the shelf.
The science of crunch and safety in crunchy garlic dill pickles (water-bath)
Crunch comes down to cell walls and pectin. In fresh cucumbers, pectin keeps cells bound and crisp. When enzymes (especially in the blossom end) or heat break down pectin, texture turns rubbery or soft. Here’s how to protect that structure while keeping food safety first:
- Blossom-end trimming: Pectinase enzymes gather at the blossom end. Trimming that thin slice slows the enzymatic softening that can continue even after pickles are canned.
- Calcium chloride: This food-safe ingredient acts like a “molecular brace,” bonding to pectin strands and helping them resist heat softening during the canning process. Use the manufacturer’s jar-level rate (commonly 1/8 teaspoon per pint, 1/4 teaspoon per quart).
- Proper acidity: Safety hinges on acidity, not just heat. For quick dill pickles, keep vinegar at 5% acidity and maintain at least a 1:1 ratio of vinegar to water. This drop in pH prevents botulism and supports safe water-bath canning.
- Salt matters: Use pickling or canning salt. Anti-caking agents in table salt can cloud brines, and iodized salt can cause off flavors. Salt helps draw moisture, season the pickles, and contributes to firmness.
- Water hardness: Very hard water can dull flavors and color. If your tap water is mineral-heavy, consider filtered water—just keep the vinegar ratio unchanged.
- Controlled heat: Water-bath canning uses boiling water to drive out air, form a vacuum, and kill spoilage organisms. Over-processing can soften pickles, so follow time guidelines and avoid prolonged hard boils. An optional, tested low-temperature pasteurization method at 180–185°F for 30 minutes can produce even crisper pickles, but requires an accurate thermometer and consistent temperature control.
Safety non-negotiables:
- Only use 5% acidity vinegar.
- Do not dilute vinegar beyond tested ratios.
- Use standard jar headspace (1/2 inch for most dills) and remove bubbles for consistent heat penetration.
- Adjust processing time for altitude.
A crisp pickle is the result of performing all these small steps well—each piece supports texture and safety together.
Ingredients and equipment for six pints
This small-batch recipe yields about 6 pints of classic, crunchy garlic dills. Keep the vinegar-to-water ratio unchanged if you scale up or down.
Produce and spices:
- 6 pounds pickling cucumbers (3–4 inches), unwaxed, fresh
- 12–18 cloves garlic, peeled (2–3 per pint)
- 6 dill heads or 12–18 sprigs fresh dill weed
- 3 teaspoons mustard seeds (1/2 teaspoon per pint)
- 3 teaspoons black peppercorns (1/2 teaspoon per pint)
- Optional heat: red pepper flakes, 1/8–1/4 teaspoon per jar
- Optional leaves for tradition (do not change safety): 1 grape or sour cherry leaf per jar, well-washed
Brine (do not alter the ratio):
- 3 cups distilled white vinegar (5% acidity)
- 3 cups water (filtered if very hard)
- 6 tablespoons pickling/canning salt
For extra crunch:
- Calcium chloride (often sold as “Pickle Crisp”): 1/8 teaspoon per pint jar or per label instructions
Equipment:
- 6 clean, hot pint canning jars, new two-piece lids and bands
- Boiling water canner or deep stockpot with rack and fitted lid
- Jar lifter, canning funnel, clean towels, bubble remover or nonmetallic utensil
- Accurate thermometer (for optional low-temperature pasteurization)
- Large nonreactive pot for brine (stainless steel or enameled)
Notes:
- You can make quarts instead of pints; many prefer pints for crunchier results and faster heat penetration.
- Whole cucumbers, spears, or slices all work. Slices soften slightly faster than spears, and spears soften faster than whole cucumbers. For maximum crunch, pack whole or spears.
For a foundation on timing and equipment, see Water-bath canning basics.
Prep like a pro: cucumbers, brine, and jars
- Select and chill:
- Choose firm, unblemished, pickling cucumbers. Avoid yellowed or overripe cucumbers.
- Rinse well and chill in an ice-water bath for 30–60 minutes. This plumps cells and sets you up for crisp texture. Keep them cold until packing.
- Trim and cut:
- Trim 1/16–1/8 inch from the blossom end of each cucumber (opposite the stem end). This removes enzymes that soften pickles.
- Leave whole, cut into spears (quarter lengthwise), or slice into 1/4-inch rounds. Keep sizes consistent in each jar for even processing.
- Make the brine:
- In a nonreactive pot, combine 3 cups 5% vinegar, 3 cups water, and 6 tablespoons pickling salt. Heat to a bare simmer, stirring to dissolve. Keep hot but not boiling hard.
- Prep jars and lids:
- Wash jars, lids, and bands in hot, soapy water; rinse well. Keep jars hot (140–180°F) until packing to reduce thermal shock. Modern lids typically do not require pre-boiling; follow your lid maker’s directions.
- If your processing time is 10 minutes or more (it will be), you do not need to pre-sterilize jars—clean and hot is sufficient. For background, see How to sterilize jars properly.
- Consider your water quality:
- Minerals in very hard water can cloud the brine. If needed, use filtered water for both brine and canner. Clean water also affects flavor when you wash produce. If reliable filtration is on your preparedness list, the modular, gravity-fed The AquaTower can help provide off-grid peace of mind for kitchen projects like pickling.
- Organize spices and calcium:
- Set out garlic, dill, mustard seed, peppercorns, and any optional red pepper flakes.
- Keep calcium chloride ready to add to each jar at packing time, following the per-jar amount.
A calm, organized prep makes packing fast—which keeps cucumbers cold and firm right up to the moment the hot brine hits them.
Pack, pour, and de-bubble for picture-perfect jars
- Spice the jars:
- In each hot pint jar, add 2–3 garlic cloves, 1 dill head (or 2–3 sprigs), 1/2 teaspoon mustard seeds, 1/2 teaspoon peppercorns, and optional 1/8–1/4 teaspoon red pepper flakes. Add a clean grape or cherry leaf if using.
- Pack cucumbers firmly:
- For spears: Stand spears vertically and pack snugly without crushing. For whole cucumbers: Pack tight but don’t force. For slices: Layer evenly. Tighter packs reduce floating and help maintain shape.
- Add calcium chloride: 1/8 teaspoon per pint jar (or follow the label). Sprinkle directly over cucumbers.
- Pour the hot brine:
- Using a canning funnel, ladle hot brine into jars, leaving 1/2-inch headspace. The 1:1 vinegar-to-water brine is crucial; do not dilute it.
- De-bubble and top up:
- Slide a bubble remover or nonmetallic utensil along the jar sides to release trapped air. Top up with more hot brine to maintain 1/2-inch headspace.
- Clean and close:
- Wipe jar rims with a clean, damp cloth to remove any residue. Place lids on jars and apply bands fingertip-tight—snug but not cranked down.
- Load the canner:
- Place filled jars on the canner rack. Ensure water covers the jar lids by at least 1–2 inches. Add boiling water if needed. Bring to a steady boil with the lid on.
Common packing mistakes that soften pickles:
- Over-packing to the point of bruising cucumbers
- Forgetting to de-bubble, which traps air and can influence uneven heat flow
- Leaving too little headspace, causing liquid loss (siphoning) and exposed solids
- Letting cucumbers sit warm too long before brining; keep them as cold as you can up to the moment of filling
A confident pack sets you up for clean seals, clear brine, and bullets of fresh flavor in every bite.
Water-bath processing without losing crunch
For water-bath canning, the goal is to hit the sweet spot: enough heat and time to ensure safety and a strong seal, but not so much that texture suffers.
Standard boiling-water process:
- Bring the canner to a vigorous, steady boil with 1–2 inches of water over the jars.
- Start timing when the canner returns to a full rolling boil.
- Process pints for 10 minutes and quarts for 15 minutes at 0–1,000 feet elevation.
- Altitude adjustments: Add 5 minutes for 1,001–6,000 feet; add 10 minutes for above 6,000 feet. For details, see this Altitude adjustment chart.
Post-process steps that protect crunch:
- When time is up, turn off heat, remove the canner lid, and wait 5 minutes. This rest helps reduce liquid loss when you lift jars.
- Use a jar lifter to remove jars, keeping them upright. Do not tilt. Place on a towel in a draft-free spot.
- Cool undisturbed 12–24 hours. Resist the urge to tighten bands or poke lids—movement can interfere with sealing.
Optional low-temperature pasteurization for even more crunch:
- Instead of a rolling boil, heat your canner water to 180–185°F and hold jars at that temperature for 30 minutes. Use an accurate thermometer and monitor continuously to keep temperature in this narrow window.
- This method works with quick-process cucumber pickles made with 5% vinegar, and it can improve firmness. Do not use below 180°F (risk of under-processing) or above 185°F (softening). If you can’t maintain a steady range, use the standard boiling-water method.
Seal checks and storage:
- After 12–24 hours, check seals. Lids should be concave and not flex up and down.
- Remove bands, wipe jars, label with date and batch notes, and store in a cool, dark place (50–70°F).
Avoid these pitfalls:
- Overprocessing: Extending time beyond what’s needed can soften texture.
- Stacking jars while cooling: Can prevent venting and lead to seal failures.
- Rapid temperature shocks: Pouring violently boiling brine into cold jars or loading cold jars in boiling water can crack jars and hurt texture.
With the right timing and a calm cool-down, you’ll lock in both safety and snap.
Curing, storage, and flavor mastery
Your pickles need time to “cure”—for flavors to penetrate and mellow. Right after canning, they’ll taste sharp and a bit simple. Give them time and they transform.
Curing timeline:
- Minimum wait: 48–72 hours before sampling.
- Best flavor: 2–4 weeks. Garlic, dill, and spices bloom, and the vinegar bite integrates.
- Peak window: Months 1–6 for optimal crunch and color, though quality can remain good up to a year in proper storage.
Storage:
- Keep jars in a cool, dark place—pantry, basement shelf, or cupboard away from heat sources.
- After opening, refrigerate. Use within 1–2 months for best crunch and brightness.
Troubleshooting texture:
- Soft or slippery: Often from old cucumbers, failure to remove blossom ends, overly long processing, or too-warm prep. Using calcium chloride can help prevent this.
- Hollow centers: Common in overgrown cucumbers or from rapid growth. Not harmful, but texture is spongier.
- Cloudy brine: Can result from table salt with anti-caking agents, fermentation activity in brine (if cucumbers weren’t fully fresh), or hard water minerals.
- Floating cucumbers: Typically from loose packing, slice-heavy jars, or too much headspace. They’ll settle some as they cure.
Flavor variations (keep the same safe brine):
- Classic kosher-style: Add a bay leaf and a pinch of coriander seed to each jar.
- Spicy dills: Add a small fresh chili or 1/4 teaspoon red pepper flakes per jar.
- Garlic-forward: Use 3 large cloves per pint and lightly crush them.
- Lemon-dill: Add 1–2 strips of lemon zest per jar for a bright top note.
- Mixed garden: Combine with a few carrot sticks or onion slices in each jar (pack tightly to reduce floaters).
Homestead-ready extras:
- Building a shelf-stable pantry goes beyond pickles. For comfort dishes you can store long-term, browse The Lost Superfoods for classic preservation ideas you can adapt to your kitchen.
- Want to grow the dill, garlic, and cucumbers yourself? The seasonal planning tips in The Self-Sufficient Backyard pair perfectly with a canning lifestyle.
A streamlined recipe card you can trust
Use this as your quick-reference while you work. Do not change the vinegar-water ratio.
- Yield: About 6 pints
- Cucumbers: 6 lb pickling cucumbers, blossom ends trimmed; whole, spears, or slices
- Brine: 3 cups 5% white vinegar + 3 cups water + 6 Tbsp pickling salt (heat to a simmer)
- Per pint jar: 2–3 garlic cloves, 1 dill head or 2–3 sprigs, 1/2 tsp mustard seeds, 1/2 tsp black peppercorns, 1/8–1/4 tsp red pepper flakes (optional), 1/8 tsp calcium chloride
- Pack jars hot; add brine to 1/2-inch headspace. De-bubble; adjust headspace.
- Process pints 10 min (quarts 15 min); adjust for altitude.
- Cool 12–24 hours; check seals. Cure 2–4 weeks before rating the batch.
For more on building a dependable preservation workflow, see Water-bath canning basics and our Pickling spice blend guide.
Conclusion
Make one batch and you’ll see how the Crunchy Garlic Dill Pickles (Water-Bath) – “No-Soft Pickles” Method becomes a new house standard. Start with cold, fresh cucumbers, trim blossom ends, use a 1:1 5% vinegar brine, add calcium chloride, and process with care. The result is safe, shelf-stable jars you can pop all year—each snap a reminder that smart technique delivers incredible texture and flavor.
For a pantry that does more with every season, explore practical, resilient food storage ideas in The Lost Superfoods and grow-what-you-eat planning in The Self-Sufficient Backyard.
Frequently asked questions
- How do you keep canned pickles crunchy?
Use fresh, small pickling cucumbers; trim the blossom end; chill cucumbers in ice water before packing; use a 1:1 5% vinegar-to-water brine; add calcium chloride (Pickle Crisp) per jar; and avoid over-processing. Optional low-temperature pasteurization at 180–185°F for 30 minutes can further protect texture if you can hold the temperature steady. - Why do homemade dill pickles turn soft?
Common causes include using overripe cucumbers, not trimming the blossom end (pectinase softens tissue), long or overly vigorous processing, warm or delayed prep, and omitting calcium chloride. Very hard water and iodized/anti-caking table salt can also impact clarity and perceived texture. - Can you water-bath can garlic dill pickles safely?
Yes—quick-process garlic dill pickles are safely canned with water-bath when you use 5% acidity vinegar and a tested brine ratio (commonly 1:1 vinegar to water), proper headspace, and the correct processing time with altitude adjustments. Garlic and dill are flavoring agents and don’t affect safety when you keep the acid ratio constant. - How long should pickles sit before eating for best flavor?
Give them at least 48–72 hours. For the best balance of garlic, dill, and spice, wait 2–4 weeks before opening. Store sealed jars in a cool, dark place. After opening, refrigerate and use within 1–2 months for the crispiest bite.