
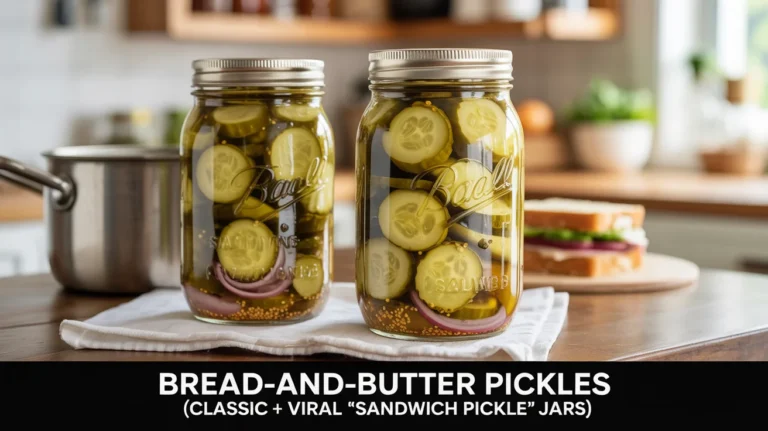
Bread-and-Butter Pickles are the sweet, tangy, mustard-and-turmeric–spiced pickle chips you grew up layering into burgers and deli sandwiches. They’re a pantry classic for good reason: easy to make, irresistibly flavorful, and versatile for both refrigerator prep and safe, long-term water-bath canning. In this guide, you’ll get a tested-style classic recipe, step-by-step canning instructions, the viral “sandwich pickle” jar method, flavor variations, shelf-life tips, and expert fixes for cloudiness or softness.
If you love self-reliance and a well-stocked pantry, you’ll appreciate the homestead-minded tips sprinkled throughout. For deeper, off-grid food and garden systems, see The Self-Sufficient Backyard.
Use this guide to:
- Make crunchy, sweet-tangy pickles with perfect balance
- Can safely with a boiling-water bath
- Try the trending “sandwich pickle” jars that stack perfectly on hoagies
- Troubleshoot cloudiness, softness, and flavor imbalances
- Store your jars for maximum shelf life and quality
Tip: Sprinkle in your own touches, but keep vinegar acidity and processing times within tested parameters whenever canning for shelf storage. For quick refrigerator pickles, you can be more flexible.
How to sterilize canning jars safely
Why These Pickles Taste Sweet, Tangy, and Addictive
Bread-and-Butter Pickles strike a spot-on balance of sweet and sour with warm spice in the background. Their signature flavor comes from four key elements working together:
- Vinegar: Distilled white vinegar or apple cider vinegar (both at 5% acidity) deliver the tang. White vinegar is neutral and brighter; apple cider vinegar adds apple-fruity notes and a slightly deeper color.
- Sugar: Cane sugar counterbalances the vinegar and rounds out spices for a classic sweet-tangy profile. This signature sweetness separates bread-and-butter pickles from dill or sour-style pickles.
- Spices: Mustard seed, celery seed, and turmeric are the must-haves. Mustard seed gives a familiar deli-pickle vibe, celery seed adds herbal, savory depth, and turmeric lends golden color and a gentle earthiness. Some cooks add a pinch of ground cloves or a few peppercorns; keep add-ins modest so they don’t overwhelm.
- Onion: Sliced onions mellow in the brine and contribute to that nostalgic sandwich-pickle flavor.
Texture is just as crucial. Pickling cucumbers (Kirby, Persian, or other small, firm varieties) hold crispness better than large salad cucumbers. Pre-salting the slices helps draw moisture, improving crunch. For extra firmness in canned pickles, many home preservers add calcium chloride (sold as “Pickle Crisp”) according to label directions.
Compared with dills, bread-and-butter pickles are less about garlic and more about gentle sweetness and spice. Their versatility shines: tuck into burgers, layer into grilled cheese, chop into egg salad, or add to charcuterie boards. Because they’re crowd-pleasers, they also make stellar gifts during harvest season.
Ingredients, Equipment, and Safety Essentials
Here’s a classic, well-balanced foundation that works for either refrigerator storage or proper water-bath canning. Quantities yield about 6 to 7 pint jars depending on pack style and slice thickness.
Ingredients
- 10 cups thinly sliced pickling cucumbers (about 3 to 4 pounds)
- 4 cups thinly sliced onions (yellow or sweet)
- 1/2 cup pickling or canning salt (for the salting soak; not all ends up in the jars)
- 3 cups vinegar (5% acidity; white or apple cider)
- 4 1/2 cups granulated sugar
- 2 tablespoons mustard seed
- 1 1/2 teaspoons celery seed
- 1 1/2 teaspoons ground turmeric
- Optional: 1/2 teaspoon whole black peppercorns or red pepper flakes for mild heat
- Optional for canning: calcium chloride (Pickle Crisp), per label
Equipment
- Water-bath canner or a deep stockpot with a canning rack
- 6 to 7 clean pint jars with new lids and bands
- Large mixing bowls, colander, and ice
- Nonreactive pot (stainless or enameled) for brine
- Jar lifter, canning funnel, bubble remover/headspace tool
- Clean cloths or paper towels
Safety notes
- Use vinegar with verified 5% acidity and keep the vinegar-to-vegetable ratio within tested parameters for water-bath canning. Do not dilute the vinegar beyond this recipe’s acidity.
- Use pickling salt to avoid anti-caking agents that can turn brine cloudy.
- Trim 1/16 inch off the blossom end of cucumbers to help prevent softening.
- For crispness: use very fresh cucumbers, avoid overripe or seedy ones, keep slices consistent, and process jars only as long as directed.
- If using water from a well or a source with minerals that cause cloudiness, consider filtered water for clearer brine. If you’re building a resilient homestead setup, a gravity-fed purifier like The AquaTower can provide reliable, clean water without power.
Beginner’s guide to water-bath canning
Classic Bread-and-Butter Pickles Recipe You Can Refrigerate or Can
Follow these steps for crunchy, golden pickles. You can stop after the brine simmer and pack them as refrigerator pickles (no canning), or proceed with water-bath canning for shelf-stable jars.
Prep the cucumbers and onions
- Wash cucumbers well. Trim 1/16 inch off the blossom end. Slice into 1/4-inch rounds (or thinner for chip-style). Thinly slice onions.
- In a large bowl, layer cucumbers and onions with the 1/2 cup pickling salt. Add enough ice and cold water to cover. Let stand 1 1/2 to 2 hours in the fridge to draw moisture.
- Drain in a colander, rinse thoroughly to remove excess salt, and drain again. Pat dry gently.
Make the brine
- In a nonreactive pot, combine vinegar, sugar, mustard seed, celery seed, turmeric, and optional pepper. Bring to a boil over medium-high heat, stirring to dissolve sugar.
- Add the drained cucumber and onion mixture to the hot brine. Return just to a simmer and heat through for a few minutes; you want the slices hot and flexible but not soft.
For refrigerator pickles
- Pack hot cucumbers and onions into clean jars and ladle hot brine to cover, leaving about 1/2 inch headspace.
- Cool to room temperature, then refrigerate. Let them cure 24 to 48 hours for best flavor. They keep in the refrigerator for up to 2 to 3 months.
For canning (continue to the next section)
- Keep the slices and brine hot while you set up the canner and jars. Proceed without long delays so the pack stays hot and safe.
Flavor checkpoints
- Sweetness: Bread-and-butter pickles are intentionally sweet; you can reduce sugar slightly for refrigerator versions, but don’t reduce vinegar for canning safety.
- Spice balance: Mustard seed should be noticeable but not dominant; turmeric should color the brine golden without tasting bitter.
- Texture: The slices should remain pleasantly crisp after a short heat-through in the brine. Avoid boiling them vigorously, which softens the final texture.
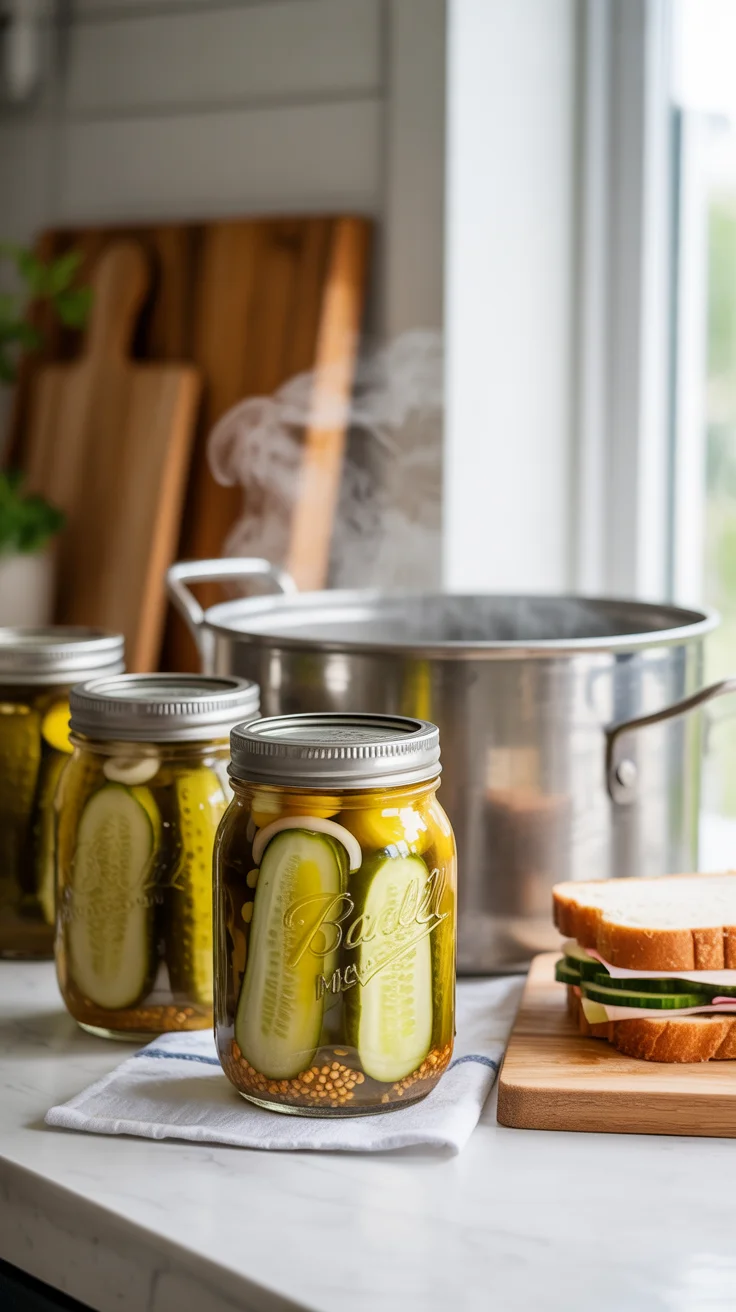
Water-Bath Canning Method, Times, and Altitude Adjustments
If you want shelf-stable jars for your pantry, finish the recipe with a boiling-water bath. This method ensures safe acidity and a reliable seal.
Set up the canner
- Place a rack in your water-bath canner (or deep stockpot). Add enough water to cover filled pint jars by at least 1 inch. Heat to a gentle simmer while you prepare jars.
- Wash jars in hot, soapy water and rinse. Keep jars hot (in hot water or the canner) until filling. Keep lids ready per manufacturer guidance.
Pack the jars
- With the cucumbers and onions hot in the brine, add optional calcium chloride to each jar if using, following label directions.
- Using a canning funnel, pack hot slices into hot jars and ladle hot brine over them, leaving 1/2 inch headspace.
- Remove air bubbles by sliding a bubble wand or chopstick around the inside of the jar. Adjust headspace if needed by adding brine.
- Wipe rims with a clean, damp cloth. Center lids on jars and apply bands fingertip-tight.
Process the jars
- Place jars on the rack in boiling water. Ensure at least 1 inch of water above jar tops.
- Bring to a thorough, steady boil and start timing.
Standard processing times for pint jars
- 0–1,000 ft: 10 minutes
- 1,001–6,000 ft: 15 minutes
- Above 6,000 ft: 20 minutes
After processing
- Turn off heat. Let jars rest in the water for 5 minutes, then remove with a jar lifter.
- Cool undisturbed for 12 to 24 hours. Check seals; lids should be concave and not flex when pressed.
- Remove bands, wipe jars, label with the date, and store in a cool, dark place.
Shelf life and curing
- Properly processed, sealed jars are best within one year for quality, though they may remain safe longer if the seal is intact and there are no signs of spoilage.
- Let jars rest at least one week before opening; flavors meld and improve.
Pantry planning tip: A shelf of safely canned pickles, soups, and staples is a practical buffer for supply disruptions. For more ideas on resilient pantry foods and preserving strategies, browse The Lost Superfoods to expand your repertoire of long-keeping recipes and storage methods.
How to stock a canning-ready pantry
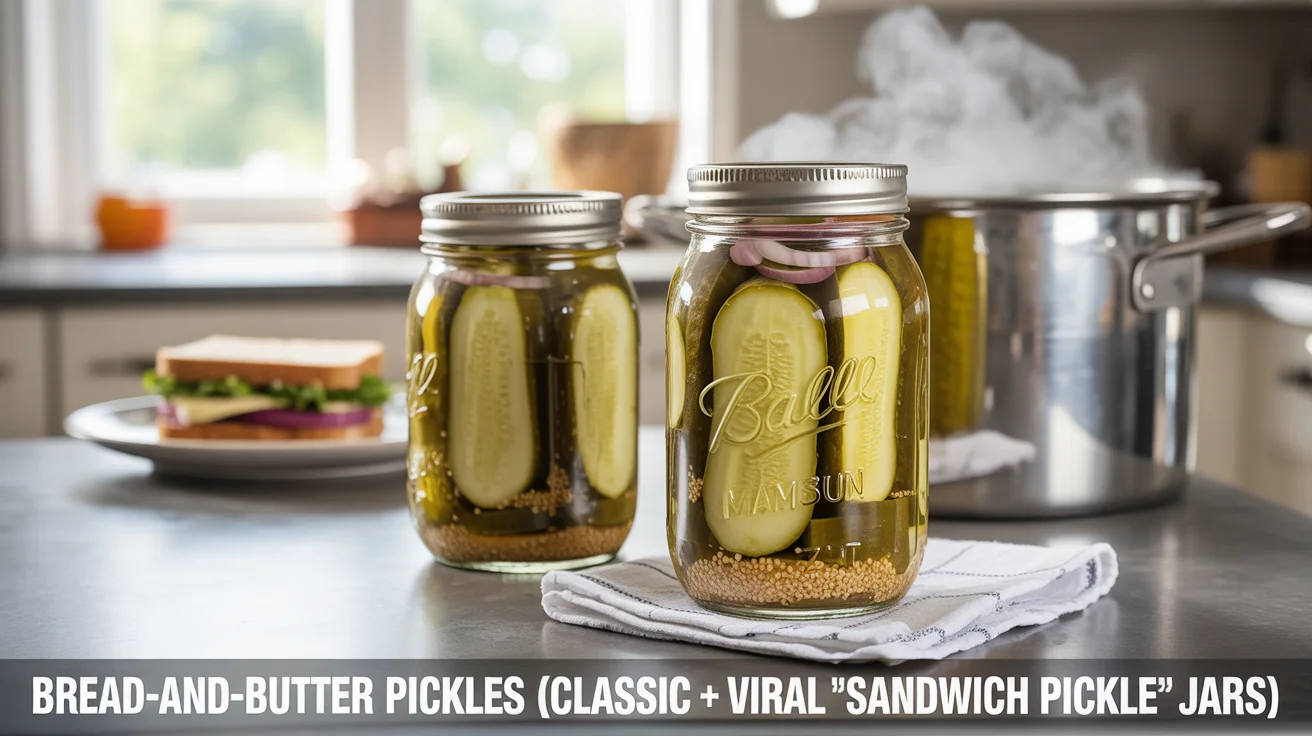
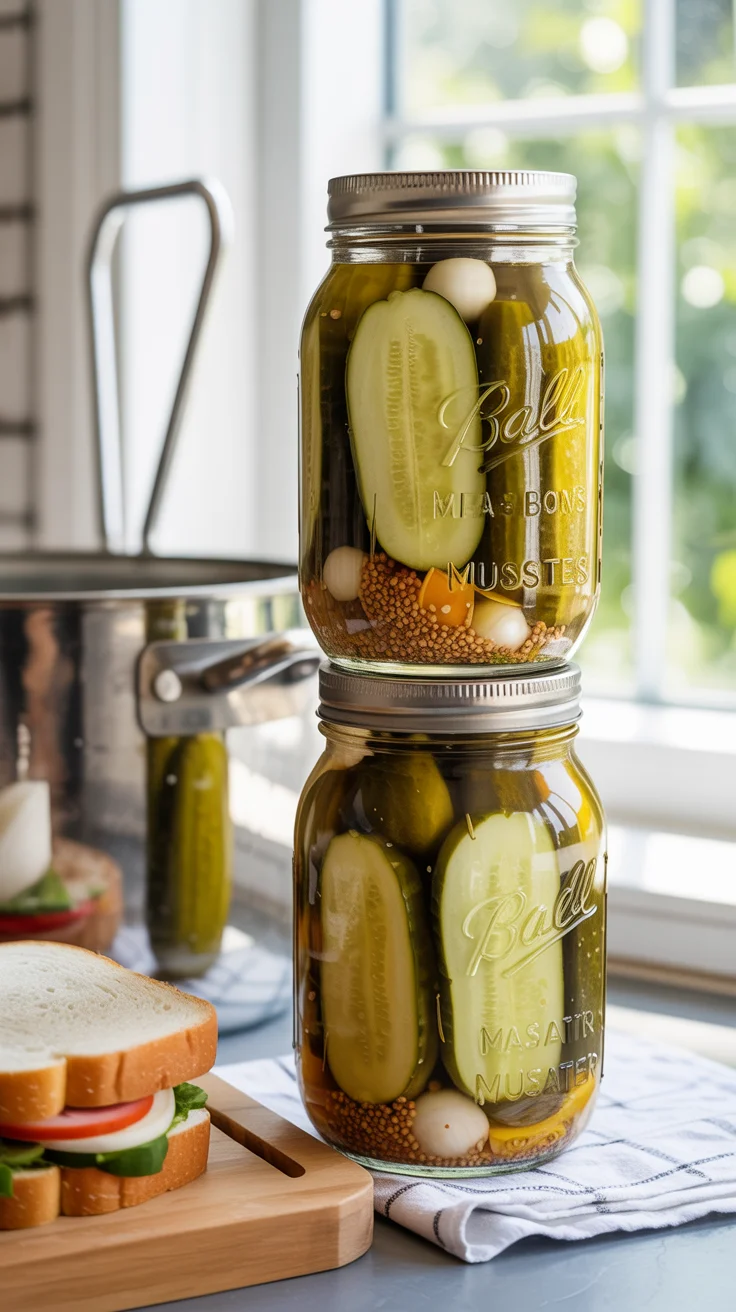
The Viral “Sandwich Pickle” Jars You See Everywhere
The internet fell in love with tall jars packed with long, juicy pickle planks that stack perfectly on sub rolls and smash burgers. Good news: you can use your bread-and-butter brine to make these trendy “sandwich stackers” safely, whether as refrigerator pickles or for canning.
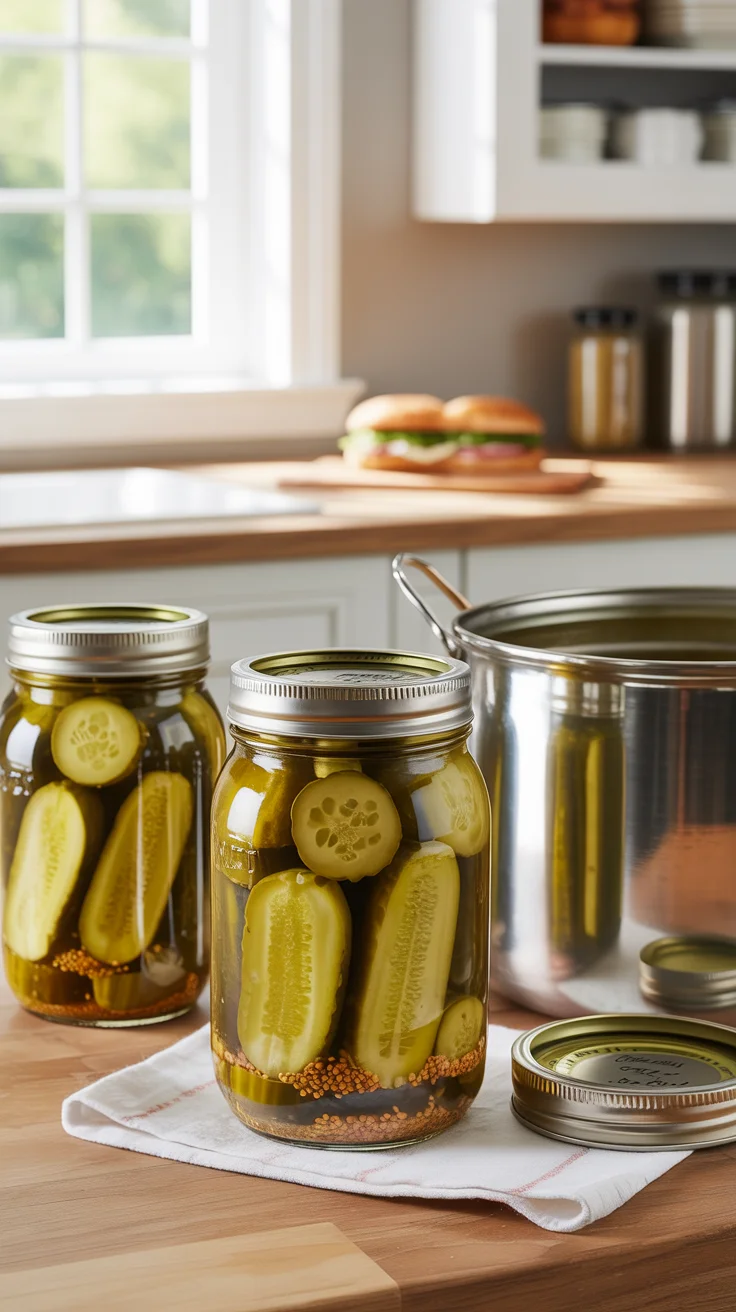
How to slice sandwich pickles
- Choose firm, straight pickling cucumbers 5 to 6 inches long.
- Trim ends and slice lengthwise into 1/4-inch planks. For extra flair and surface texture, slice with a crinkle cutter.
- Aim for uniform thickness so slices heat evenly when canning.
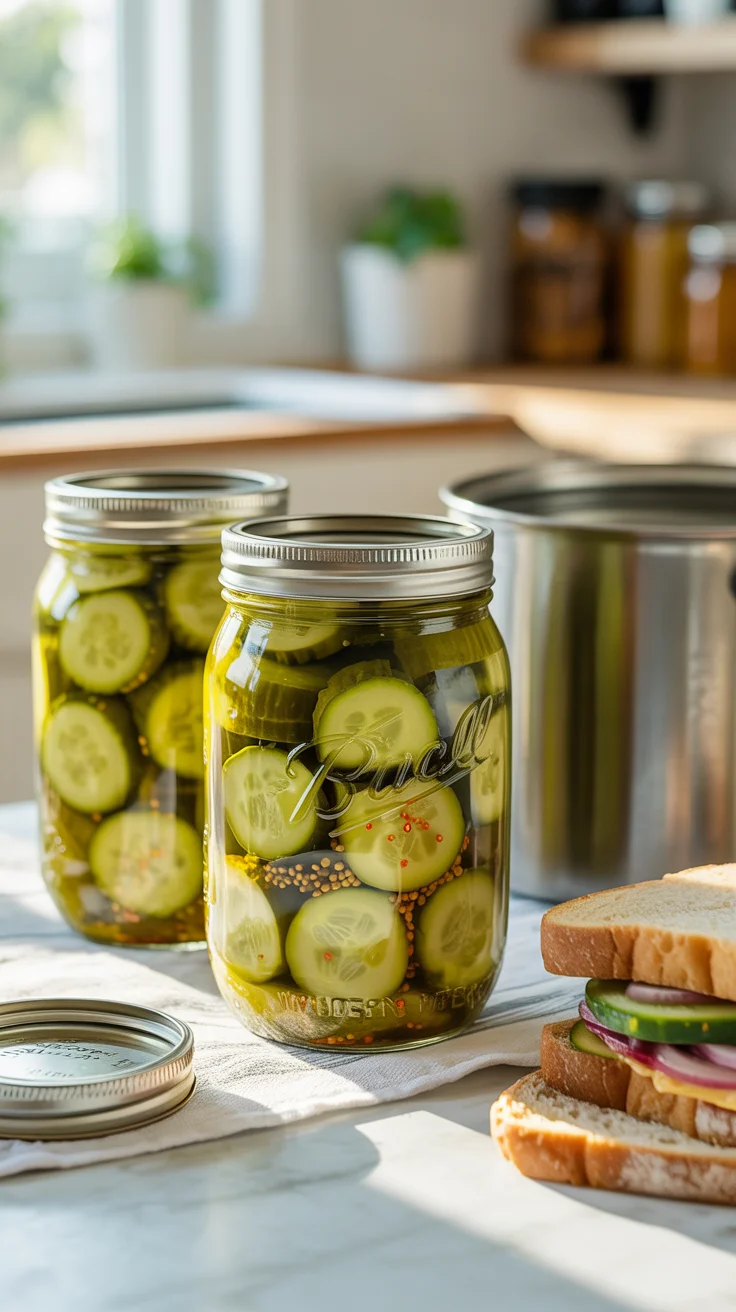
Packing the jar for that showpiece look
- Pack planks vertically like books on a shelf. Tuck in a few onion strips between, plus a light scatter of mustard and celery seeds if you like the visual pop.
- For viral-style presentation, use clear jars and let the turmeric-tinted brine turn the planks bright gold. Some creators add a few red pepper flakes or a slice of red chili for color.
Refrigerator version
- Make the same brine as the classic recipe. Heat, pour over the vertical planks in clean jars, and cool. Refrigerate and let cure 2 to 3 days for full flavor and color.
Canning version
- Use the same hot-pack approach as for chips. Preheat jars, keep planks and brine hot, pack to 1/2 inch headspace, remove bubbles, and process pints using the times above.
- Ensure slices are no thicker than 1/4 inch so heat penetrates properly during processing.
Serving ideas
- Layer 2 to 3 planks on hoagies, grilled cheese, or patty melts.
- Dice planks into relish for chicken salad or deviled eggs.
- Add to charcuterie boards for a sweet-tangy break between rich bites.
Note on safety: You can get creative with shapes and presentation; just keep vinegar acidity, heat, and processing times aligned with tested guidelines for safe canning.
Flavor Variations Without Compromising Safety
Bread-and-Butter Pickles are wonderfully adaptable, and small tweaks can make a batch feel custom. If canning, preserve the core vinegar-and-sugar ratio and keep add-ins modest.
Gentle heat
- Add 1/2 to 1 teaspoon red pepper flakes to the brine.
- Slip a few thin jalapeño rings into each jar for a mild kick and a pop of green.
Cider-forward and warm spice
- Use apple cider vinegar for half or all of the vinegar.
- Add a pinch (1/8 teaspoon) of ground clove or allspice to the brine—tiny amounts go a long way.
Garlic lovers (more like sweet dills)
- Add 1 to 2 thinly sliced garlic cloves across the whole batch or per jar. Keep it light; bread-and-butter pickles aren’t primarily garlicky.
Honey-kissed refrigerator pickles
- For non-canned batches only, swap part of the sugar with a mild honey. Honey can affect flavor and density; stick to classic sugar for canning.
Extra crispness and clarity
- Use very fresh cucumbers; avoid waxed salad cucumbers.
- Consider calcium chloride for canning versions.
- Use pickling salt and filtered water to avoid clouding minerals.
Whole spices for visual appeal
- A few mustard seeds, celery seeds, and peppercorns floating in the jar look inviting. Avoid loading the jar with spice sediment; a little goes a long way.
Remember: for water-bath canning, do not dilute the vinegar or change core acidity. Spices and aromatics are where your creativity can shine.
Storage, Shelf Life, Cloudiness, and Troubleshooting for Bread-and-Butter Pickles
Shelf life
- Canned, sealed jars: Up to 1 year for best quality when stored cool and dark. Always check the seal and contents before using.
- Opened canned jars: Refrigerate and enjoy within 1 to 2 months.
- Refrigerator-only batches: 2 to 3 months refrigerated for best texture and flavor.
Cloudiness explained
- Normal causes: Turmeric and spice sediment can create a mild haze that’s harmless. Hard water minerals can also cloud brine.
- Problem signs: Persistent fizziness, scum, or a slimy texture indicates possible yeast or microbial activity—do not consume. Discard.
- Prevention: Use pickling salt (no anti-caking agents), consider filtered water, and pack hot with proper processing for canning.
Soft or mushy pickles
- Likely causes: Overripe cucumbers, delayed processing, or vigorous boiling of slices in the brine.
- Solutions: Use very fresh pickling cucumbers, slice uniformly, heat only to a simmer before packing, and add calcium chloride when canning.
Lids not sealing
- Check for correct headspace (1/2 inch), clean rims, valid lids, and a hard, steady boil during processing.
- After a failed seal, refrigerate and use promptly, or reheat and reprocess within 24 hours with a new lid.
Too sweet or too tangy
- Bread-and-butter pickles are intentionally sweet. For future refrigerator batches, reduce sugar slightly or blend white and cider vinegar for balance.
- When canning, stick to a tested core ratio; adjust nuance with spices rather than acidity.
Off flavors
- Avoid metallic pots and utensils when simmering acidic brines.
- Use fresh spices—old mustard seed and celery seed lose brightness quickly.
Homestead pantry tip: A diversified shelf of pickles, broths, and preserved meals keeps food waste low and flavor high. A resilient water setup like The AquaTower strengthens your canning routine and everyday cooking alike.
Best vinegar for pickling: cider vs. white
Serving Ideas for Everyday Meals and Crowd-Pleasing Boards
Sandwiches and burgers
- Stack classic chips or plank-style “sandwich pickles” on smash burgers, turkey clubs, pulled pork, and grilled chicken sandwiches.
- Toss chopped pickles into tuna, egg, or potato salad for a bright counterpoint.
Boards and appetizers
- A small dish of bread-and-butters balances fatty cheeses, pâtés, or smoky charcuterie.
- Stir chopped pickles into deviled eggs or pimento cheese for a sweet-tangy twist.
Cookout sides
- Fold pickle chips into coleslaw for crunch and flavor.
- Use the brine in vinaigrettes—swap some vinegar for pickle brine to dress cucumber salads or drizzle over grilled veggies.
Leftover brine magic
- Marinate thinly sliced red onion for a quick, rose-colored pickle.
- Whisk brine into a honey-mustard dressing or a glaze for roasted carrots.
Gift and bar-cart ideas
- Tie a label onto a jar and gift to neighbors or bring to potlucks.
- Add to a bloody mary bar with olives and pickled green beans for a sweet-spiced option.
If you’re building a pantry for all seasons, you’ll find broader preservation strategies—beyond pickles—in The Lost Superfoods and homestead systems in The Self-Sufficient Backyard.
The Lost Superfoods | The Self-Sufficient Backyard
Tools and Resources for a Reliable Pickling Routine
- Canning kit: A jar lifter, rack, funnel, and bubble wand make canning smoother and safer.
- Consistent water quality: If your tap water leaves mineral scale, it may cloud pickle brine. A gravity-fed purifier such as The AquaTower can help ensure clear, neutral-tasting water—and it works without electricity.
- Homestead skills library: For garden-to-jar efficiency, backyard layout, and off-grid readiness, The Self-Sufficient Backyard is a deep dive into practical systems that pair beautifully with home canning.
- Long-keeping staples: For ideas to round out your pantry with nutrient-dense, shelf-stable foods, The Lost Superfoods can broaden your preservation playbook.
Conclusion
Sweet, tangy, and golden with spice, Bread-and-Butter Pickles are a flavor-forward staple that reward a little prep with months of easy meals and sandwich upgrades. Use the classic ratio for safe canning, slice into viral “sandwich pickle” planks for show-stopping jars, and lean on simple troubleshooting to keep every batch crisp and clear. Whether you refrigerate a quick jar or water-bath can a season’s haul, these pickles deliver bright comfort and pantry resilience.
If this guide helped you dial in your process, explore resilient kitchen systems and preservation ideas through The Self-Sufficient Backyard and The Lost Superfoods—smart complements to any thriving home pantry.
FAQ
What makes bread-and-butter pickles sweet and tangy?
A balance of 5% vinegar for acidity and cane sugar for sweetness creates the signature sweet-tangy profile. Mustard seed, celery seed, turmeric, and onions round out flavor and color.
Can you water-bath can bread-and-butter pickles?
Yes. Use a tested-style vinegar ratio (like 3 cups 5% vinegar to 4 1/2 cups sugar for the batch above), pack hot, leave 1/2 inch headspace, and process pint jars at a full rolling boil for 10 minutes (adjusting to 15 or 20 minutes at higher altitudes).
Why are my bread-and-butter pickles cloudy?
Harmless haze can come from turmeric and spice sediment. Cloudiness can also result from hard water minerals or table salt with anti-caking agents. True spoilage includes fizzing, scum, slime, off smells, or mold—discard in those cases.
How long do bread-and-butter pickles last after canning?
Properly processed and sealed jars keep best quality up to 1 year in a cool, dark place. After opening, refrigerate and enjoy within 1 to 2 months.