
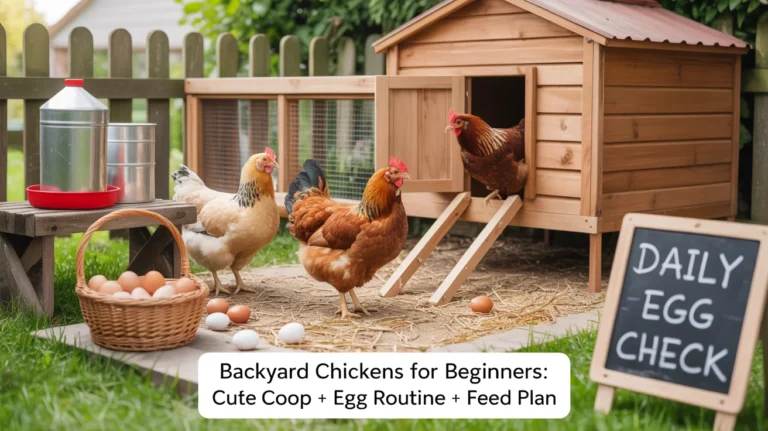
Starting backyard chickens is equal parts charming and practical—fresh eggs, tiny dinosaur personalities, and a cozy space you’ll love to show off. This beginner-friendly guide covers everything you need: a cute, functional coop, a simple egg routine that actually works, and a feed plan that keeps hens laying consistently. Whether your goal is homestead resilience or just better breakfasts, this roadmap to backyard chickens for beginners keeps things clear, safe, and sustainable.
For a broader self-reliance blueprint that includes poultry, gardens, and water systems, consider The Self-Sufficient Backyard.
Choosing the right flock size and breeds for a calm start
The smartest way to begin is with a small flock you can manage easily while you build habits. For most beginners, 3–6 hens hits the sweet spot: enough eggs for a household, but not so many that chores become overwhelming. Hens are flock animals, so never keep just one—pairs are OK, trios are better, and five to six hens create a stable pecking order with fewer squabbles.
Before you buy, check local rules. Many towns allow hens (often no roosters), set limits on flock size, and require setbacks for coops. A quick call to your zoning office and a glance at HOA bylaws can save headaches later. If you’re planning a movable coop or “tractor,” confirm whether that’s treated as a temporary or permanent structure.
Breed selection matters more than most beginners expect. Look for docile, hardy, and productive breeds that handle your climate. Popular beginner choices include:
- Australorp: gentle, steady layers, great in most climates.
- Orpington: friendly, fluffy, and cold-hardy.
- Plymouth Rock or Barred Rock: resilient and reliable.
- Sussex: inquisitive, good foragers, strong egg output.
- ISA Brown/Red Sex-Link hybrids: prolific layers and easygoing temperament.
If your summers are hot, prioritize heat-tolerant breeds with larger combs to dissipate heat; for cold climates, choose fluffy, heavier breeds and pea-comb types. Avoid roosters at the start—hens lay eggs without them, and roosters add noise, complexity, and sometimes aggression.
New chicken keepers often ask whether to begin with chicks or started pullets. Chicks are adorable and affordable, but you’ll need a brooder, heat source, and patience (5–6 months to first eggs). Started pullets (about 16–20 weeks old) cost more but begin laying sooner, saving time and simplifying the learning curve.
Finally, plan for lifecycle realities. Hens lay most prolifically in their first two years, then taper off. If eggs are your primary goal, stagger flock additions every 12–18 months so you always have birds in their prime laying years. If companionship and compost are equally important, keep retirees and simply adjust your expectations on egg count.
Designing a cute, functional coop beginners can maintain
A cute coop is delightful—just make sure form follows function. Chickens are simple to please if you meet the fundamentals: space, airflow, dryness, predator protection, and ergonomics for you as the keeper.
- Space guidelines: Plan about 4 square feet per standard-size hen inside the coop, and about 10 square feet per hen in the run. If your birds will be confined more often (small yard, winter weather), give extra space to prevent pecking and stress.
- Ventilation: Fresh air is non-negotiable. Install permanent, draft-free vents high on opposite walls to let moist air escape while pulling in fresh air. Good ventilation prevents respiratory issues and keeps bedding dry, especially in winter.
- Dryness and drainage: Elevate the coop slightly, use a metal or shingle roof with overhangs, and add gutters if needed. A dry floor is healthier and easier to maintain.
- Predator-proofing: Use 1/2-inch hardware cloth for windows, vents, and run fencing. Bury an apron of hardware cloth 12–18 inches outward along the perimeter to deter diggers. Use sturdy latches (two-step or carabiners) on all doors; raccoons are clever.
- Interior layout: Provide 1 foot of roost bar per hen, placed higher than the nest boxes so birds don’t sleep where they lay. Nest boxes should be about one box per 3–4 hens, each roughly 12×12 inches, dark and cozy, with a lip to keep bedding in.
- Easy cleaning: A people-friendly design is a chicken-friendly design. Add a large clean-out door, slide-out poop boards under roosts, and a waist-height nest box access if possible. Your future self will thank you.
Cute coop style ideas that still work hard:
- Cottage charm: pastel paint, flower boxes, cedar shingles, and a pitched roof with symmetrical windows.
- Farmhouse vibe: crisp white walls, black hardware, and barn-style sliding doors.
- Modern minimal: natural wood, metal accents, and a low-profile silhouette with clean lines.
Don’t forget utility. If you don’t have power at the coop, solar lights or an off-grid power source can run a timer light, an electric fence charger, or camera. For resilience-minded keepers, a portable solution like the Ultimate OFF-GRID Generator can keep essential coop systems running during outages without trenching power lines.
Finally, choose bedding that fits your climate and cleaning style. Pine shavings are classic; chopped straw can work if kept dry. The deep litter method—adding fresh bedding on top of old and turning it weekly—can reduce smell and produce compost if your coop is well-ventilated and dry. Learn the basics here: Deep litter method explained.
How to build a predator-proof coop
Creating a safe run and engaging outdoor space
A secure run lets your birds enjoy the outdoors without risking predators or garden damage. Start with the right dimensions—10 square feet per hen is a minimum target, but bigger is always better. If free-ranging isn’t possible, add vertical interest and enrichment to keep birds busy and stress low.
Run security essentials:
- Fence and roof: 1/2-inch hardware cloth around the sides and across the top prevents aerial predators. Chicken wire keeps chickens in but won’t keep predators out.
- Ground defense: Bury a hardware cloth skirt 12–18 inches out from the fence base to stop digging. Alternatively, lay heavy pavers along the perimeter.
- Doors and latches: Solid frames, tight-fitting doors, and predator-proof latches matter more than looks. Consider an automatic coop door to close at dusk—a small investment that saves birds.
Enrichment your birds will love:
- Perches at different heights (2–4 feet), sturdy stumps, and ramps.
- Dust bath zones with dry soil, sand, and a bit of wood ash. Dust bathing is essential for parasite control and happiness.
- Hanging cabbage or greens to peck, a treat ball, or a shallow foraging tray filled with leaf litter or hay to scratch through.
- Shade and weather blocks: Tarps or polycarbonate panels to cut wind and rain, plus shrubs or small trees near the run for natural shade.
If you like the idea of growing fresh greens and fodder to supplement the feed plan, vertical systems can help. A compact tower-style setup like The AquaTower can produce a steady supply of leafy greens or herbs for your kitchen while providing trimmings and clippings as occasional chicken treats. Fresh greens aren’t a replacement for a balanced ration, but they enrich diet and behavior.
For urban backyards, consider a mobile chicken tractor you can move across the lawn. This spreads manure, reduces bare patches, and gives birds fresh forage. Just remember to secure the tractor at night and check for gaps daily—mobile doesn’t mean flimsy.
A practical feed plan from chick to steady layer
Feeding is where consistency pays off in egg production and bird health. A simple, staged plan is all beginners need.

Stage 1: Chicks (0–6 weeks)
- Feed: Starter feed with appropriate protein for chicks.
- Form: Crumbles are easy to eat; always provide fresh water.
- Extras: Chicks on crumble don’t need grit; chicks eating treats need chick-sized grit.
- Heat and growth: Maintain proper brooder temps (gradually reducing each week) and keep bedding dry to prevent pasty butt and coccidiosis.
Stage 2: Growers (6–16 weeks)
- Transition to grower feed for steady, safe growth.
- Keep treats minimal—no more than about 10% of their diet. Over-treating young birds can cause imbalances.
- Provide free-choice grit if they’re sampling yard greens or grains.
Stage 3: Pre-lay to Layers (16+ weeks)
- Switch to a layer feed when combs redden and hens approach lay. A complete layer ration supports shells and steady production.
- Offer free-choice calcium, typically crushed oyster shell, in a separate container. Birds will self-regulate intake as needed.
- Keep a small container of insoluble granite grit available if birds don’t have regular access to soil.
Daily expectations for laying hens:
- Each hen typically eats about a quarter-pound of feed per day, depending on size and activity.
- Clean water is as important as the feed itself; a dirty or frozen waterer will drop egg output quickly.
- Treats are fun and useful for training, but keep them moderate—scratch grains, kitchen veggie scraps (avoid salty/greasy foods), and seasonal greens. Think enrichment, not meal replacement.
If you’re building a resilient household food plan alongside your chickens, long-shelf-life staples and creative preservation strategies help bridge winter slowdowns or supply hiccups. For inspiration on pantry-building and resilient recipes, explore The Lost Superfoods.
Remember: consistency makes consistent eggs. Sudden changes to feed, water, or schedule often show up as a dip in the nest box.
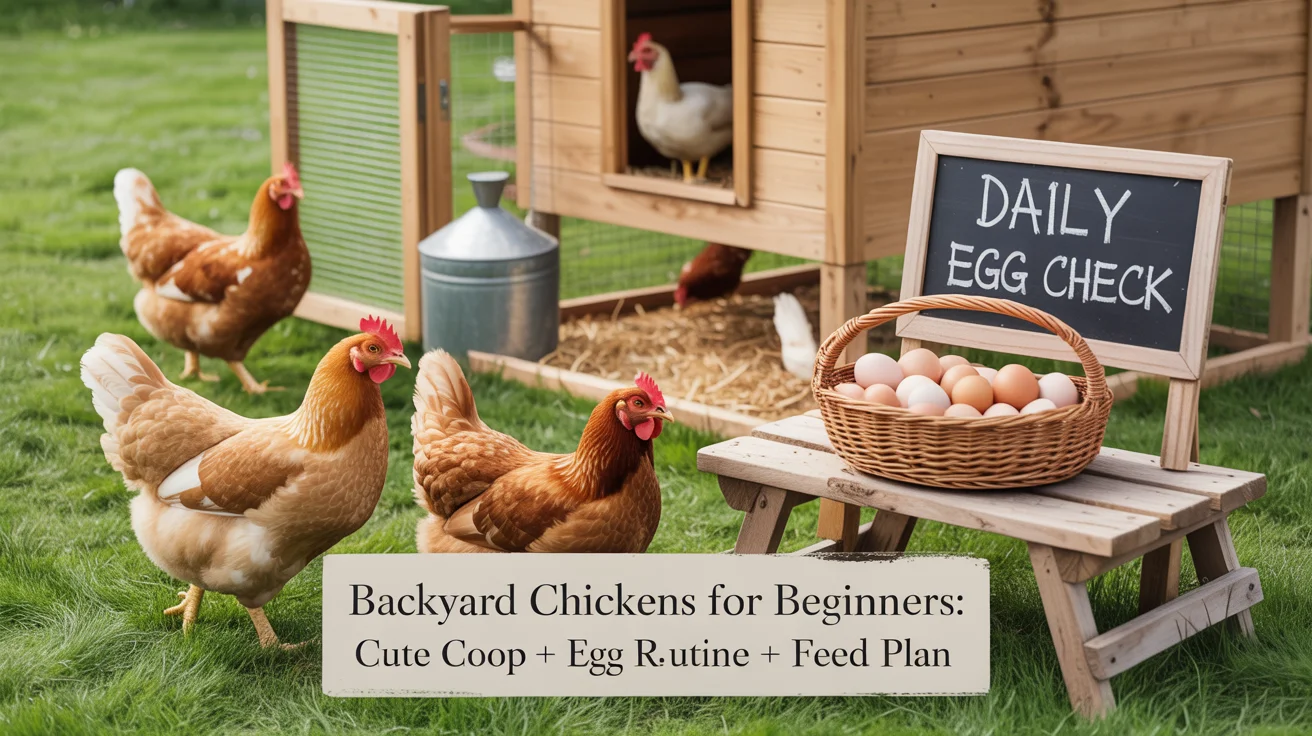
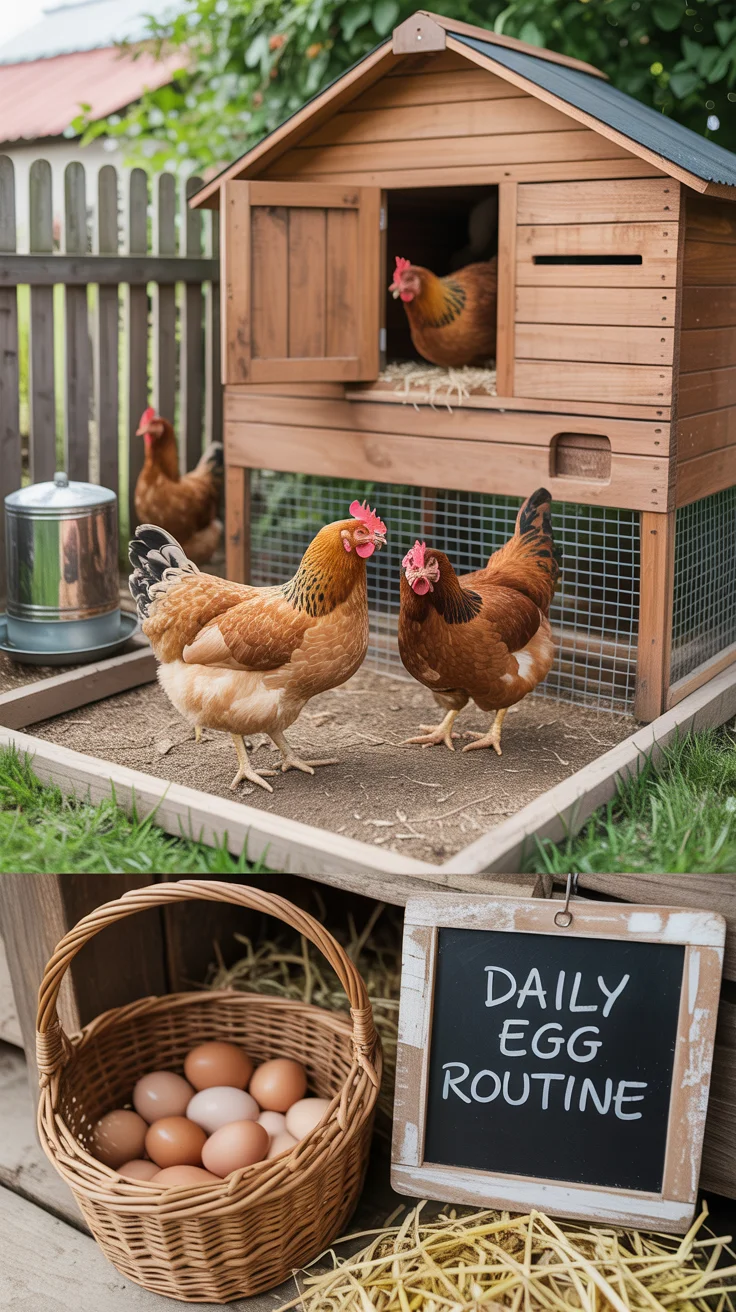
A simple egg routine that keeps shells strong and counters mess
Getting eggs you love is a routine more than a mystery. Set the stage with nest boxes that are dark, clean, and comfortable. Aim for one nest box per 3–4 hens; line them with clean shavings or chopped straw and add nest pads if you prefer easier cleaning. Place nests lower than your roosts to discourage sleeping in them.
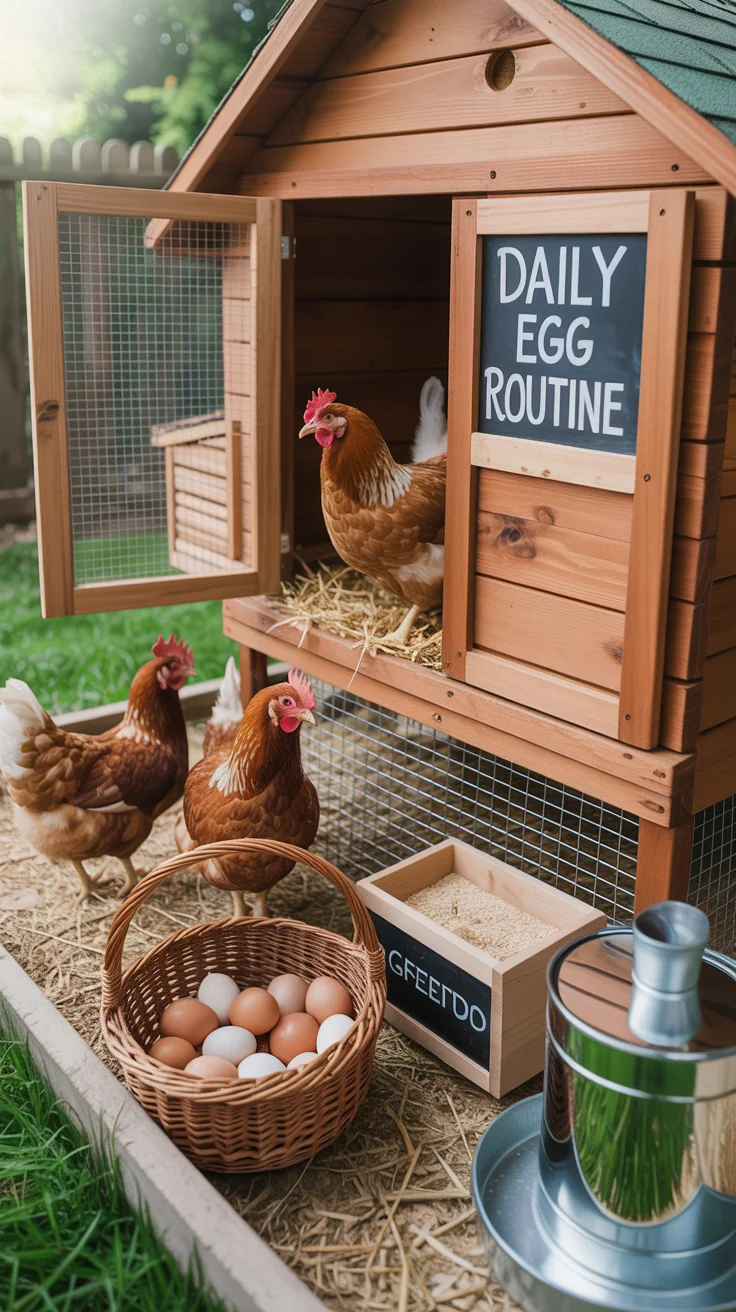
Daily rhythm:
- Morning check: Release the flock, confirm feed and water, and scan the coop for damp spots or issues.
- Midday or early afternoon: Collect eggs. Most hens lay earlier in the day, and frequent collection reduces the chance of accidental cracks, pecking, or broodiness.
- Evening: Quick glance at the coop—are all birds on the roost? Any signs of pests or drafts?
On cleanliness and washing: Fresh eggs have a natural protective coating called the “bloom,” which keeps bacteria out. If the egg is clean, store it unwashed in the fridge or on the counter depending on local safety guidelines; if it’s dirty, you can dry-wipe with a dedicated brush or cloth. For washing, use water slightly warmer than the egg to avoid pulling bacteria inward, and refrigerate afterward.
Storage basics:
- A simple carton in the fridge keeps eggs fresh for weeks.
- Label cartons by date so you use older eggs first.
- If you’re overrun with eggs in spring, try water-glassing clean, unwashed eggs in a food-grade solution for long-term storage, or scramble and freeze for baking.
Managing problems:
- Egg eating: Often starts with broken eggs. Add more nest bedding, collect more often, and keep calcium available. Roll-out nest boxes can help.
- Soft shells: Check that calcium is offered separately and that birds are eating a complete layer ration, not just scratch.
- Broody hens: They want to sit and hatch. Limit access to nests, use a broody breaker crate (with airflow under), and maintain your collection routine.
A battery-powered coop light on a timer can help you see for evening lockup in winter. If you’re off-grid or prone to outages, a small, portable solution like the Ultimate OFF-GRID Generator can cover lights, a camera, or an electric netting charger during dark months.
Daily, weekly, and seasonal care that fits real life
The best chicken chores are short, predictable, and easy to stick with. Here’s an approach that keeps birds thriving without turning your mornings into barn duty.
Daily:
- Refill water and feed; quick visual check of flock behavior and droppings.
- Gather eggs once or twice.
- Lock up securely at dusk. An automatic door is a helpful safety net.
Weekly:
- Top up bedding in the coop and nest boxes.
- Scrape roost bars and poop boards to control smell and flies.
- Turn deep litter if using that method and add dry carbon (shavings, chopped leaves) as needed.
- Check fences and latches for wear.
Monthly:
- Full coop refresh if you’re not using deep litter; otherwise, spot clean problem areas.
- Inspect for mites/lice (look at feather bases, under wings, around the vent).
- Clean waterers thoroughly to prevent algae and biofilm.
Seasonal shifts:
- Summer heat: Provide shade, cool water, and ventilation. Freeze water jugs for drinkers on hot days and offer a shady dust bath. Avoid heavy corn treats during heat waves.
- Winter cold: Focus on dryness and airflow, not sealing the coop airtight. Use wide, flat roosts and draft shields to protect toes. Add extra bedding and ensure liquid water—heated waterers help.
- Molting: Hens shed and regrow feathers, often reducing or pausing egg lay. Offer a steady, balanced ration; some keepers like a slightly higher-protein feed during molt. Expect a few scruffy weeks.
- Predators: Activity often spikes in spring and fall; double-check run security and lockup routines.
Backyard chickens produce valuable compost inputs. Collect coop litter, mix with high-carbon yard waste, and compost until it’s broken down before using in the garden. Done right, your birds fuel soil health and garden yields—another reason so many beginners fall in love with the chicken–garden loop.
If you’re building a full backyard resilience stack—eggs, compost, vegetables, and water capture—the systems-level perspective in The Self-Sufficient Backyard can help you plan clean workflows from coop to kitchen.
Health, hygiene, and neighbor-friendly peace of mind
Healthy flocks start with clean, dry housing and a consistent routine. Add a few simple biosecurity practices and you’ll prevent most common issues.
Core health habits:
- Quarantine newcomers for at least two weeks before mixing with your flock.
- Keep wild bird contact low by covering runs and keeping feed inside.
- Offer a dust bath area with dry soil/sand and a little wood ash to deter mites and lice.
- Observe birds: bright eyes, upright posture, and energetic foraging are good signs. Lethargy, labored breathing, or isolated birds merit closer inspection.
Common hiccups beginners see:
- Mites/lice: Look for pale combs, feather loss around the vent, and excessive preening. Clean the coop, refresh bedding, and consider approved treatments if needed.
- Coccidiosis in young birds: Keep brooders dry and clean; watch for bloody droppings or droopiness in chicks and seek appropriate care promptly.
- Crop issues: Ensure birds have access to grit if they eat whole grains or yard plants; avoid stringy lawn clippings and plastic bits.
Be a great neighbor:
- Keep the coop tidy and smells low with regular cleaning and dry bedding.
- Skip roosters unless permitted and welcomed.
- Share eggs generously; it’s amazing goodwill.
- Keep runs attractive—add planters, lattice, or a picket fence around your coop zone to make the space a feature, not an eyesore.
If power tools, fence chargers, or cameras are part of your setup and you’d rather not run extension cords, a portable backup like the Ultimate OFF-GRID Generator can quietly support coop essentials during outages or in hard-to-wire corners of the yard.
Budgeting, timelines, and a 30-day beginner roadmap
A realistic plan prevents overwhelm. Expect an up-front cost for the coop/run, initial equipment, and birds, followed by modest ongoing feed and bedding expenses. You can DIY a beautiful coop to save money or invest in a sturdy prebuilt model—either way, prioritize security, ventilation, and ease of cleaning.
A simple 30-day startup roadmap:
- Days 1–3: Confirm local rules; choose flock size; pick breeds suited to your climate and goals.
- Days 4–7: Finalize coop location—well-drained, partial shade, and accessible year-round. Sketch your coop and run with proper dimensions.
- Days 8–14: Build or purchase the coop and run. Install hardware cloth, vents, roosts, and nest boxes. Add bedding and test latches.
- Days 15–18: Set up feeders, waterers, and a predator-proof routine. If needed, sort out lighting or power solutions.
- Days 19–21: Source birds—chicks or started pullets—from a reputable hatchery or local farm. Prepare brooder if raising chicks.
- Days 22–30: Settle birds in and establish your care routine: morning check, midday collection, dusk lockup. Fine-tune feed and water placement, and observe flock dynamics.
Hidden time-savers:
- Poop boards under roosts drastically speed morning cleanups.
- An automatic door provides peace of mind if you’re late home.
- Rain barrels near the coop reduce water lugging and can feed gravity waterers (ensure potable if using for drinking).
Looking beyond the first month, you’ll refine your egg routine, adjust your feed plan for the season, and dial in coop aesthetics. If you’re integrating chickens into a bigger homestead vision (gardens, compost loops, rainwater, perennials), the systems designs in The Self-Sufficient Backyard can shorten your learning curve.
Optional resilience upgrades for backyard chicken keepers
Chickens are already a resilient food source, but a few extras can make your setup more independent and efficient.
- Backup power: If you rely on electric netting, automatic doors, or winter water heaters, power continuity matters. A portable, all-in-one solution like the Ultimate OFF-GRID Generator can keep essentials running during outages without hardwiring your coop.
- Vertical greens: Supplement your feed plan with year-round greens. A compact vertical garden such as The AquaTower fits small spaces and sends your flock regular leafy trimmings while feeding your kitchen.
- Pantry confidence: Egg surpluses come and go. If you’re building a more resilient home pantry to complement your flock, ideas in The Lost Superfoods can spark creative, resourceful meal planning.
Use these upgrades only if they solve a real problem for you. Backyard chickens for beginners should stay simple, joyful, and manageable—gadgets are optional, good husbandry is not.
Conclusion: a beginner’s path to happy birds and steady breakfast
Backyard Chickens for Beginners: Cute Coop + Egg Routine + Feed Plan boils down to a few core habits done well: right-sized flock, a secure and well-ventilated coop, a balanced feed plan with clean water, and a steady daily routine for eggs. Start small, observe often, and tweak as you go. Keep the coop charming but practical, protect against predators, and prioritize dryness and airflow. With those fundamentals in place, your backyard hens will reward you with calm mornings, comedic dust baths, and the freshest eggs you’ve ever tasted.
When you’re ready to expand your backyard resilience beyond eggs, browse the broader systems guidance in The Self-Sufficient Backyard, consider the convenience of the Ultimate OFF-GRID Generator, and grow year-round greens with The AquaTower.
Recommended resources
- The Self-Sufficient Backyard — Plan a resilient home system that integrates chickens, gardens, and more.
- Ultimate OFF-GRID Generator — Portable power for coop lights, doors, or fence chargers during outages.
- The AquaTower — Compact vertical greens to supplement your flock and your kitchen.
- The Lost Superfoods — Pantry inspiration to pair with your home-laid eggs.
FAQ
How many chickens should a beginner start with?
Most beginners do well with 3–6 hens. That size gives a steady egg supply, a stable flock dynamic, and manageable daily chores. Start small, refine your routine, and add birds later if you want more eggs.
How big should a coop be per chicken?
Aim for about 4 square feet per standard-size hen inside the coop and about 10 square feet per hen in the run. More space reduces stress, pecking, and mess. If birds are confined more often, oversize the coop and add enrichments.
How often do backyard chickens lay eggs?
Healthy hens in their first two laying years often produce around five to six eggs per week, depending on breed, nutrition, daylight, and season. Expect slowdowns during winter, molt, heat waves, or any big changes in diet or routine.
What should you feed chickens for consistent egg production?
Offer a complete layer feed once hens approach lay, plus free-choice calcium (like crushed oyster shell) and constant access to clean water. Keep treats modest and provide grit if birds don’t have access to soil. Consistency in feed and schedule is the key to consistent eggs.
Can beginners skip roosters and still get eggs?
Yes. Hens lay eggs without a rooster. Roosters are only necessary if you want fertile eggs for hatching. Many urban areas prohibit roosters due to noise, so beginners often start with hens only.
What’s the best bedding for beginners?
Pine shavings are easy to find, smell nice, and absorb well. In dry, well-ventilated coops, the deep litter method can reduce odor and create compost. Whatever you choose, keep bedding dry and topped up.
How do I make a cute coop without sacrificing safety?
Use strong framing and hardware cloth first, then add style with paint, window boxes, cedar trim, and neat roofing. Keep windows high with louvered vents, include a clean-out door, and place nest boxes at a convenient height. Pretty is great—predator-proof and easy to clean is greater.
What’s a simple daily schedule I can follow?
Morning: feed, water, and release. Midday: gather eggs. Evening: headcount and lockup. Do a quick weekly refresh of bedding and a monthly deep clean or turn your deep litter. This rhythm supports the backyard chickens for beginners approach and keeps your flock healthy with minimal stress.