

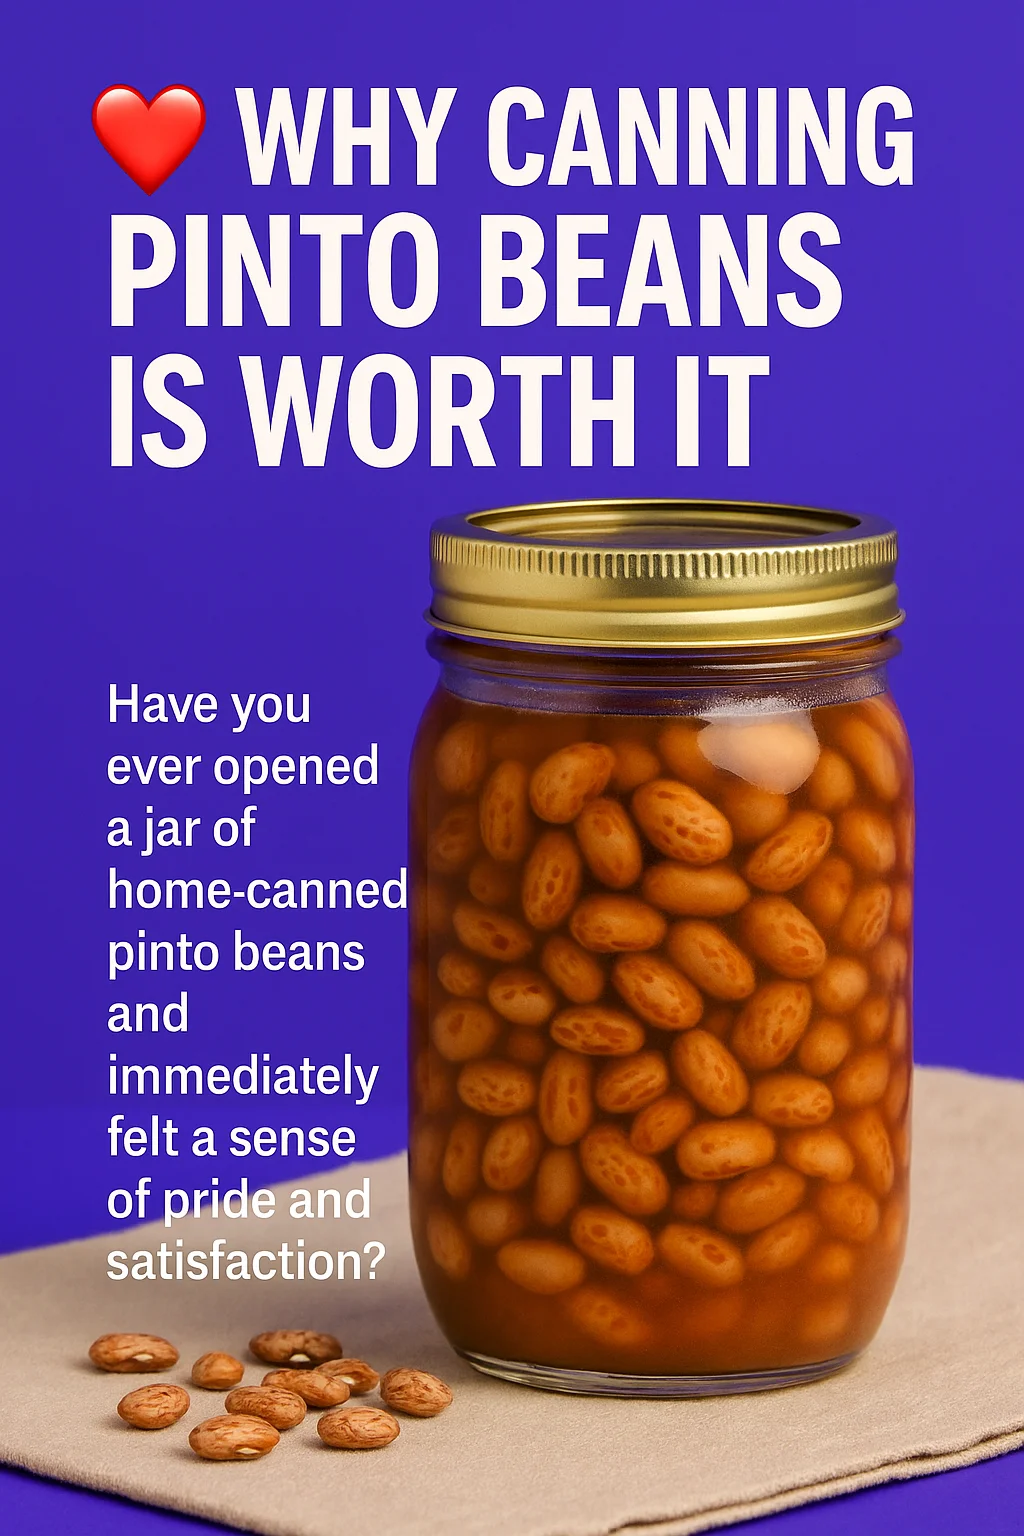
❤️ Why Canning Pinto Beans Is Worth It
Have you ever opened a jar of home-canned pinto beans and immediately felt a sense of pride and satisfaction? When you preserve your own food, you’re not just saving money—you’re securing nutrition, flavor, and convenience for the days ahead. Canning pinto beans is one of the easiest and most efficient ways to start building a pantry that serves you year-round.
Whether you’re prepping for emergencies, looking to simplify meal planning, or just want to take control over your food ingredients, learning to can your own beans is a smart, sustainable step. In this guide, you’ll learn everything you need to confidently and safely master the process of canning pinto beans at home.
🛠️ What You Need Before Canning Pinto Beans
🧰 Equipment Checklist
Before you start, gather all the tools you’ll need for safely canning pinto beans:
- Pressure canner (essential for low-acid foods)
- Mason jars with lids and rings (pints or quarts)
- Large stockpot for soaking and pre-cooking beans
- Jar lifter, funnel, and ladle
- Measuring cups and spoons
- Clean dish towels and a workspace to prep jars
Important: Pinto beans are a low-acid food, which means they must be processed using a pressure canner. Water bath canning is not safe for beans.
Want to master all aspects of food preservation—not just beans?
👉 Explore The Self-Sufficient Backyard for practical, field-tested advice on canning, gardening, and off-grid living.
📋 Ingredients for Canning Pinto Beans
Here’s what you’ll need for canning pinto beans (per quart jar):
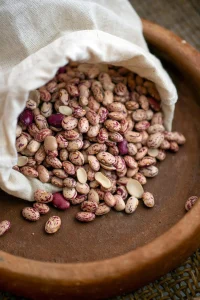
- About 3/4 cup dried pinto beans
- Water for soaking and filling the jar
- 1/2 teaspoon canning salt (optional)
You can flavor your beans with garlic, onion, or mild herbs, but avoid adding fats or dairy. These can compromise the safety of canned pinto beans.
🔄 Step-by-Step Instructions for Canning Pinto Beans
1. Soak the Beans
There are two safe methods to soak your beans before canning pinto beans:
- Overnight Soak: Cover beans with 3 inches of water and let them soak 8–12 hours.
- Quick Soak: Boil beans for 2 minutes, turn off heat, and let stand for 1 hour.
Soaking reduces cooking time and improves digestibility.
2. Precook the Beans
Drain the soaked beans. Add fresh water and bring to a simmer. Cook for 30 minutes. Beans should be softened but not fully cooked—this helps them finish cooking during the canning pinto beans process.
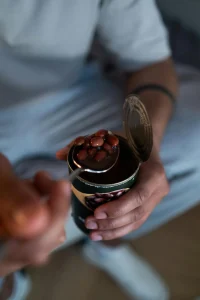
3. Prepare the Jars
- Sterilize your jars and heat lids.
- Using a funnel, fill each hot jar with pre-cooked beans, leaving 1 to 1.5 inches of headspace.
- Ladle hot water or broth over the beans to maintain the headspace.
- Add 1/2 tsp of salt per jar, if using.
4. Remove Air Bubbles & Seal
- Use a bubble remover to release trapped air.
- Wipe jar rims with a vinegar-dipped cloth.
- Apply lids and screw on rings until fingertip tight.
5. Process in a Pressure Canner
- Place jars into the pressure canner with 2–3 inches of simmering water.
- Lock the lid, vent steam for 10 minutes, then bring to 10–11 PSI (adjust for altitude).
- Process pints for 75 minutes and quarts for 90 minutes.
Let pressure return to zero naturally. Wait 10 minutes before opening the lid. Remove jars and let them cool for 12–24 hours.
🧂 How to Add Flavor (Safely) to Canned Pinto Beans
Want to elevate your canning pinto beans results? Try these safe and flavorful additions:
- Minced garlic or roasted garlic cloves
- Sliced onion or shallots
- Bay leaf, oregano, or cumin seeds
- Smoked paprika or dried chili flakes
⚠️ Never add fats, oils, or meats unless you’re following a USDA-tested canning pinto beans recipe.
🔐 Storage Tips for Home-Canned Pinto Beans
Once cooled, check seals by pressing on the jar lids. Store sealed jars in a dark, cool pantry for maximum shelf life.
- Properly sealed jars last 12 to 18 months
- Refrigerate unsealed jars and use within 3–5 days
- Always label jars with the date and contents
Safe storage is essential to keep your canned pinto beans fresh and nutritious.
🍽️ Ways to Use Canned Pinto Beans
Having canned pinto beans on your shelf makes mealtime a breeze. Here are some tasty ideas:
- Make quick refried beans for tacos or burritos
- Add to chili for extra fiber and protein
- Use in hearty soups and stews
- Top salads and rice bowls
- Blend into bean dip with lime and cilantro
Canning pinto beans not only saves time but also ensures you have a plant-based protein source ready when you need it.
✅ Recommended Resource: For Anyone Who Wants to Live More Self-Sufficiently
If you’re canning beans, chances are you care about food security, health, and independence.
That’s why The Self-Sufficient Backyard is a perfect companion.
Created by off-grid experts, this guide walks you through:
-
Preserving food without electricity
-
Building your own root cellar
-
Raising chickens, collecting rainwater, and growing food year-round
👉 Click here to explore it now and take your homesteading journey to the next level.
❓ FAQ – Canning Pinto Beans at Home
Can I skip soaking the beans?
No. Soaking is a key step for even cooking and proper texture during canning pinto beans.
Can I use other beans?
Yes. Black beans, kidney beans, and navy beans all follow similar canning methods.
Is water bath canning safe for pinto beans?
No. Pinto beans are low-acid and require pressure canning to prevent botulism.
Why is precooking necessary?
Precooking prevents undercooked beans and minimizes the chance of jars breaking during pressure canning.
What if a jar doesn’t seal?
Reprocess it within 24 hours, or refrigerate and use within a few days.
✅ Final Thoughts: Empower Your Pantry by Canning Pinto Beans
Canning pinto beans is a practical and fulfilling way to preserve your food for the long haul. From batch prepping to emergency preparedness, these jars provide security, nutrition, and meal-time convenience.
By following tested methods and safety practices, you’re ensuring every jar you create is a reliable part of your pantry.
💡 Ready to expand beyond beans and build a truly resilient pantry?
Start with The Self-Sufficient Backyard and discover the practical strategies that homesteaders swear by.