
🌟 Why Canning Chili Is Worth the Effort
Imagine coming home on a cold winter evening and popping open a jar of hearty homemade chili—already cooked, seasoned, and ready to serve. That’s the beauty of canning chili. It’s not just about preserving food, it’s about saving time, reducing waste, and preparing ahead for busy days.
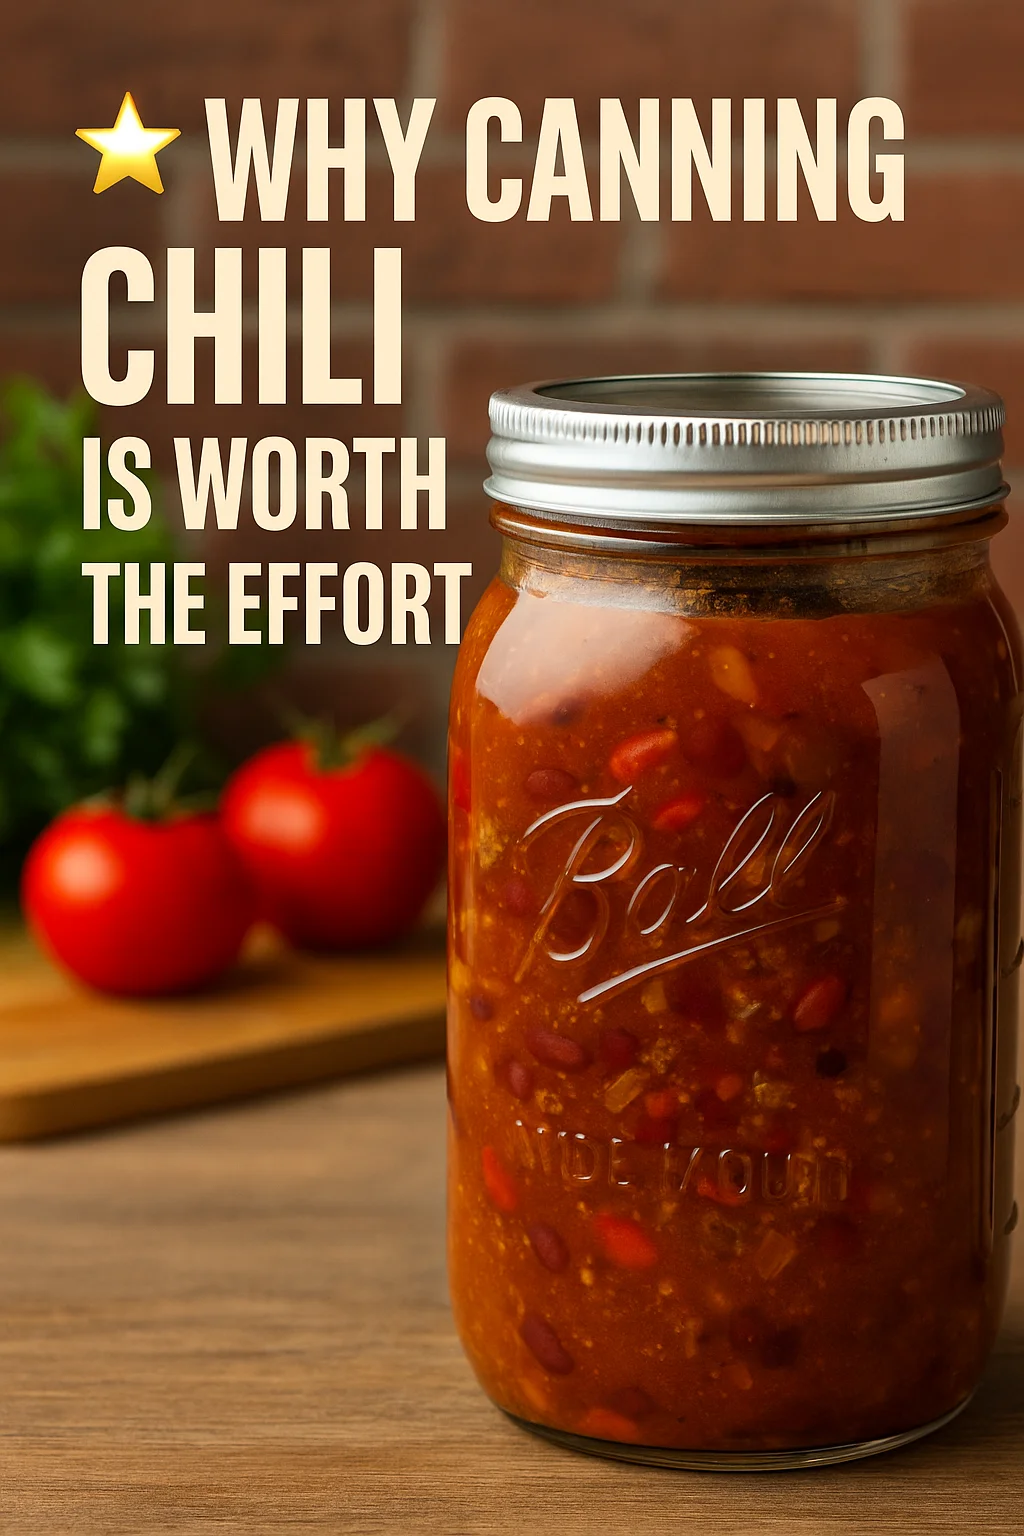
Whether you’re feeding your family, meal prepping, or building a long-term pantry, learning how to can chili gives you flavorful, shelf-stable meals at your fingertips. And with the right method, you’ll enjoy it safely for months to come.
🔧 What You Need to Know Before You Start Canning Chili
🧪 Is It Safe to Can Chili?
Canning chili is completely safe—as long as you follow pressure canning guidelines. Since chili contains low-acid ingredients like meat, beans, and vegetables, it must be processed using a pressure canner. This ensures that harmful bacteria (like botulism) are eliminated during canning.
🌡️ Why Pressure Canning Is Required
Foods with low acidity don’t reach temperatures high enough to be safely processed in a water bath. Only a pressure canner can heat the chili to 240°F, the level necessary to kill pathogens in dense, thick mixtures.
Never water-bath can chili. Always use a pressure canner.
💡 Want a full system for self-reliant living? Learn how to turn your backyard into a mini-homestead packed with preserved meals, homegrown ingredients, and emergency-ready tools.
Check out The Self-Sufficient Backyard—your practical guide to sustainable food storage and smart living.
🧂 Essential Ingredients and Equipment for Canning Chili
Before you begin, make sure your kitchen is stocked with everything you need for a safe and efficient canning session.
🍲 Core Ingredients
Here’s what you’ll need for a standard batch (about 6–7 quarts):
- Ground beef (4 lbs): You can also substitute with ground turkey or chicken.
- Crushed tomatoes (10 cups): Peeled for the best texture and consistency.
- Chopped onion (2 cups): Stick with fresh onions—avoid powdered versions.
- Cooked beans (6 cups, optional): Only use if following USDA guidelines for safety.
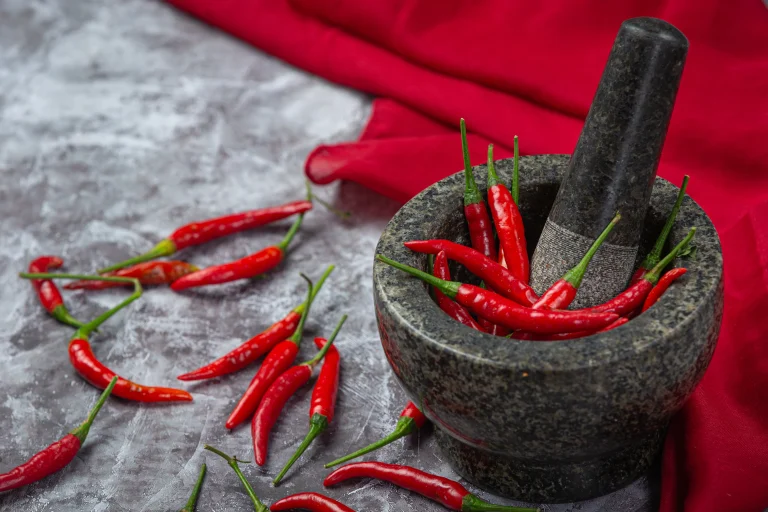
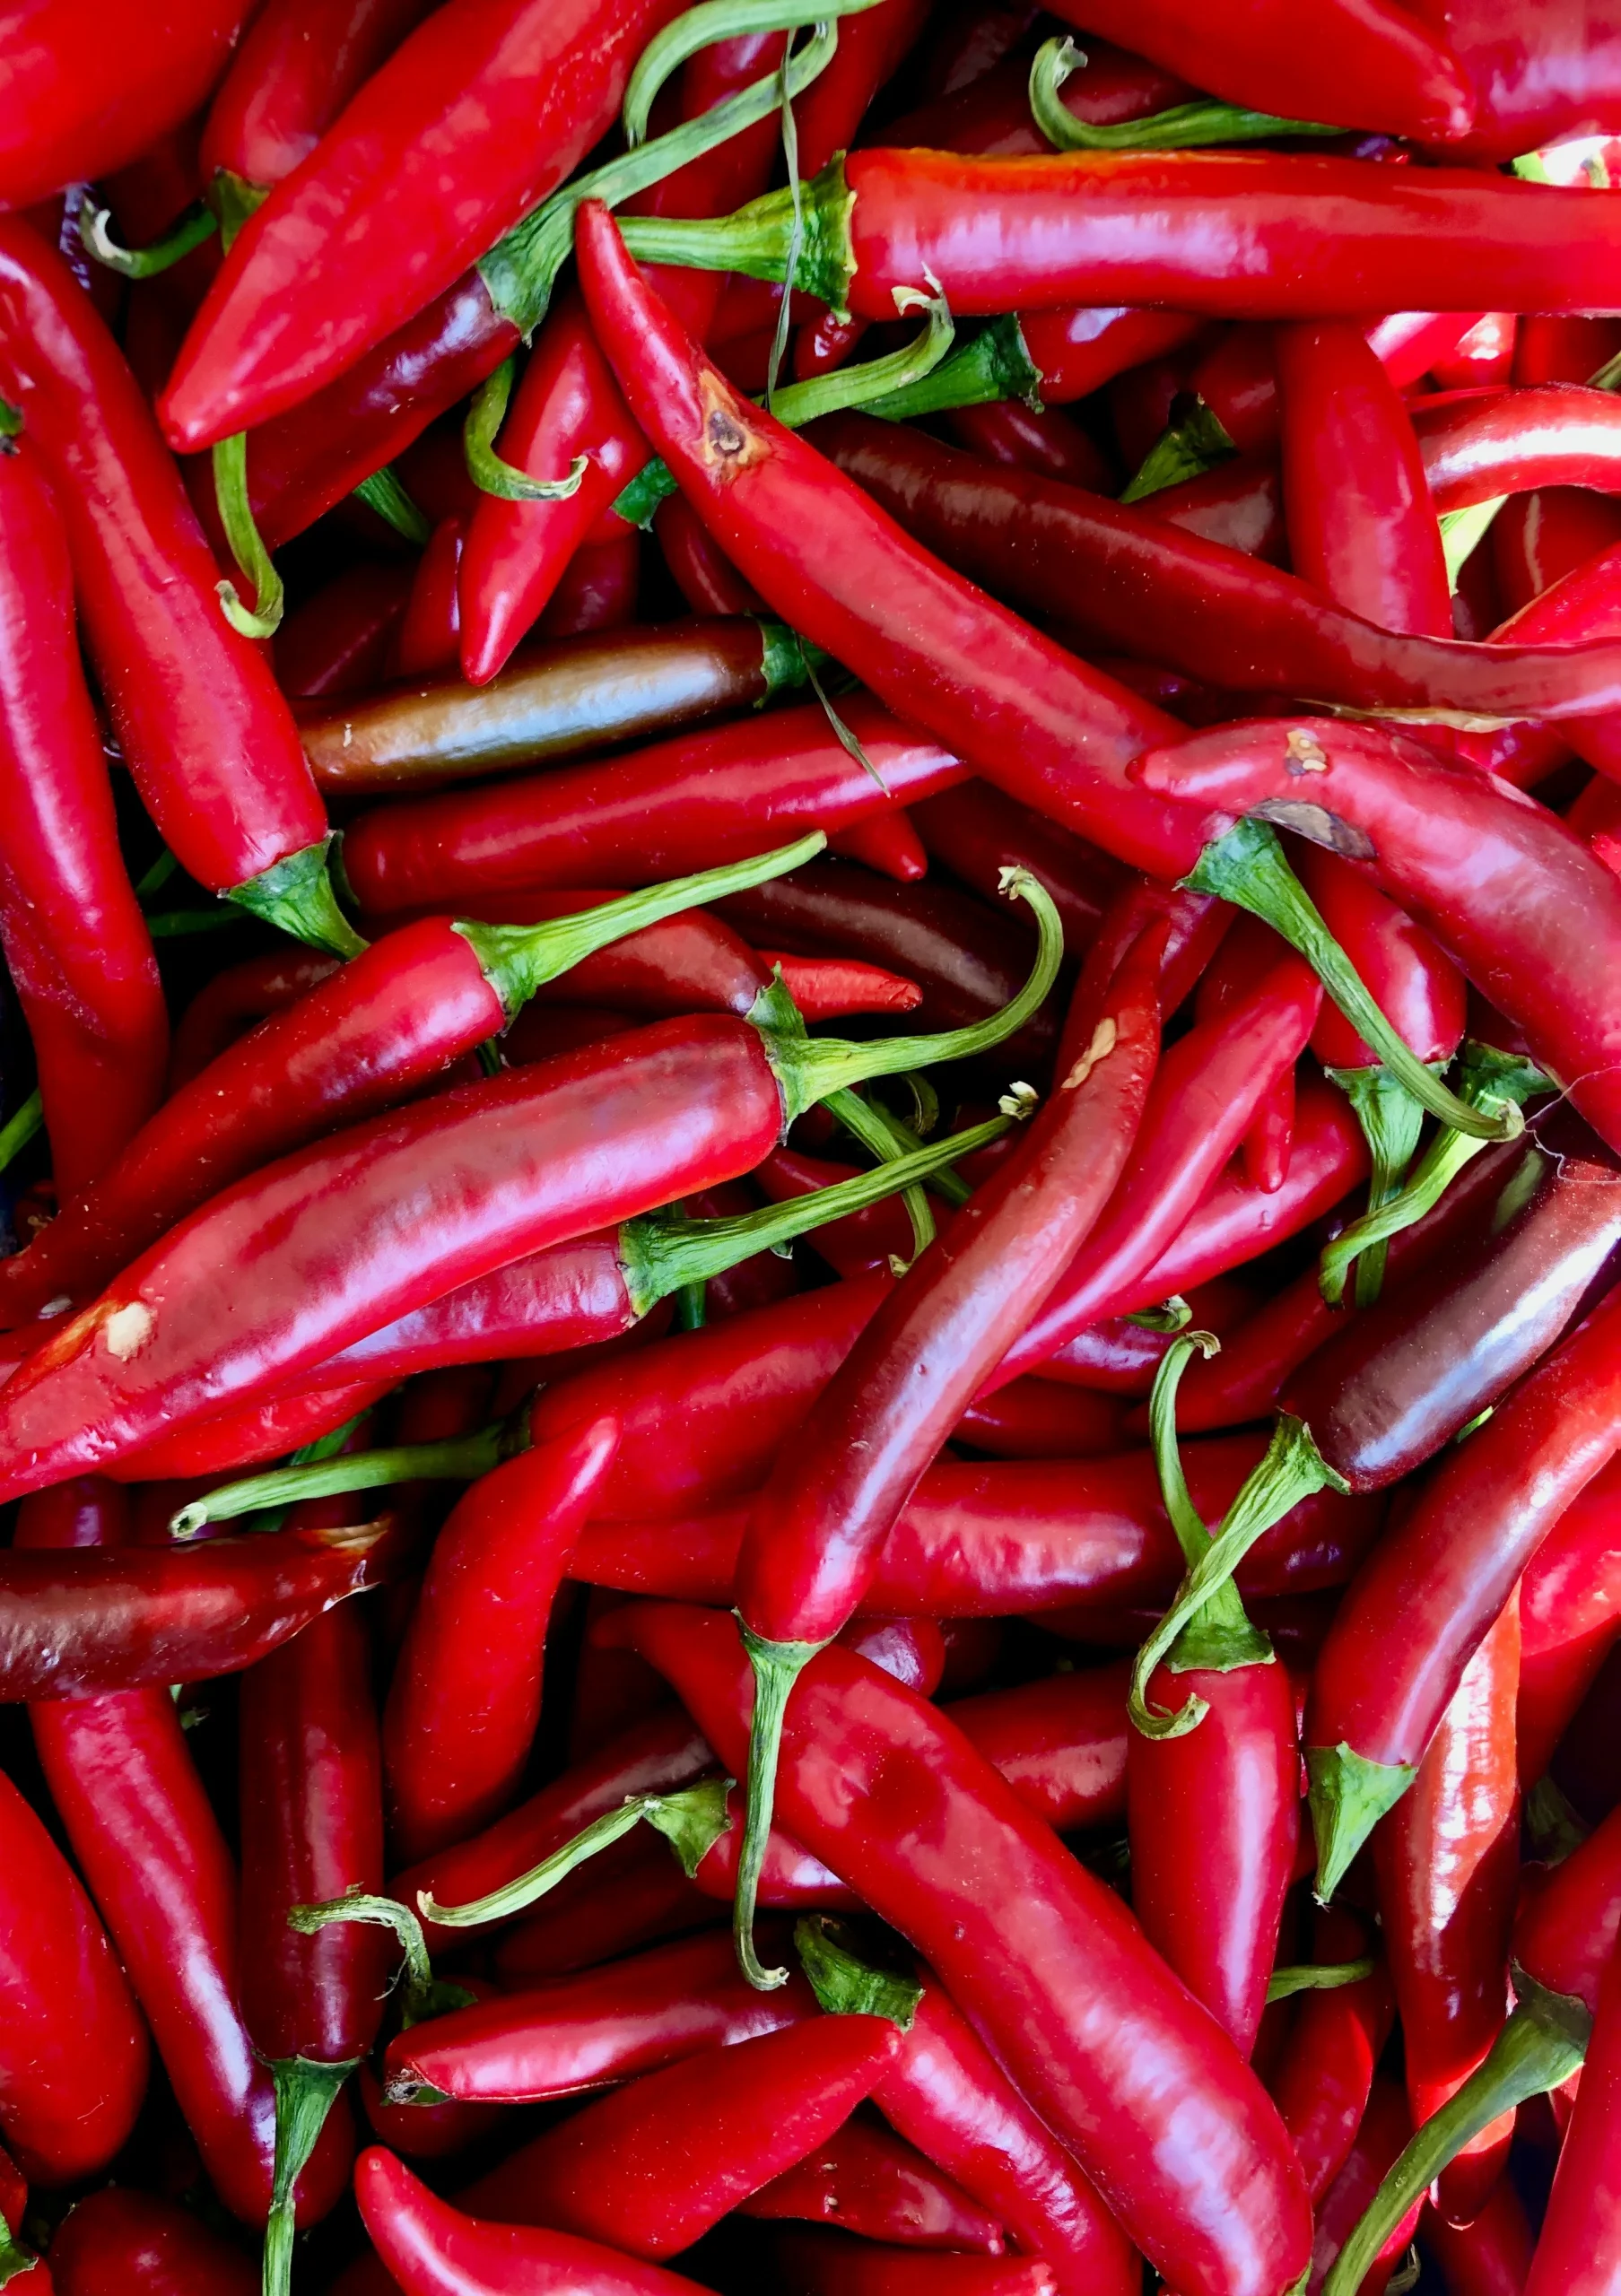
- Chili powder (4 tbsp): Customize the blend to your preferred spice level.
- Salt (2 tbsp): Use canning or pickling salt to avoid additives that affect clarity.
🔧 Equipment You’ll Need
- Pressure canner (not pressure cooker)
- Quart or pint mason jars with new lids
- Ladle, wide-mouth funnel, headspace tool
- Clean towels and jar lifter
Tip: Test your pressure canner’s gauge annually to ensure accuracy.
🥣 Preparing Your Chili for Canning
🍳 Cooking Instructions
- Brown the meat fully and drain excess fat.
- In a large stockpot, combine tomatoes, onions, beans (if using), spices, and meat.
- Simmer for 30–60 minutes. Avoid thickening with flour or cornstarch.
- Keep mixture hot until ready to can.
Do not overcook. The chili will continue to cook during the pressure canning process.
🫙 Prepping the Jars
- Wash jars with hot soapy water and rinse well.
- Keep jars hot by placing them in simmering water or a warm oven.
- Have lids and bands ready to go.
🛠️ Step-by-Step: How to Can Chili Safely
- Fill jars with hot chili, leaving 1-inch headspace.
- Remove air bubbles with a plastic spatula.
- Wipe rims clean with a damp cloth.
- Place lids and screw bands on finger-tight.
- Load jars into pressure canner with 2–3 inches of simmering water.
- Lock the lid, and vent steam for 10 minutes.
- Bring pressure to 10 PSI (or as adjusted for your altitude).
- Process:
- 75 minutes for pints
- 90 minutes for quarts
- Turn off the heat and allow pressure to return to zero naturally.
- Wait 5 minutes, remove the lid, and let jars cool for 12–24 hours.
Label and date your jars once cool, then store them in a dark, cool location.
🧊 Cooling, Checking, and Storing Your Canned Chili
✅ Post-Canning Checklist
- Press the center of each lid. It should not flex.
- Wipe jars clean and check for cracks or leaks.
- Label jars with contents and date.
🧊 Storage Tips
- Store in a dark, cool pantry.
- Keep jars off concrete floors (use shelving).
- Use within 12–18 months for best flavor.
If any jar didn’t seal, refrigerate and eat within 3–5 days.
🍛 Delicious Ways to Use Your Canned Chili
Your shelf-stable chili is incredibly versatile. Here’s how to make the most of it:
- Over baked potatoes with shredded cheese
- As chili mac mixed with pasta and cheddar
- On hot dogs or brats as a hearty topping
- In nachos layered with sour cream and jalapeños
- Stirred into casseroles, burritos, or tacos
Pro tip: Add fresh toppings like avocado, cilantro, or cornbread for a gourmet touch.
✅ Recommended Resource for Serious Preppers
If you’re passionate about food preservation, sustainability, and reducing your grocery bills, The Self-Sufficient Backyard is a must-have. This comprehensive guide walks you through everything from canning and root cellaring to building your own food and energy systems.
🔗 Click here to explore The Self-Sufficient Backyard now and take your chili canning—and self-reliance—to the next level.
❓ FAQ – Canning Chili the Safe Way
Can I water bath can chili?
No. Chili contains low-acid ingredients and must be pressure canned.
Can I add pasta or dairy to my chili before canning?
No. Never can pasta, dairy, or thickeners like flour. These interfere with safe heat penetration.
Can I use dry beans instead of pre-cooked?
Beans must be fully cooked before canning. Dry beans may expand and disrupt the seal.
How much headspace should I leave?
Always leave 1 inch of headspace when canning chili.
What if my jar doesn’t seal?
Reprocess within 24 hours, or refrigerate and eat within a few days.
✅ Conclusion: Add Chili to Your Canning Routine
Now that you know how to can chili, you’re ready to level up your food preservation game. It’s more than just saving food—it’s about gaining peace of mind, reducing meal prep, and having something warm and nourishing always on hand.
When you take the time to make and can your own chili, you’re investing in convenience, nutrition, and flavor. Whether it’s a snowstorm or a hectic weeknight, you’ll thank yourself for every jar you filled.
🍽️ Preserve boldly and live fully. Start building your self-sufficient pantry with The Self-Sufficient Backyard—a dofollow resource designed to help you thrive in any situation.